NW99XJ
NAXJA Forum User
- Location
- Gresham, Or.
Are your dash lights flickering? Or have they stopped working?
Maybe your ability to dim them is gone altogether....
This may take care of your problems.
>
NOTE: It's always a good idea to do some simple trouble shooting before tearing into and disassembling things. CHECK YOUR FUSES.
>
This is a pretty simple process and can be done in a short period of time for someone familiar with taking things apart. No special tools are required, but having a decent selection of screw drivers is a good idea, and you may want to have a third hand around to help you at one point.
You'll also want to grab some Scotch Brite - we'll use this later.
-The first step is to get to the switch, we cant do this with it in the dash.
If you are afraid of draining your battery trying to do this (as your lights will be on until you disconnect the switch) you may opt to disconnect your battery before getting started.
-First remove the knee panel - this is the part that's below the steering column. There's three screws on the bottom that hold the plastic on, and two spring clips at the top. This will expose the steel knee guard. Two screws will remove this. This will give us access to the back of the switch.
-Next is to remove the plunger, this is the part that you actually pull/push on to turn the lights on off. There is a button that is on the right side of the switch, reach up into the dash and push on this little button.
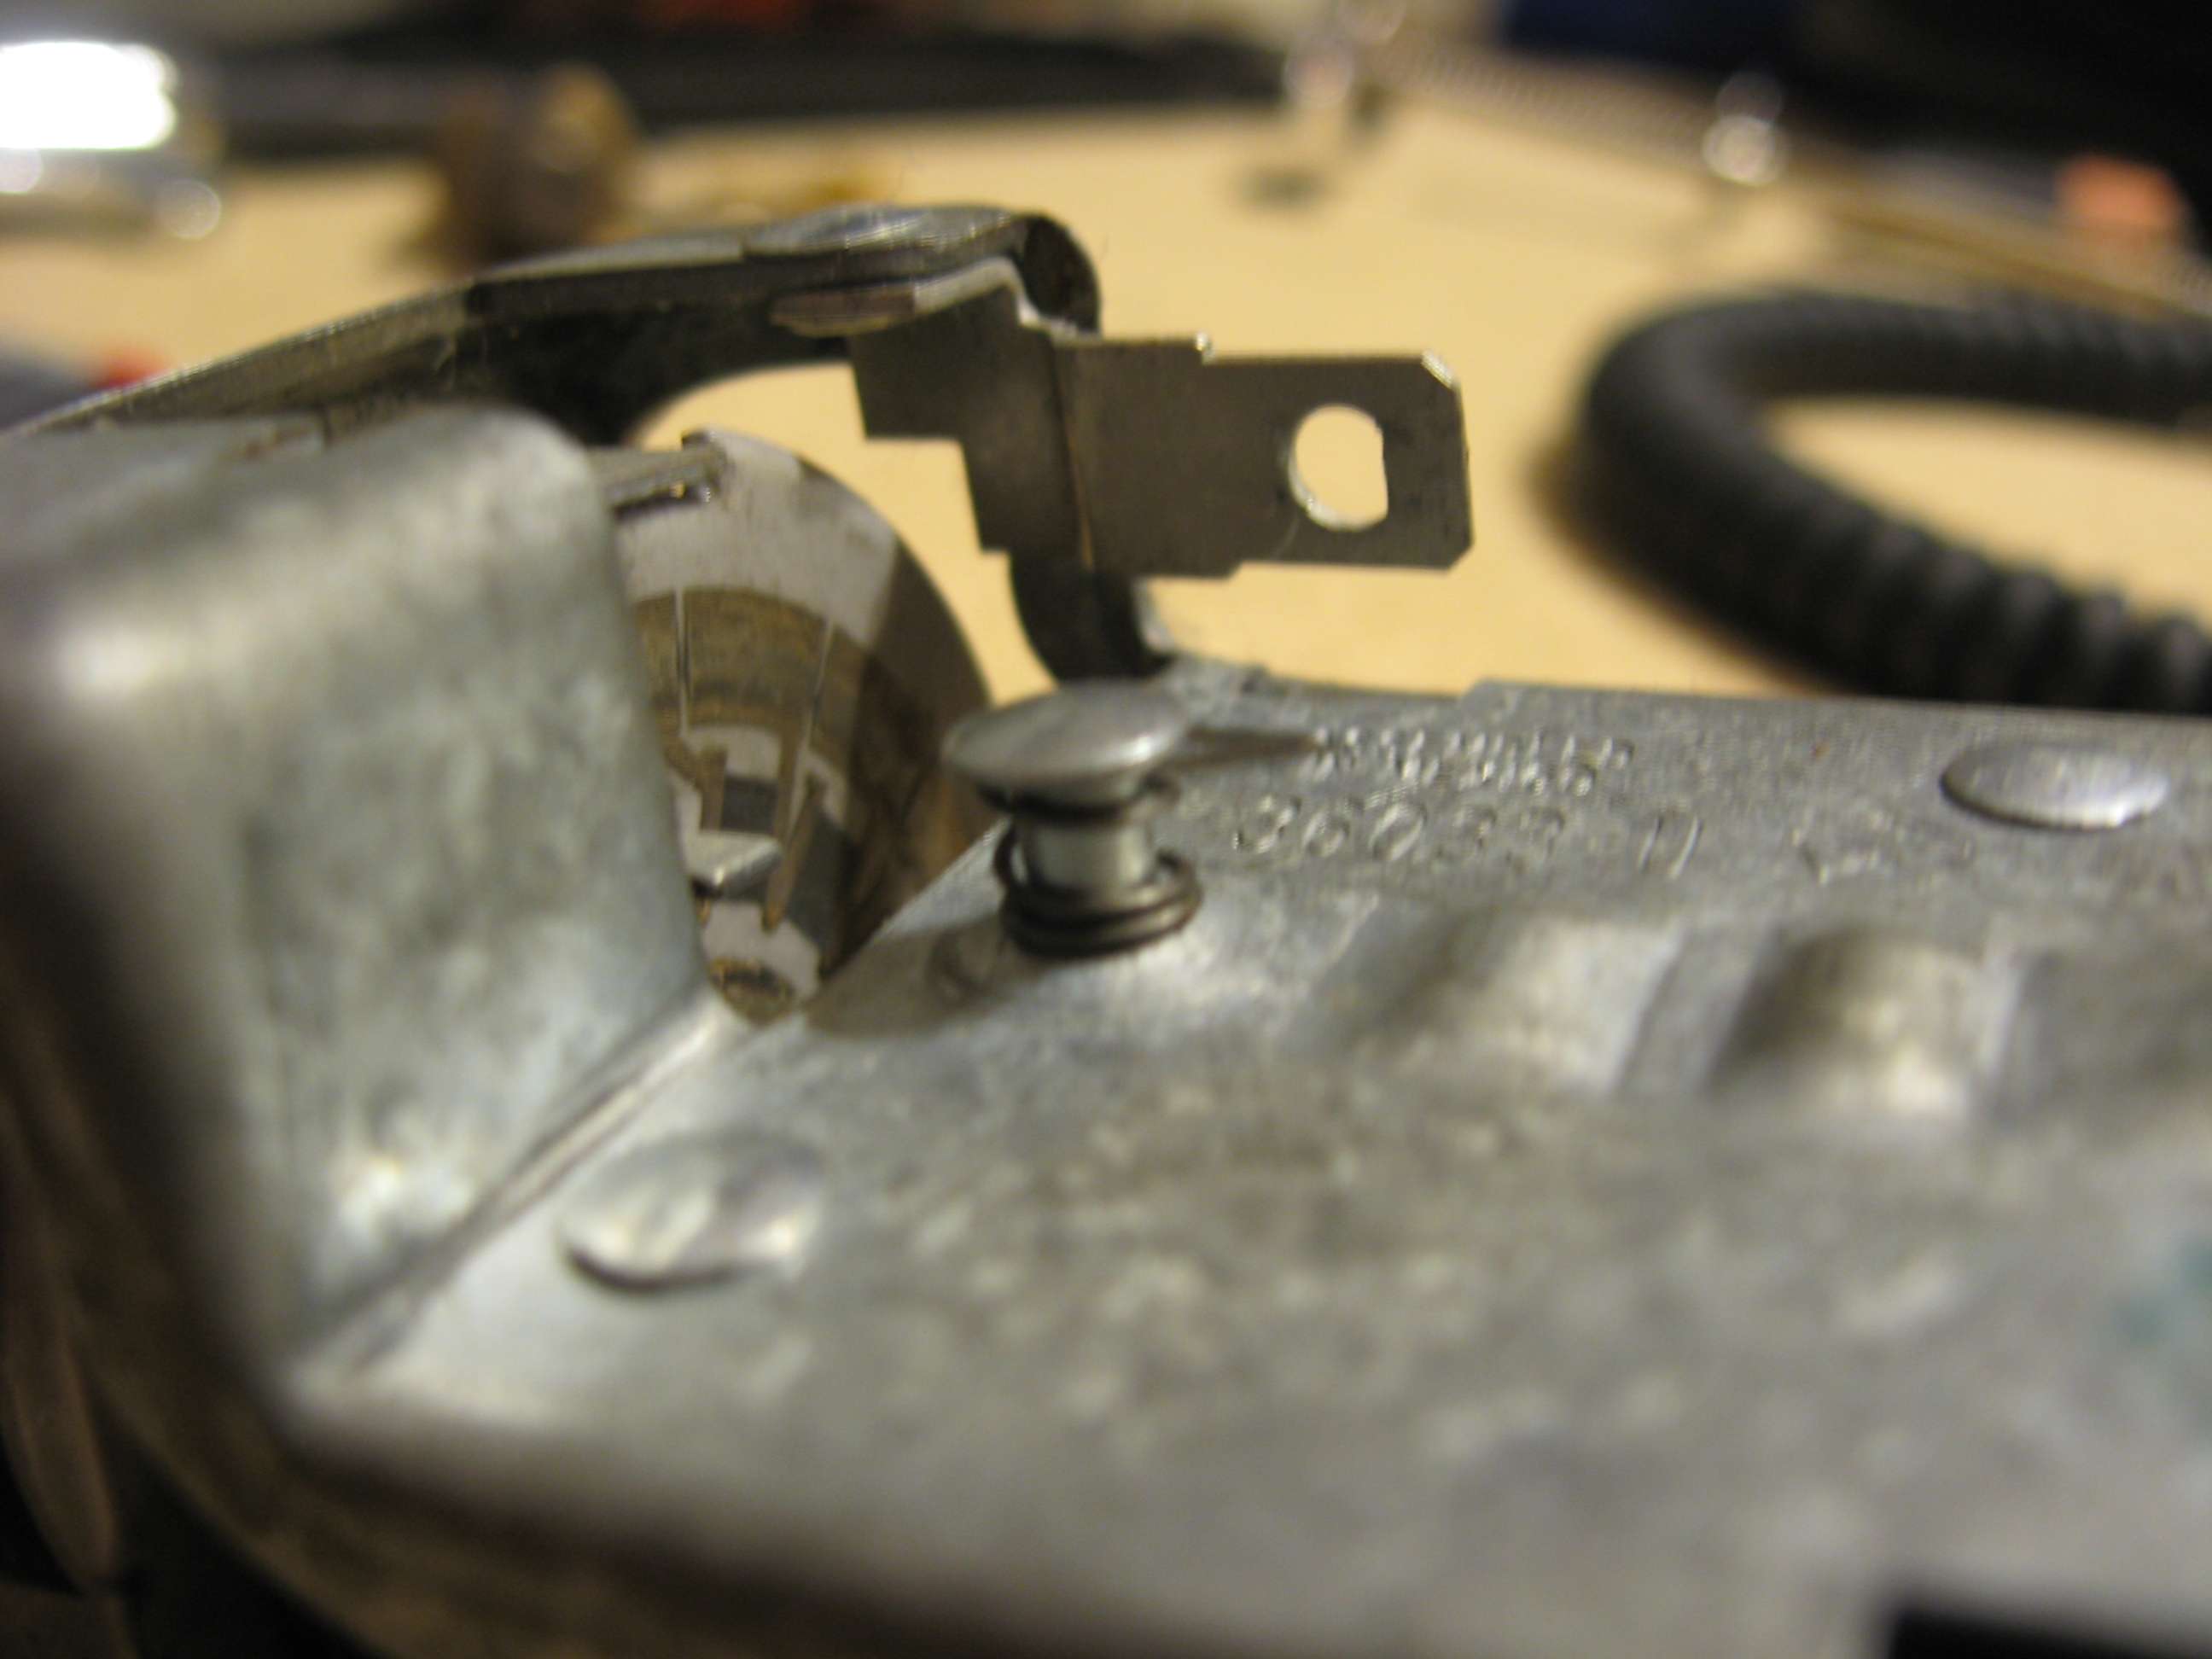
Its spring loaded, and acts as a keeper to prevent the switch's plunger from coming out of the dash when you pull on it. It may take some wiggling and finagling to get it to happen, and you MAY need to pull kind of hard, it may also help to do it in stages, mine took holding the button down, pulling the plunger, releasing the button pulling again, pushing the button, and pulling a couple more times. The rod of the switch is triangular so it may require you to turn it back and forth while you pull it.
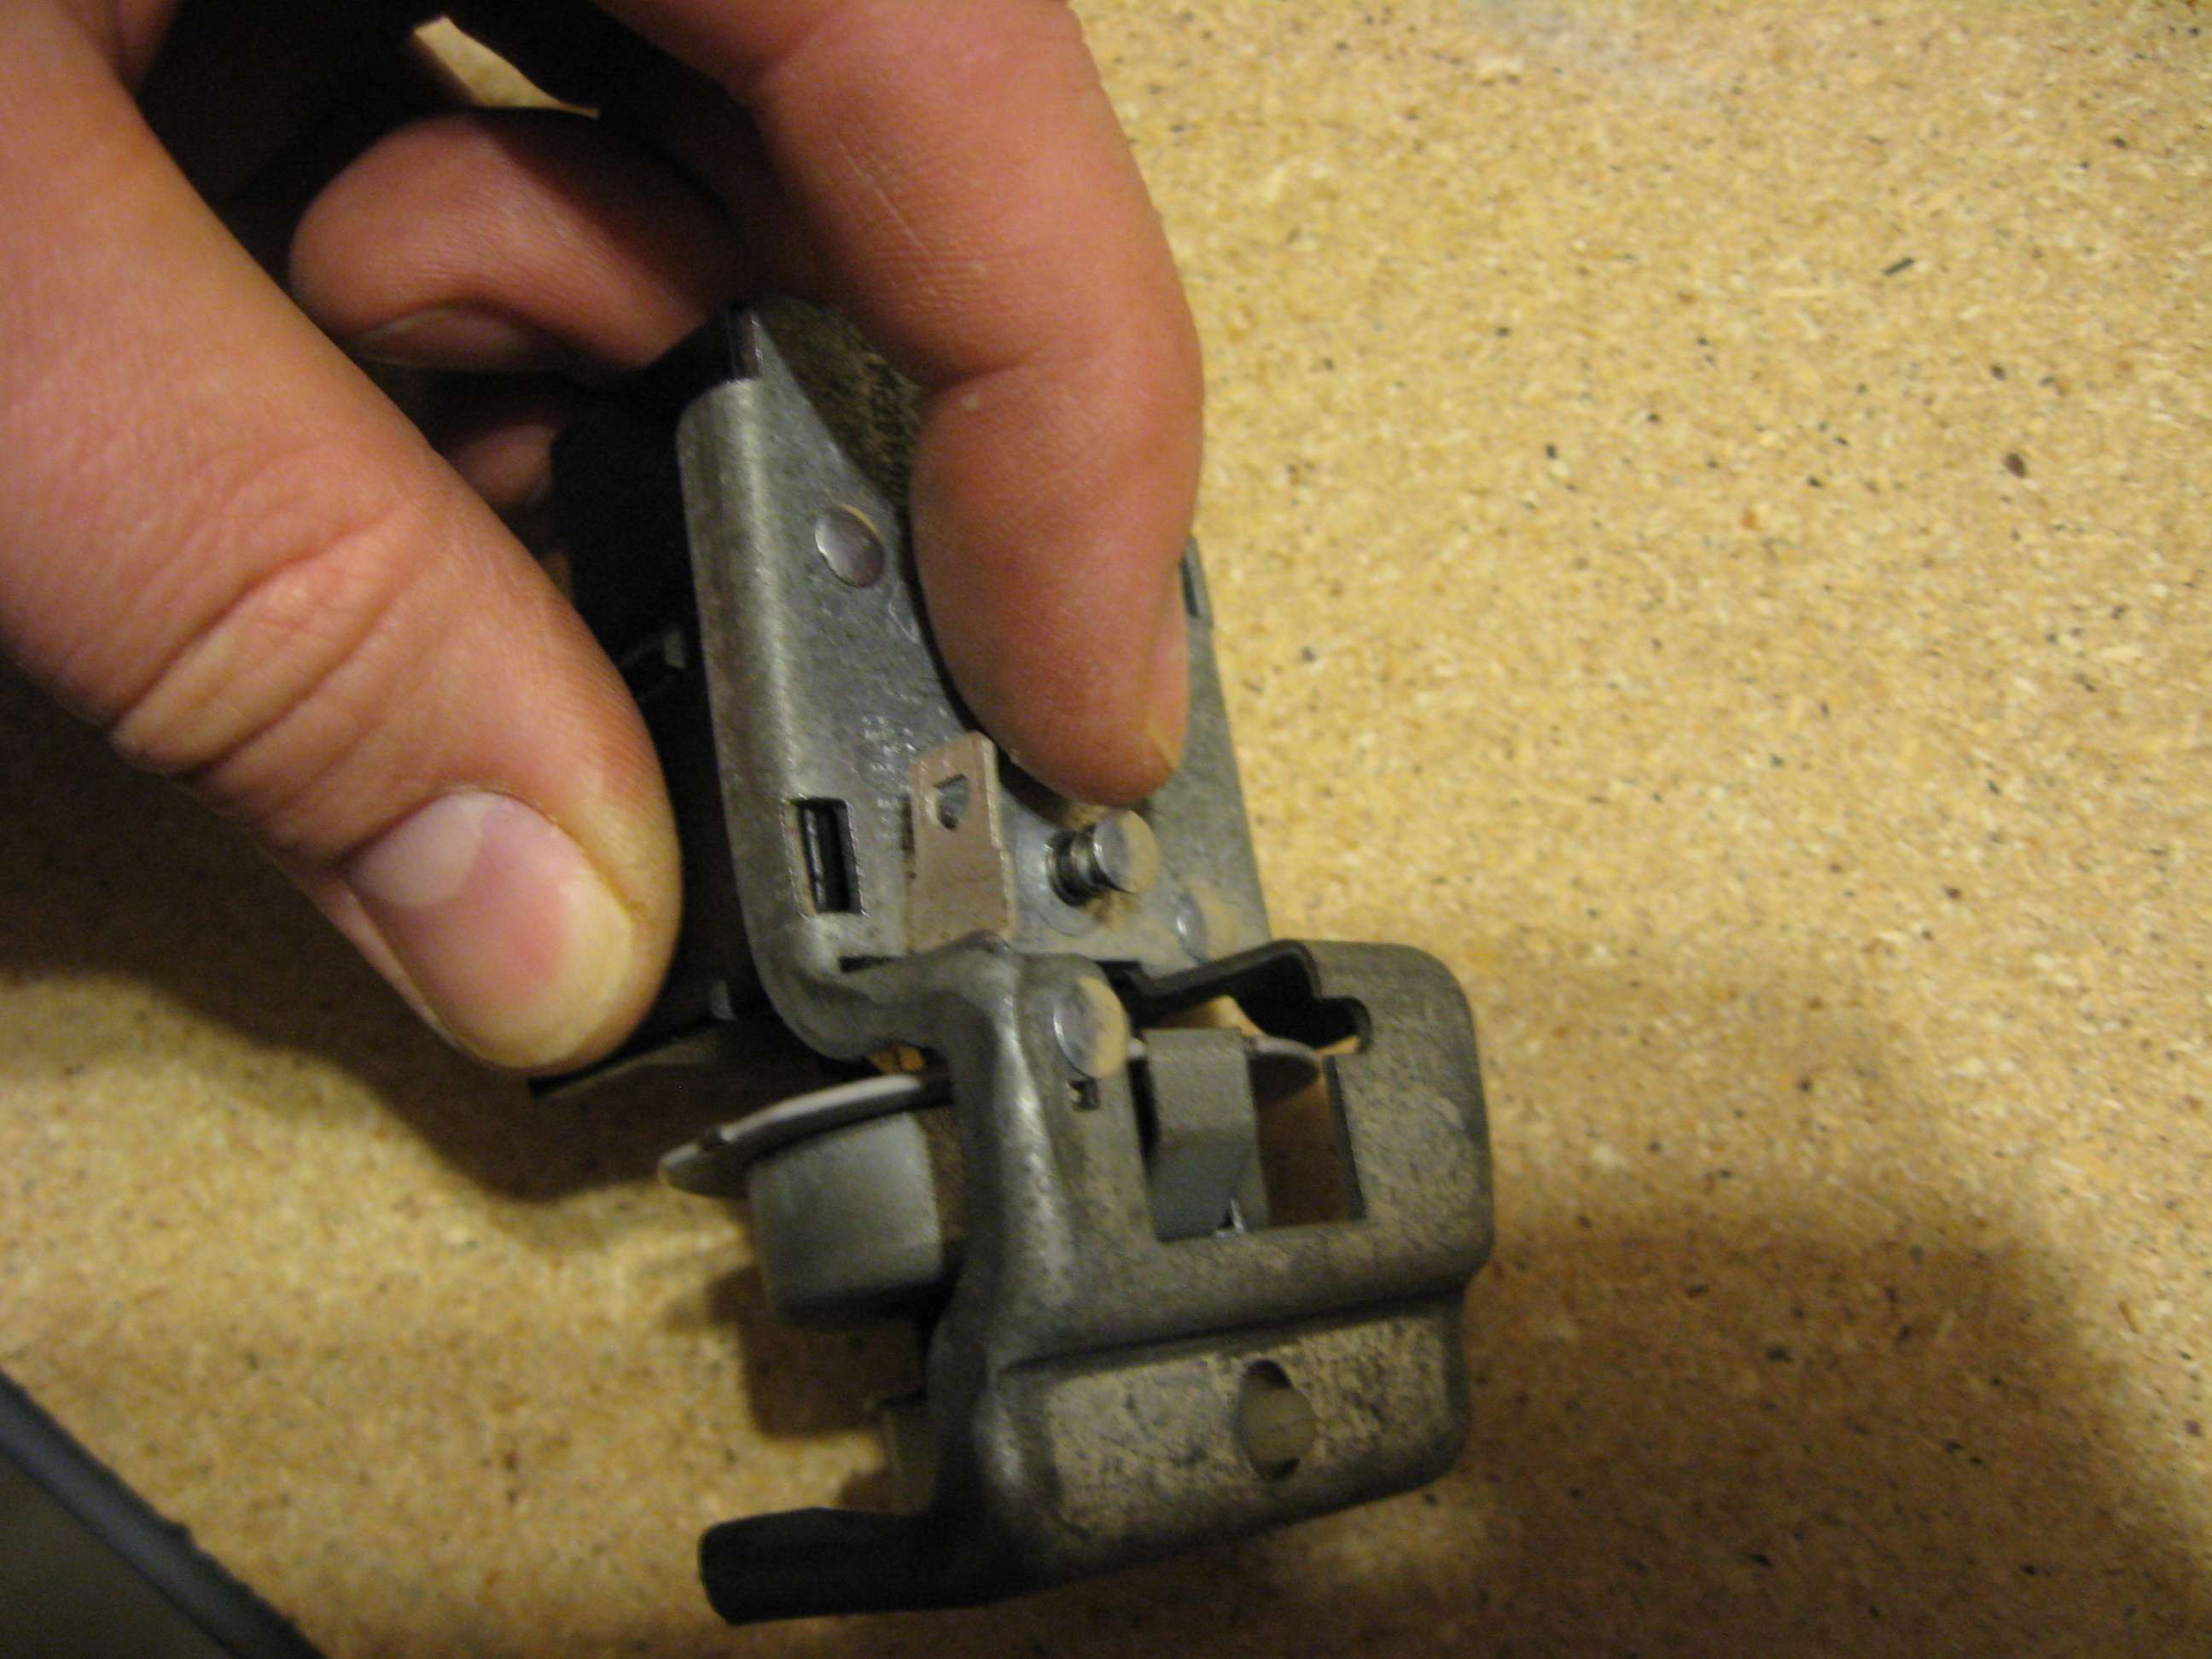
-Once the plunger is out, you'll need to unscrew the threaded nut that holds the switch onto the dash. This can be done in most cases with your fingers, but its designed in such a way that a larger flat head screw driver, or a set of pliers will work as well. Several turns and the switch is loose and out.
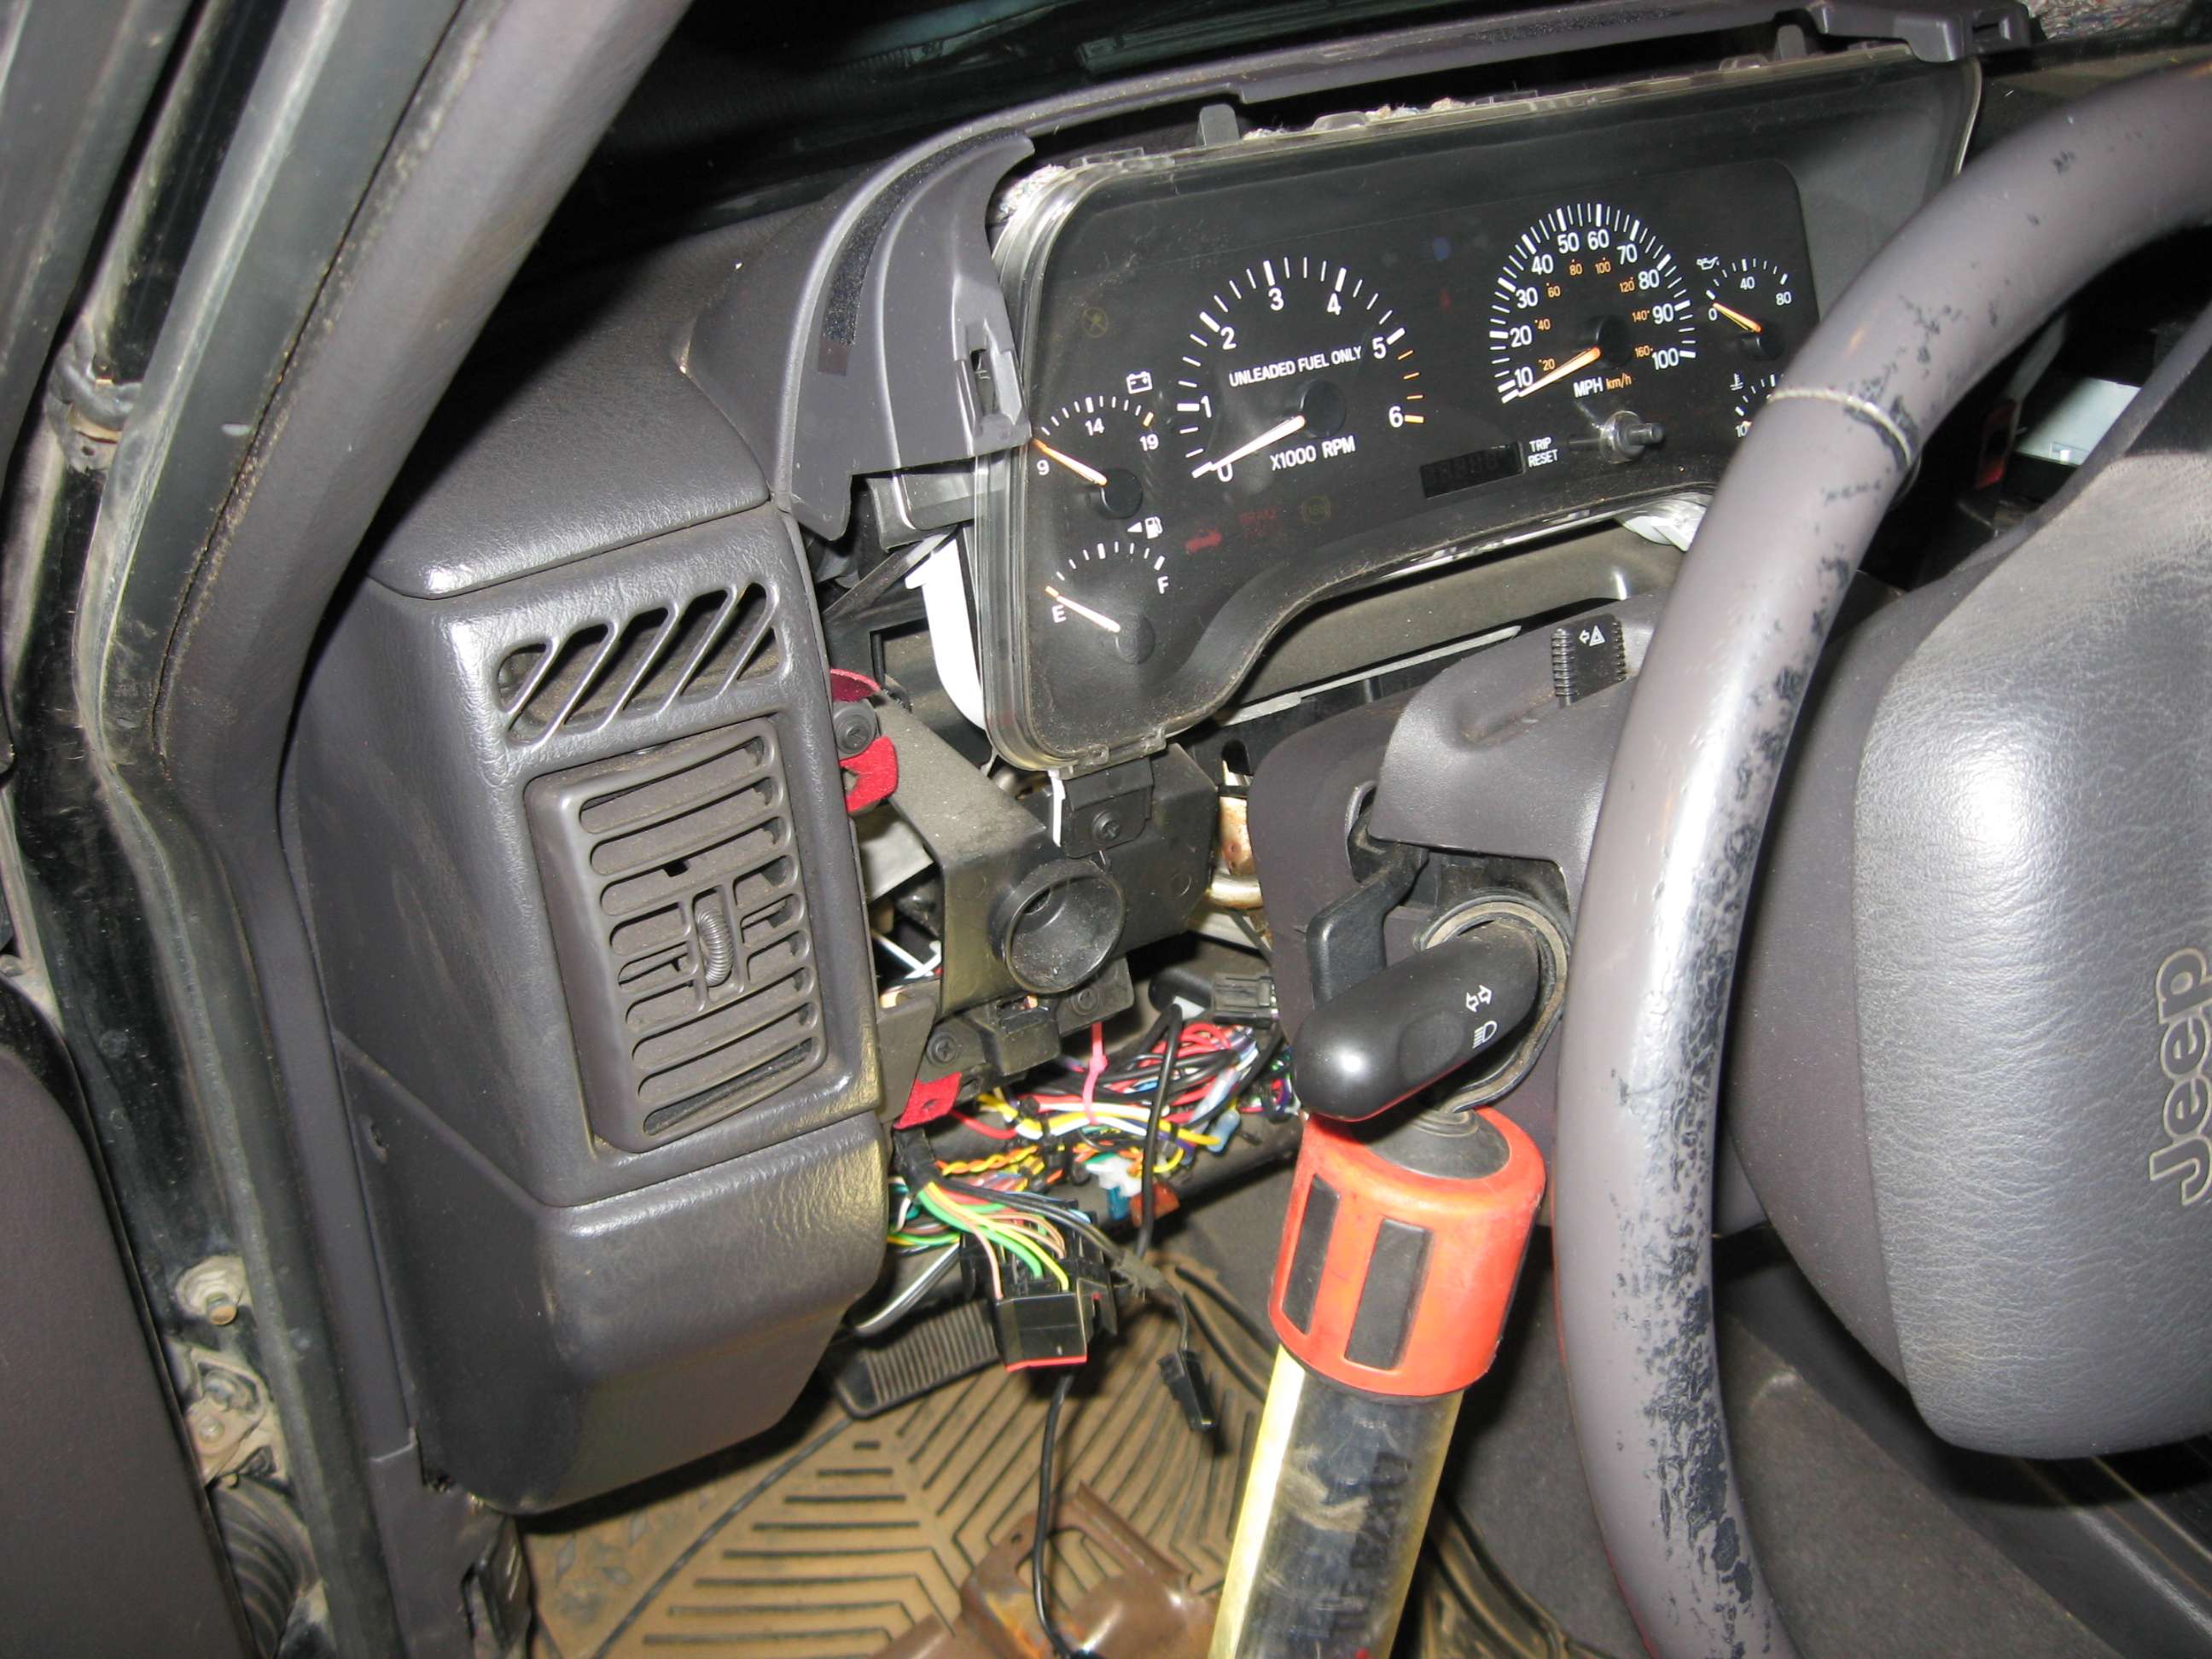
(NOTE: in this pic you'll see that the upper portion of the dash trim is removed, it is not necessary to do so for this job, I had it off to do other things at the same time - replacing instrument cluster lights.)
Disconnect the main harness and the smaller secondary harness (two black wires) from the switch housing. You're now ready to start the rebuild.
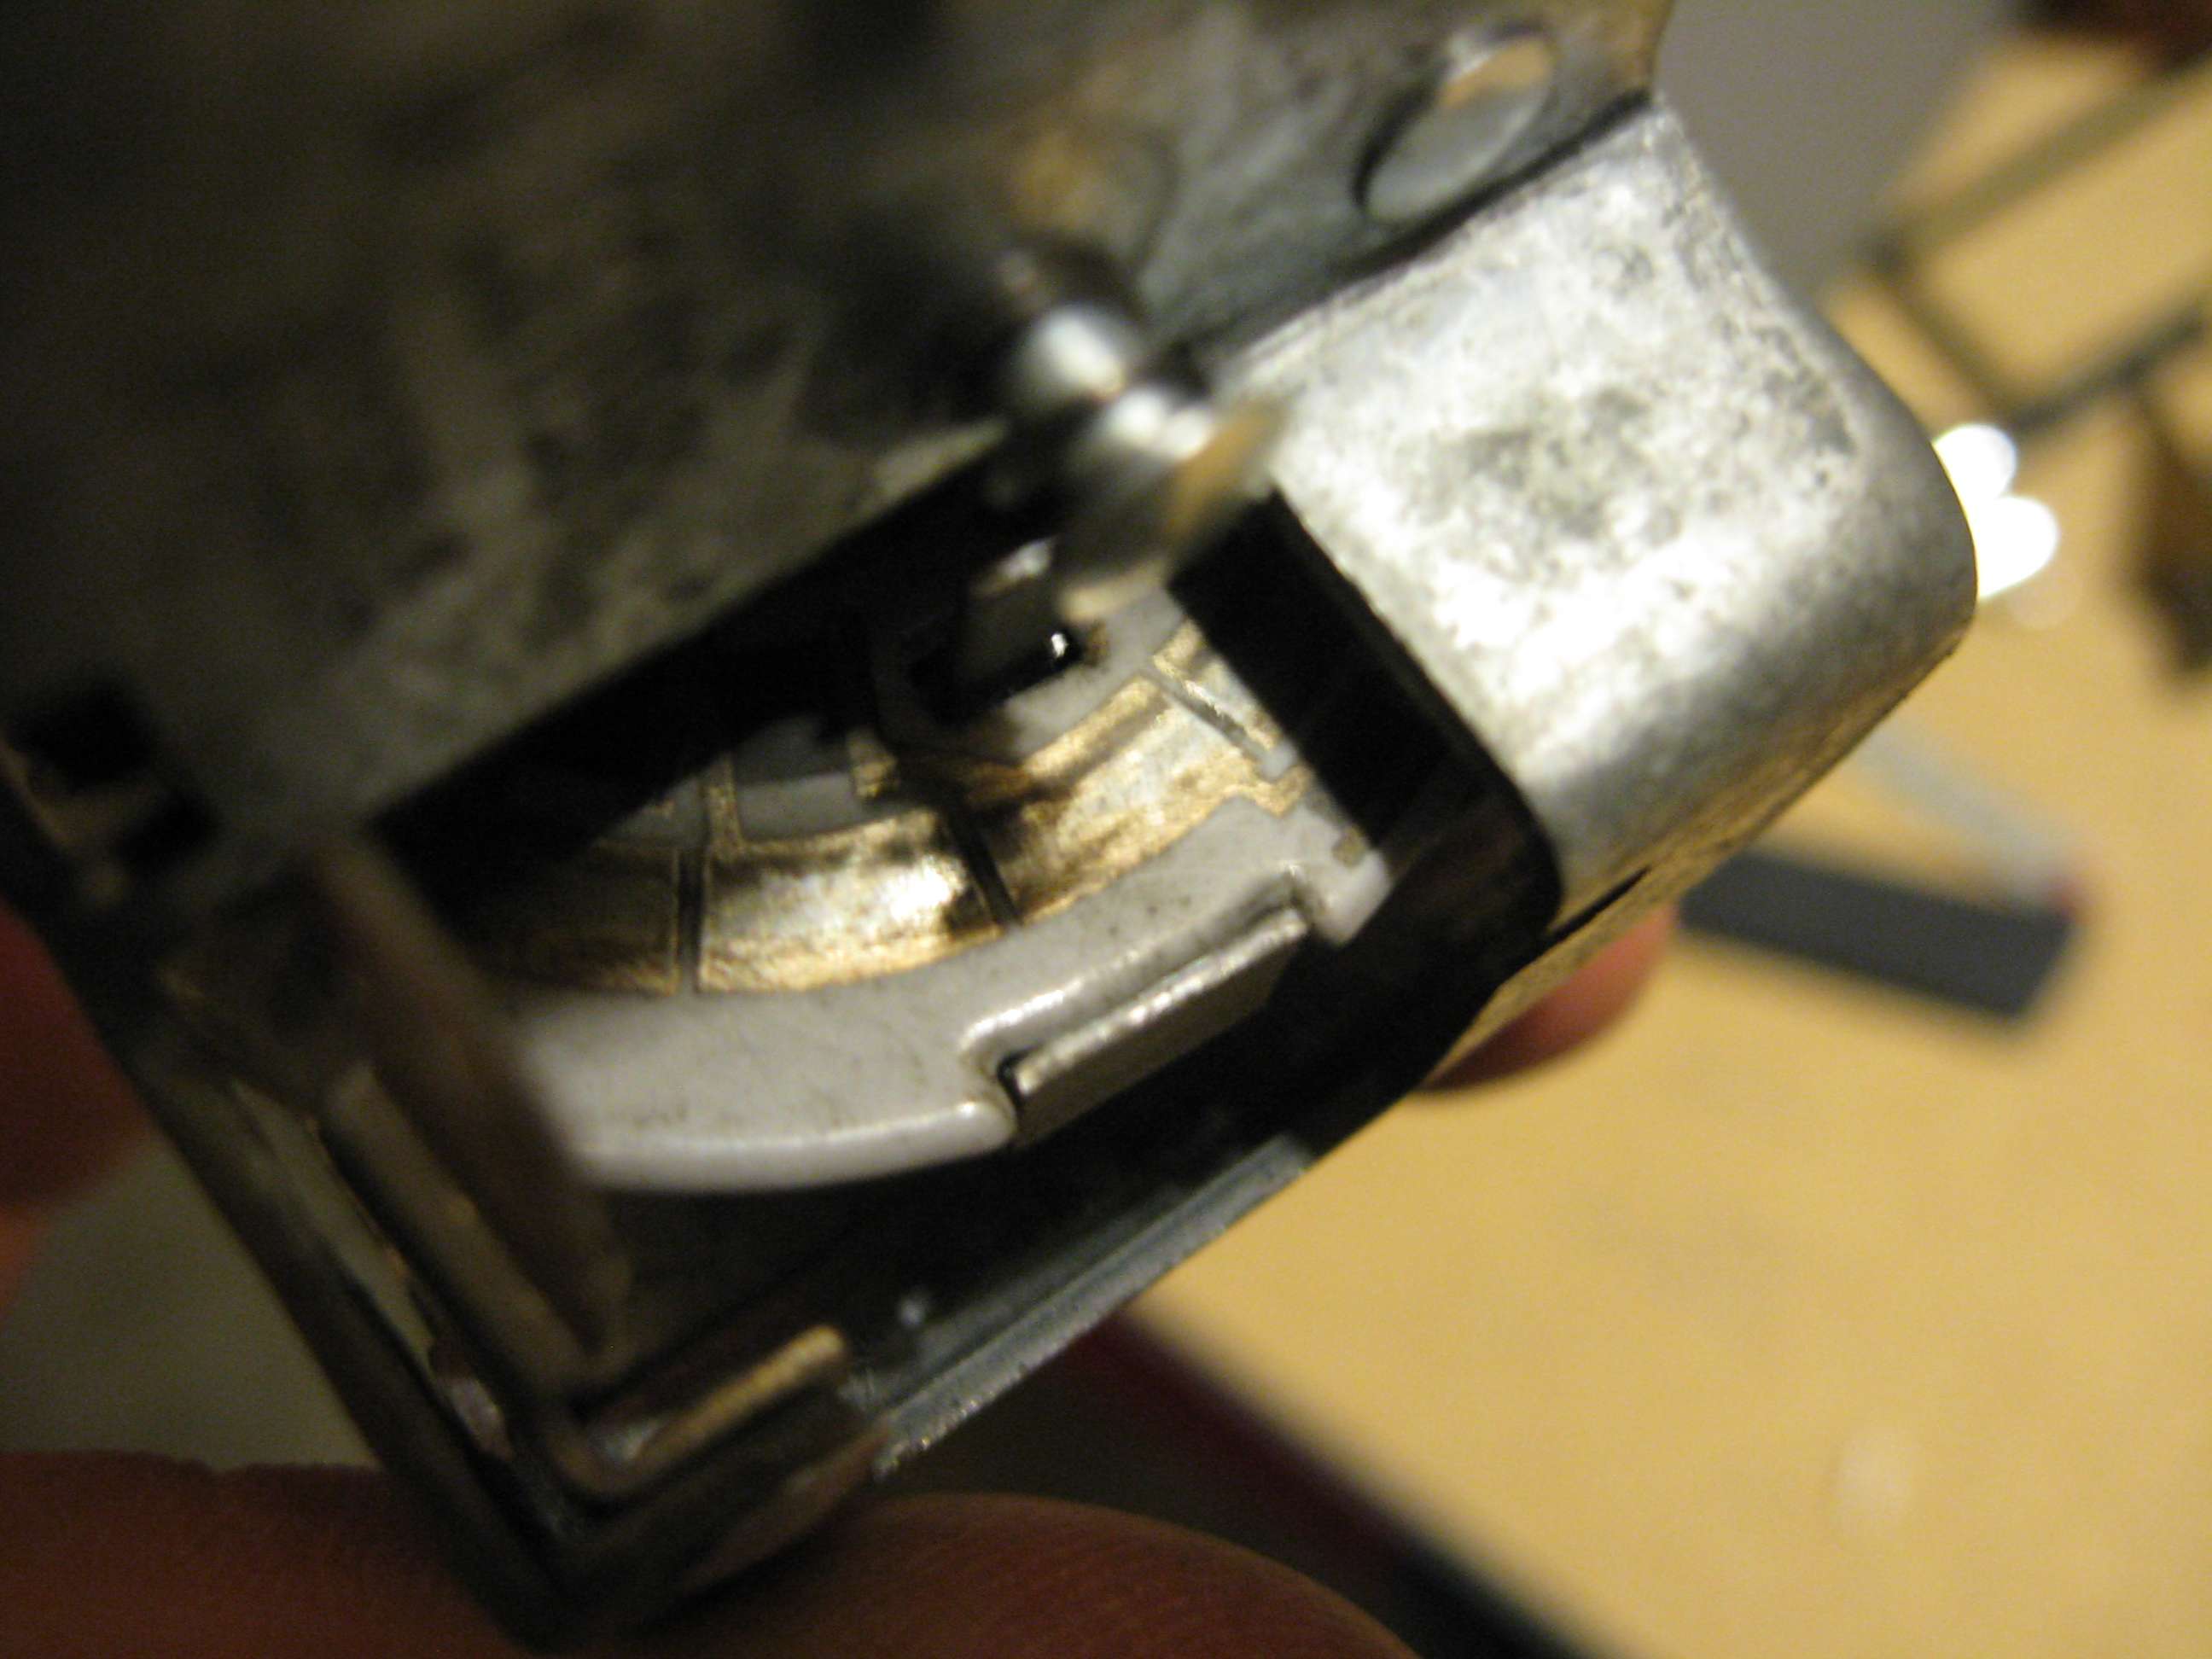
The switch is a rotating assembly that uses a stationary contact to complete a circuit through a series of contacts on a disc.
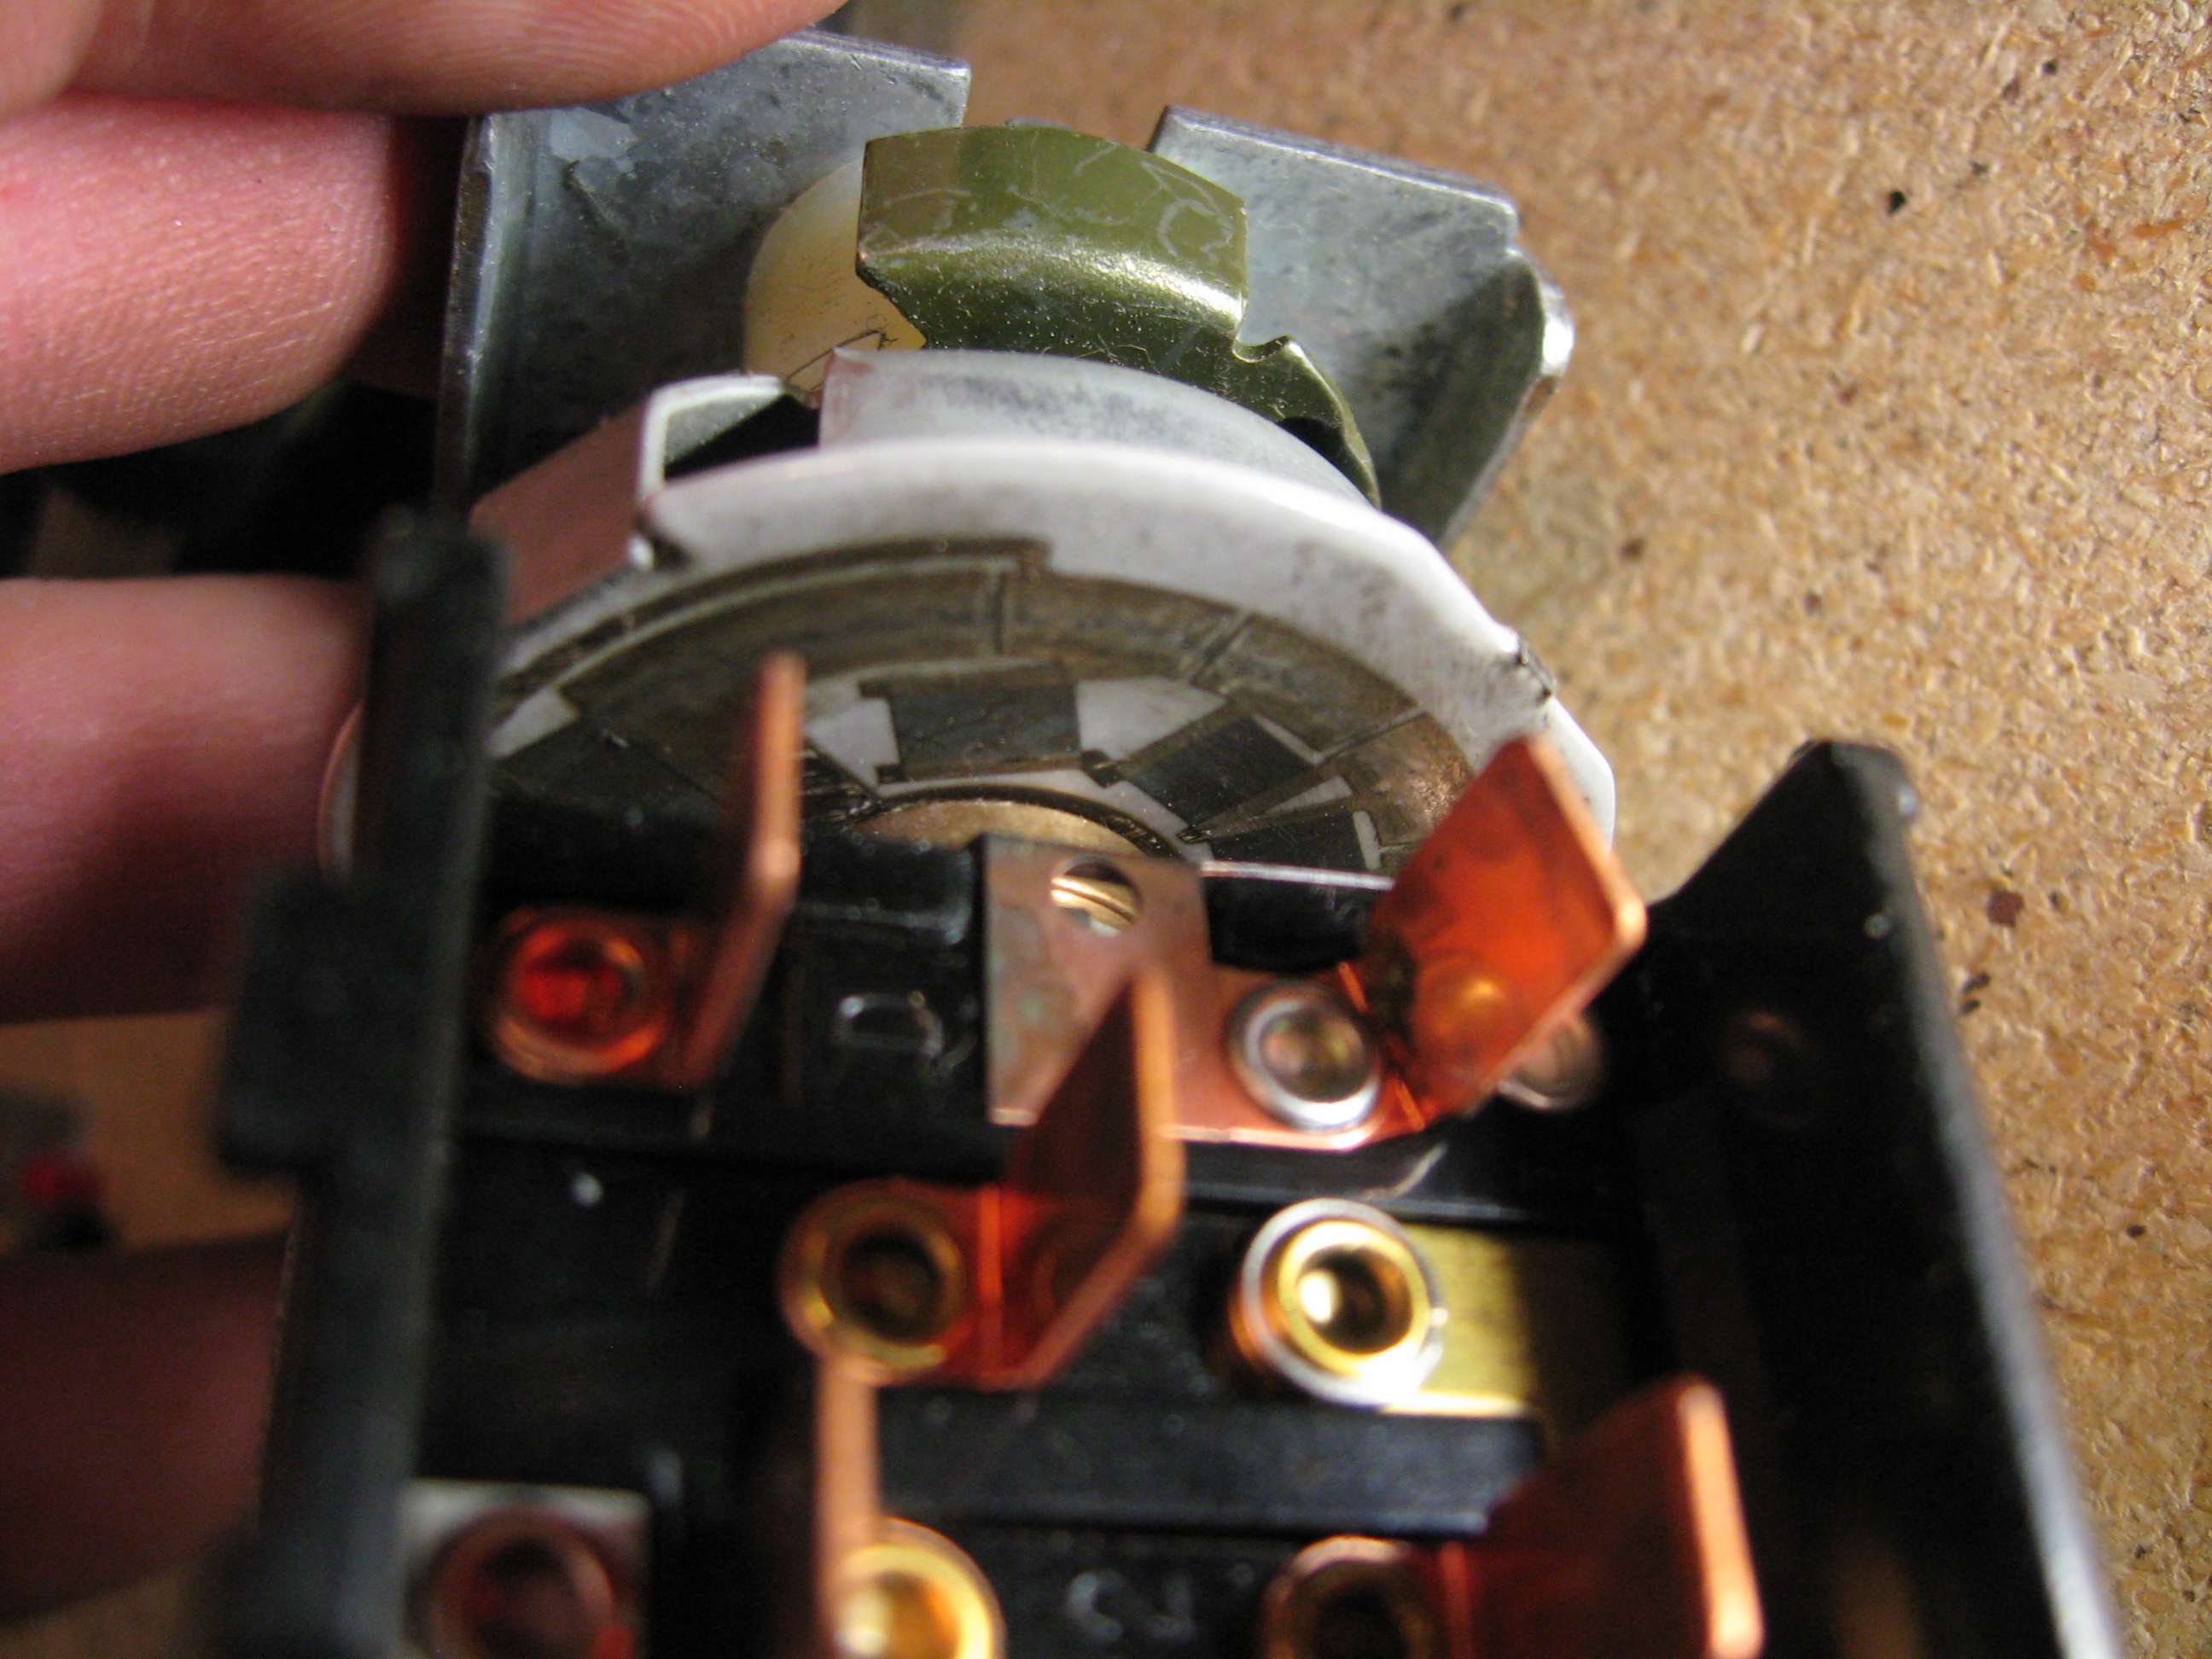
Over time debris builds up on or around the contacts, and the contacts themselves will oxidize and corrode. This of course limits or prevents continuity, and will present problems such as dimming your dash lights, or having "dead spots" in the switch when trying to do so, etc....
Here's a closer look at the disk and its contact patches. This is looking at it from the right side of the switch, you'll notice the little detent button that locks the plunger into the switch here again.
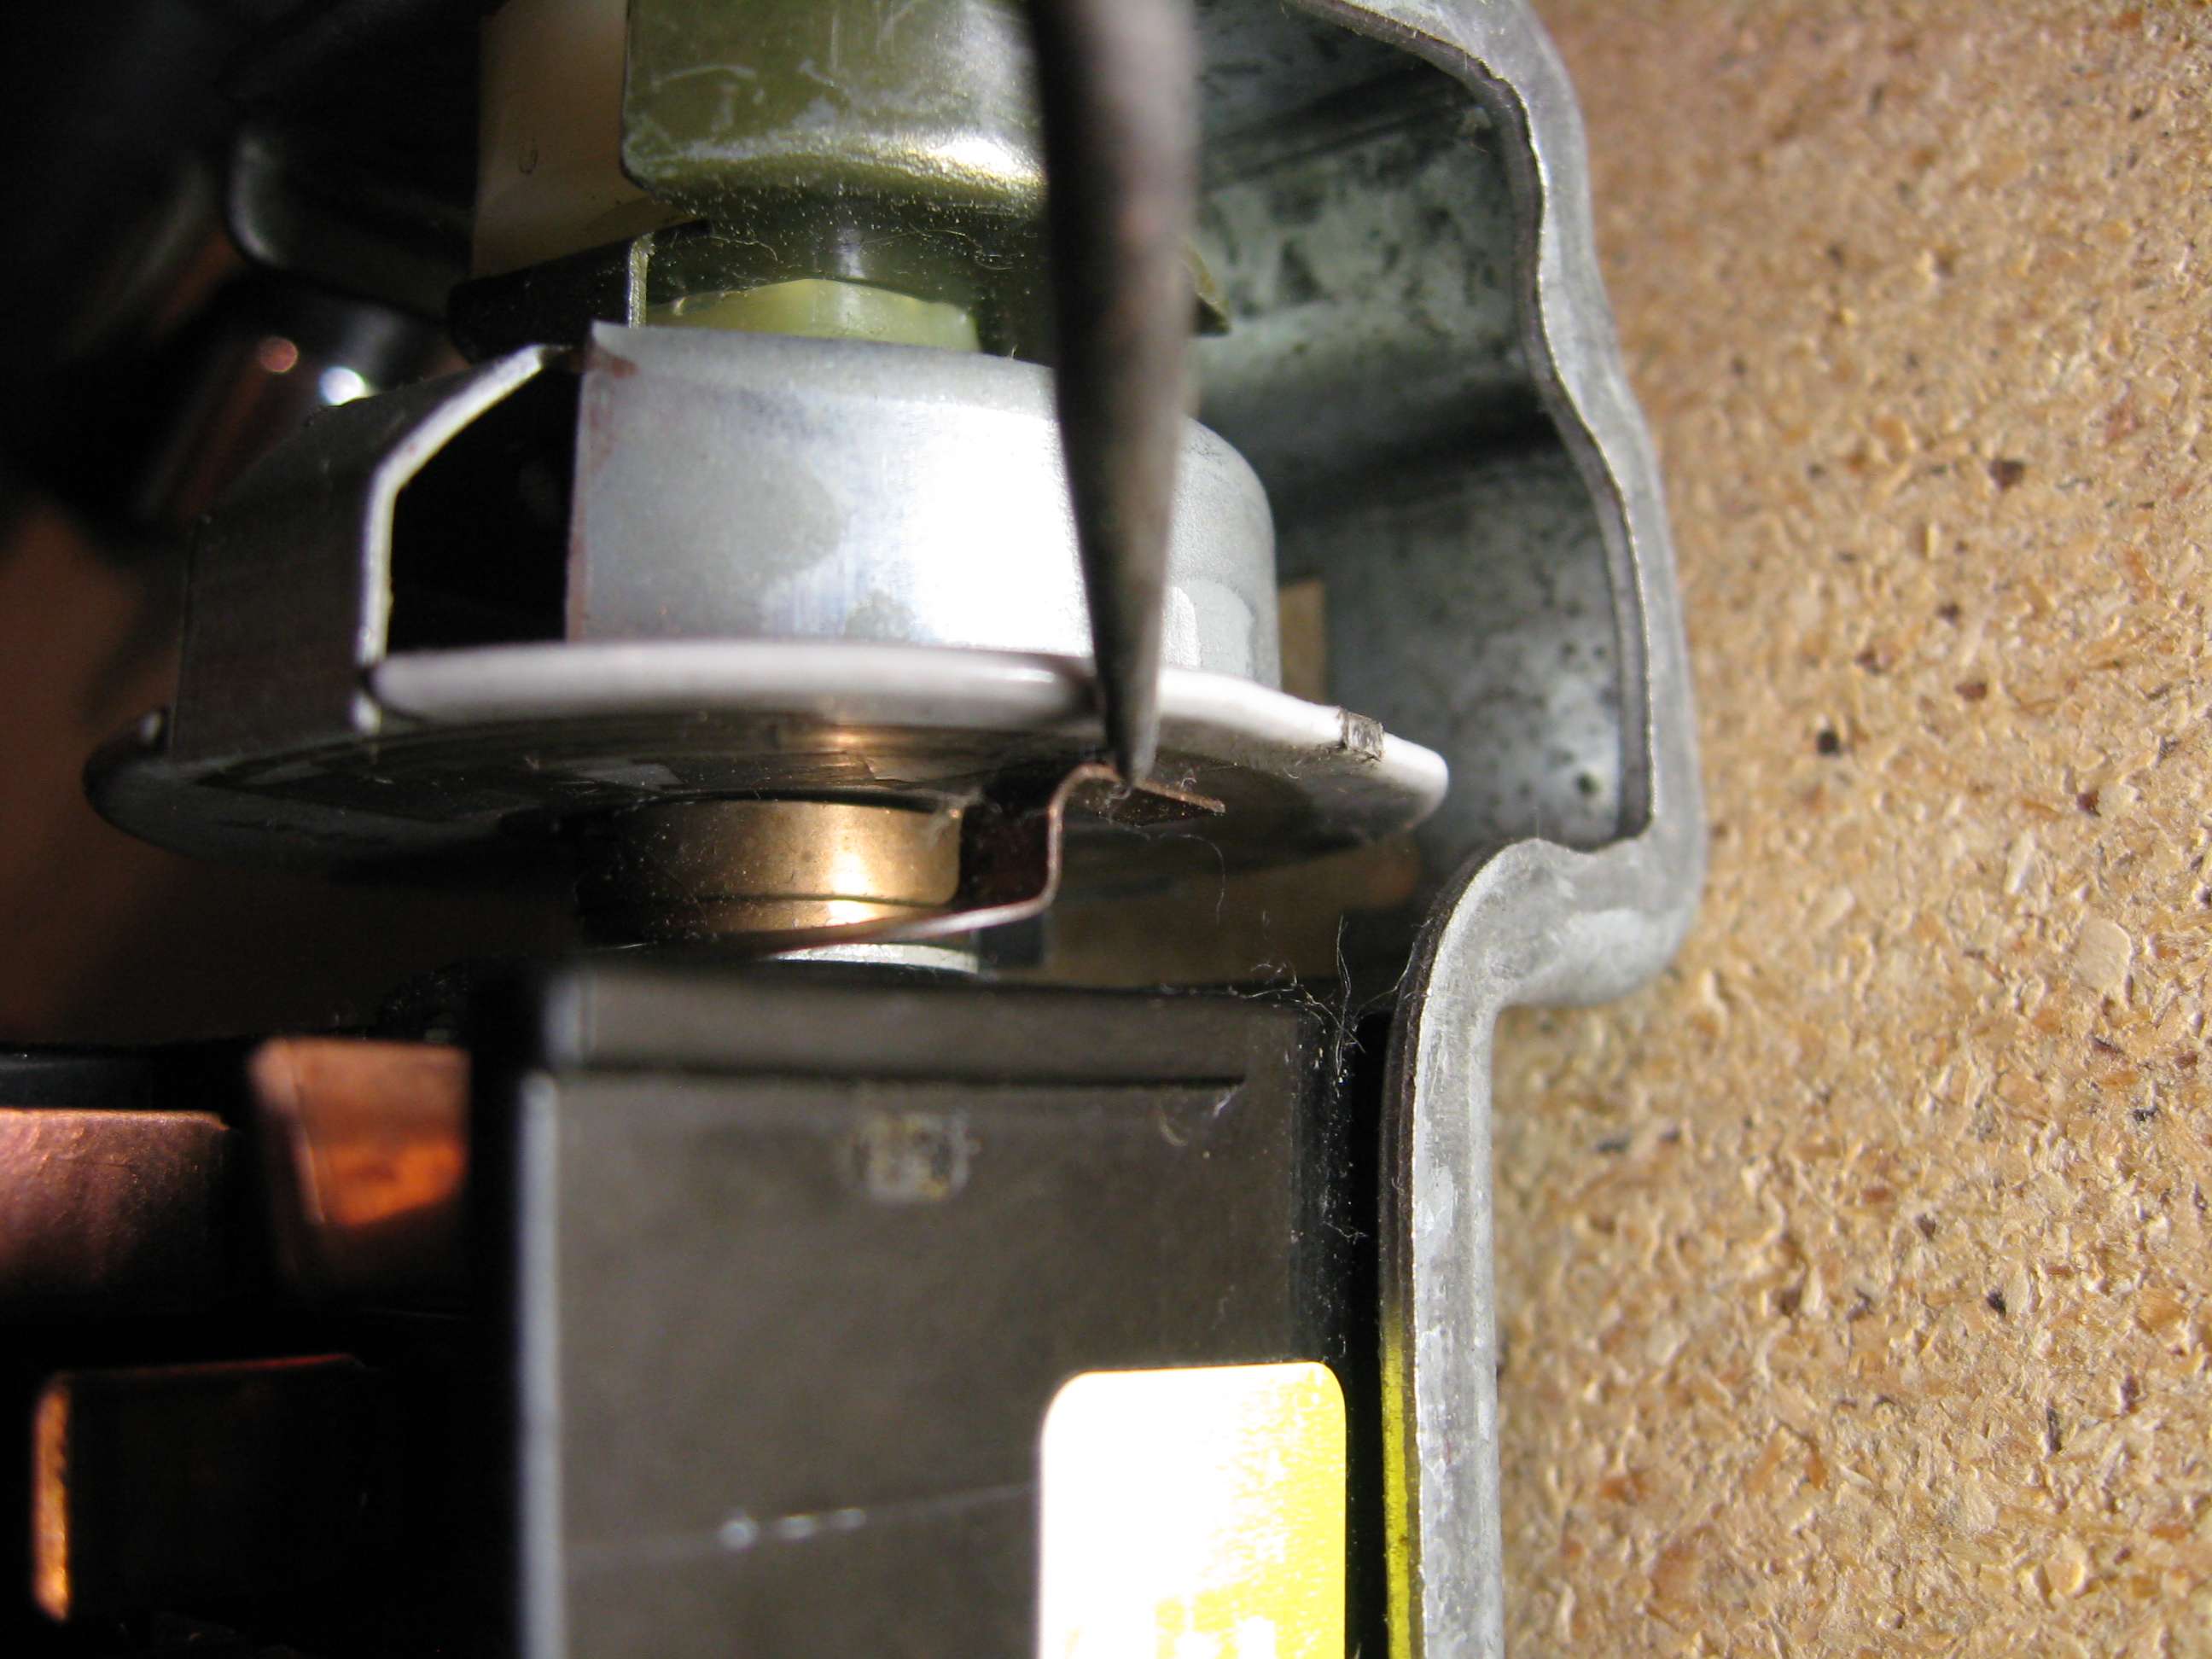
Here we see the main stationary contact arm that engages the contacts on the rotating disc. (I'm pointing at it with a pick tool in the next two pictures.) You'll also see a buildup of dust and lint.

Maybe your ability to dim them is gone altogether....
This may take care of your problems.
>
NOTE: It's always a good idea to do some simple trouble shooting before tearing into and disassembling things. CHECK YOUR FUSES.
>
This is a pretty simple process and can be done in a short period of time for someone familiar with taking things apart. No special tools are required, but having a decent selection of screw drivers is a good idea, and you may want to have a third hand around to help you at one point.
You'll also want to grab some Scotch Brite - we'll use this later.
-The first step is to get to the switch, we cant do this with it in the dash.
If you are afraid of draining your battery trying to do this (as your lights will be on until you disconnect the switch) you may opt to disconnect your battery before getting started.
-First remove the knee panel - this is the part that's below the steering column. There's three screws on the bottom that hold the plastic on, and two spring clips at the top. This will expose the steel knee guard. Two screws will remove this. This will give us access to the back of the switch.
-Next is to remove the plunger, this is the part that you actually pull/push on to turn the lights on off. There is a button that is on the right side of the switch, reach up into the dash and push on this little button.


Its spring loaded, and acts as a keeper to prevent the switch's plunger from coming out of the dash when you pull on it. It may take some wiggling and finagling to get it to happen, and you MAY need to pull kind of hard, it may also help to do it in stages, mine took holding the button down, pulling the plunger, releasing the button pulling again, pushing the button, and pulling a couple more times. The rod of the switch is triangular so it may require you to turn it back and forth while you pull it.
-Once the plunger is out, you'll need to unscrew the threaded nut that holds the switch onto the dash. This can be done in most cases with your fingers, but its designed in such a way that a larger flat head screw driver, or a set of pliers will work as well. Several turns and the switch is loose and out.

(NOTE: in this pic you'll see that the upper portion of the dash trim is removed, it is not necessary to do so for this job, I had it off to do other things at the same time - replacing instrument cluster lights.)
Disconnect the main harness and the smaller secondary harness (two black wires) from the switch housing. You're now ready to start the rebuild.

The switch is a rotating assembly that uses a stationary contact to complete a circuit through a series of contacts on a disc.
Over time debris builds up on or around the contacts, and the contacts themselves will oxidize and corrode. This of course limits or prevents continuity, and will present problems such as dimming your dash lights, or having "dead spots" in the switch when trying to do so, etc....
Here's a closer look at the disk and its contact patches. This is looking at it from the right side of the switch, you'll notice the little detent button that locks the plunger into the switch here again.

Here we see the main stationary contact arm that engages the contacts on the rotating disc. (I'm pointing at it with a pick tool in the next two pictures.) You'll also see a buildup of dust and lint.


