[FONT="]Write up and pictures on my Double Sanden mod:
One of the things I love about my XJ is the ability to take the whole family wheeling in comfort. I like the heater on in the winter and the AC blasting in the summer (at least on the way to the trail). For the past few years my on board air (OBA) has been a $50 4WheelParts compressor. Airing up my 37" MTRs at the end of the trail was bringing the poor girl to her knees... Time to add a second [/FONT][FONT="][FONT="]Sanden AC compressor [/FONT]converted a to OBA!!
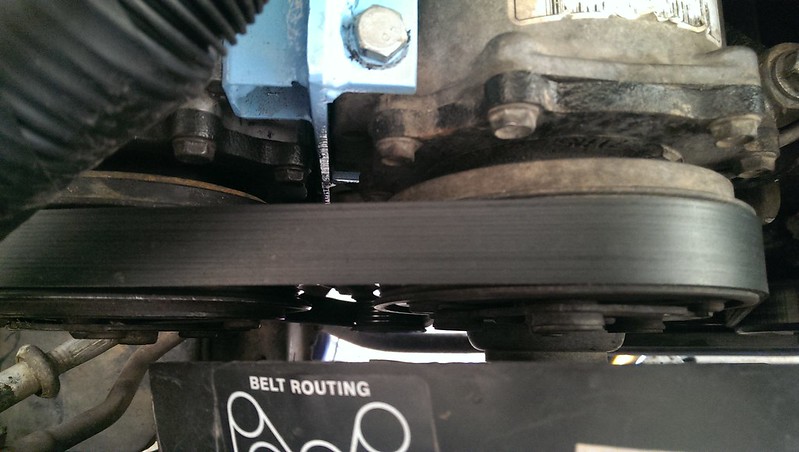
Quick background for those who may be unfamiliar: AC Compressors for the XJ are made by Sanden. They compress Freon for your AC system but can be converted to compress ambient air to use for your air lockers, airing up tires or anything else you want to use air for on the trail. The Sanden SD709 is rated around 9 CFM at 40 PSI!! (That's better than my 1.5 HP 3 Gal compressor sitting in my garage...) So with a Sanden compressor converted to OBA and a small air tank you can expect to be able to use air tools on the trail. (Some people go so far as to call this mod "endless air")
Alright, so that's the why, lets get to the HOW!
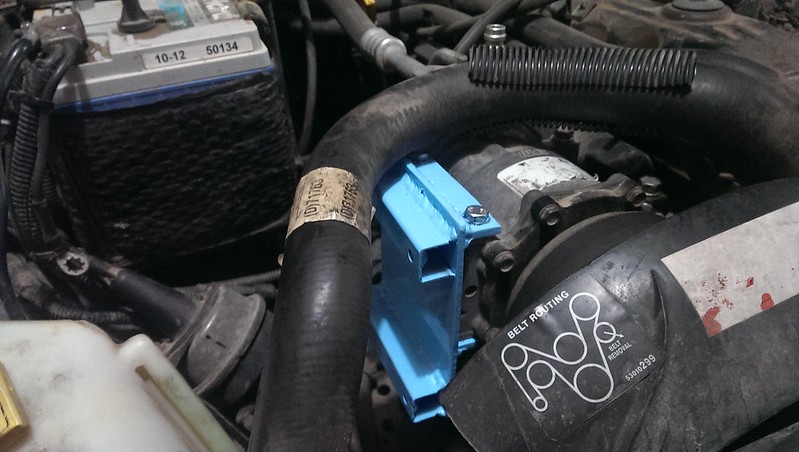
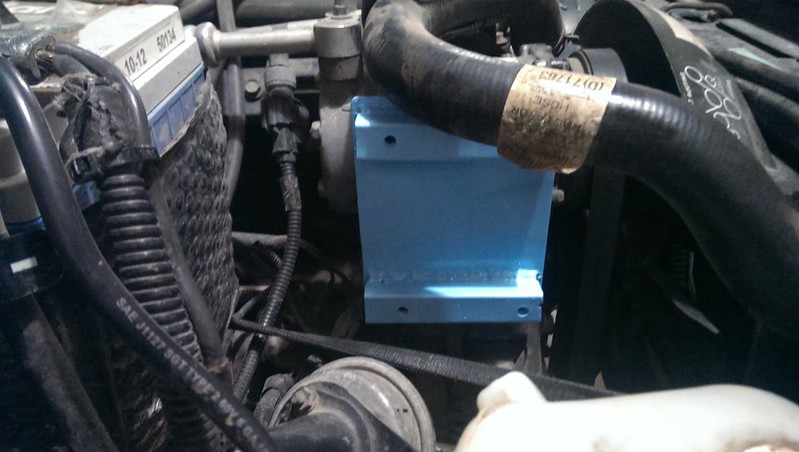
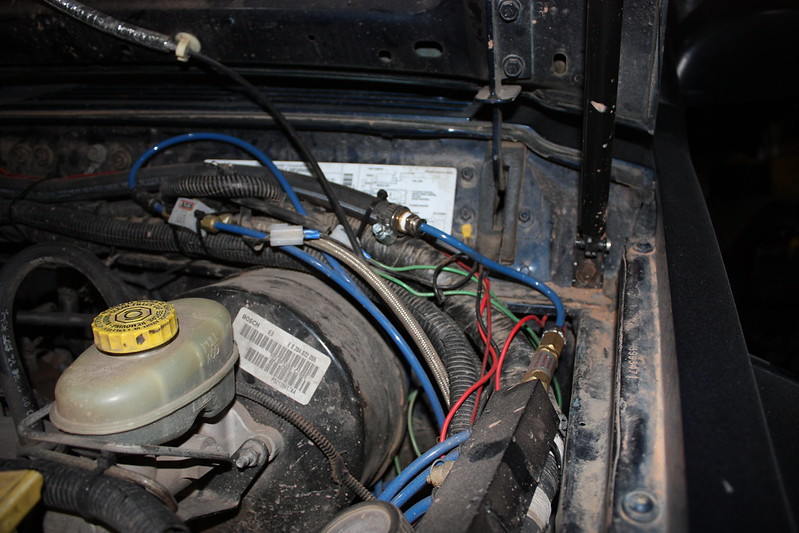
First, my Sanden mod has been in "progress" for a while now :sad1: ... it started last year when I relocated my battery to make room in the location I wanted to put the 2nd Sanden (read about that in my build thread, scroll to post 29.)
So with the room under the hood it was time to shop for a compressor – off to the Pick-N-Pull!!
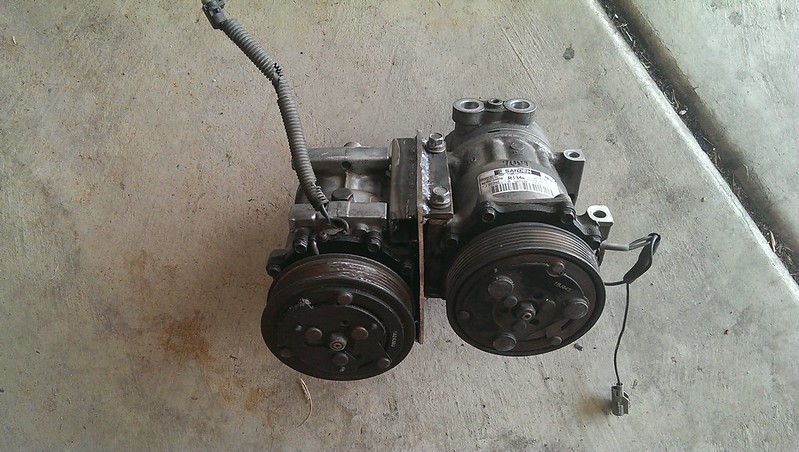
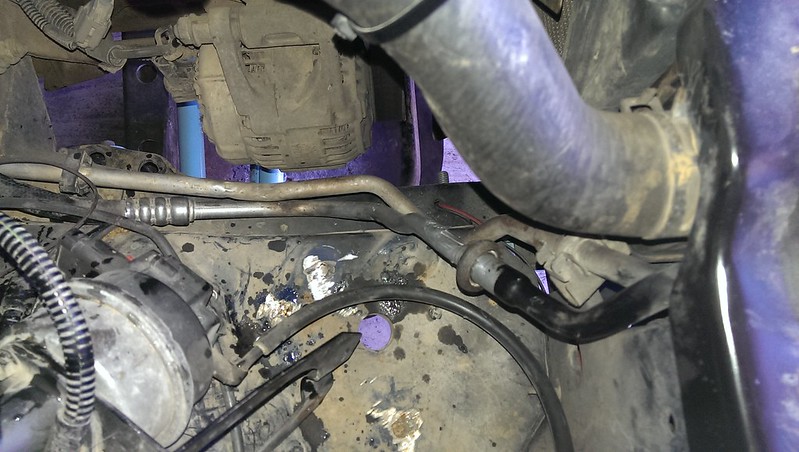
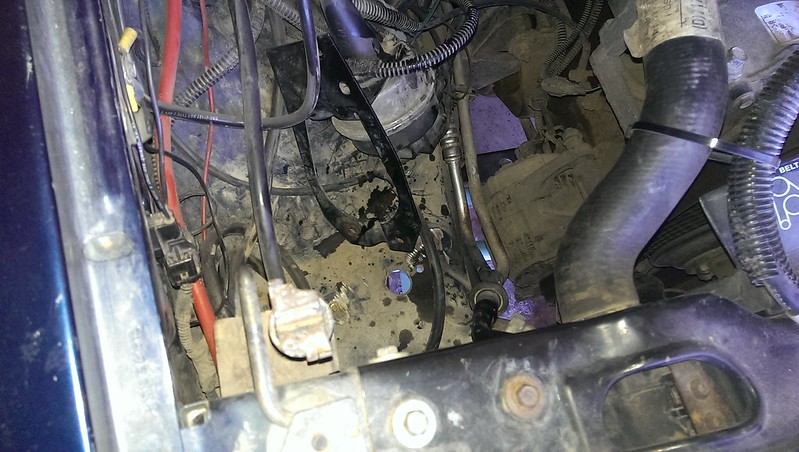
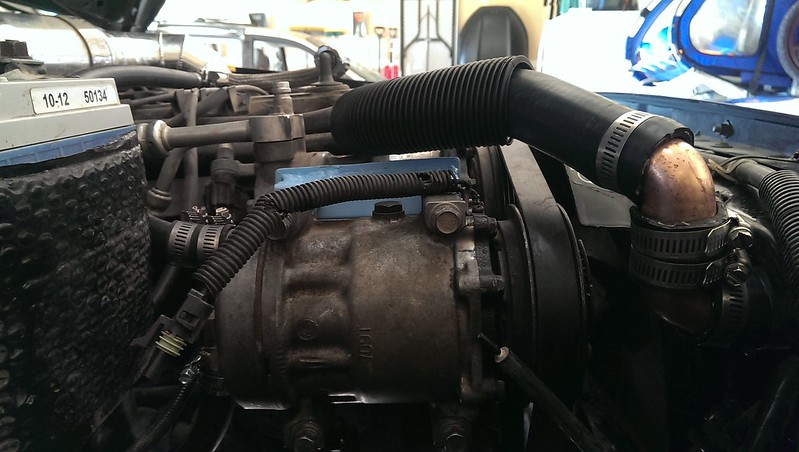
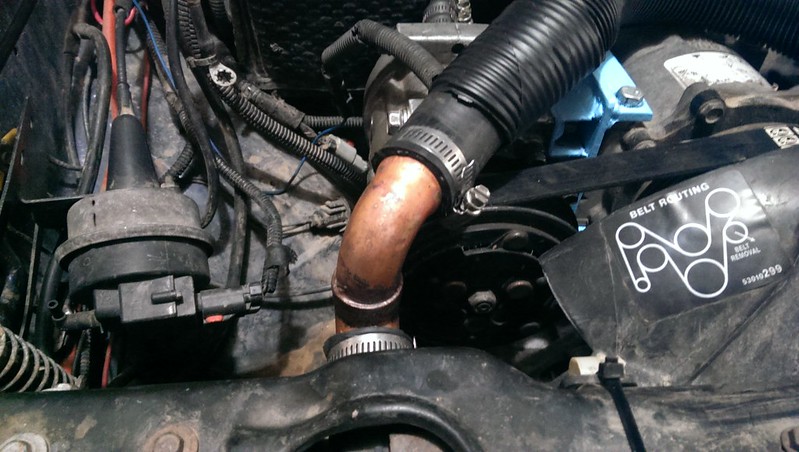
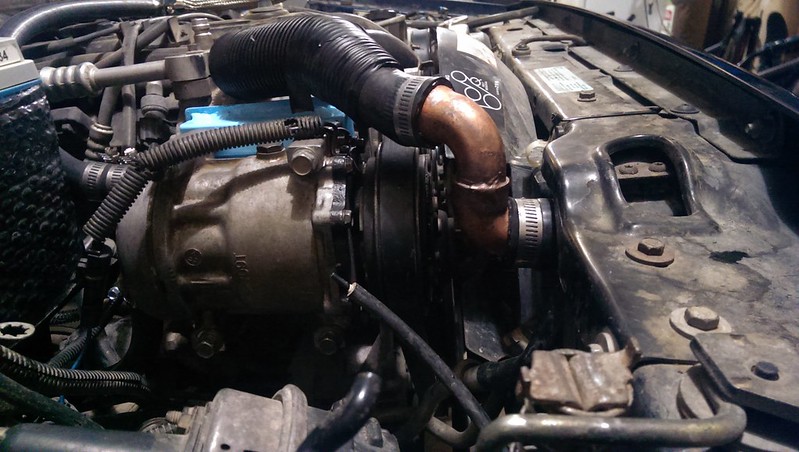
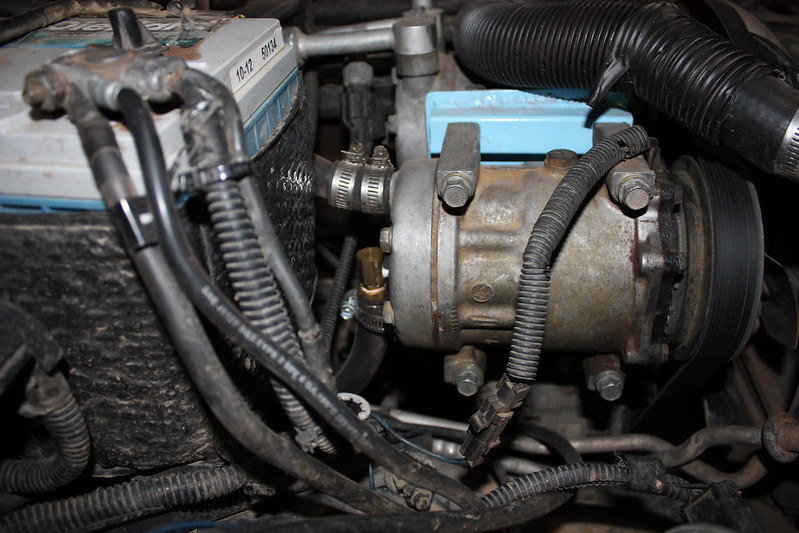
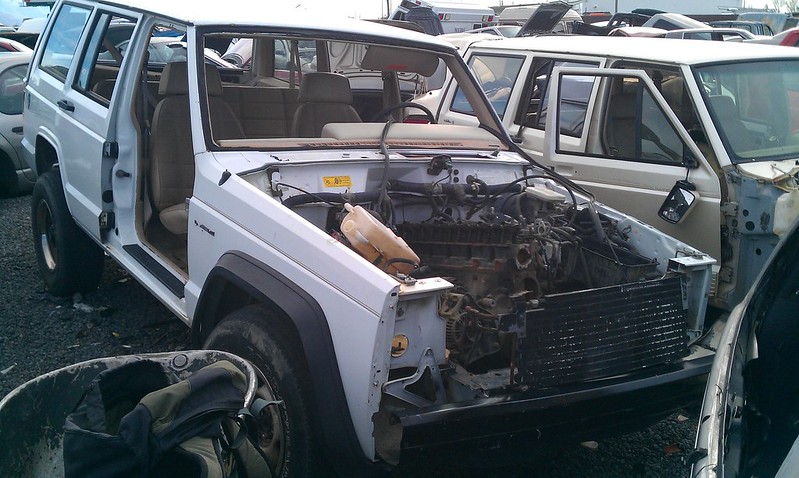
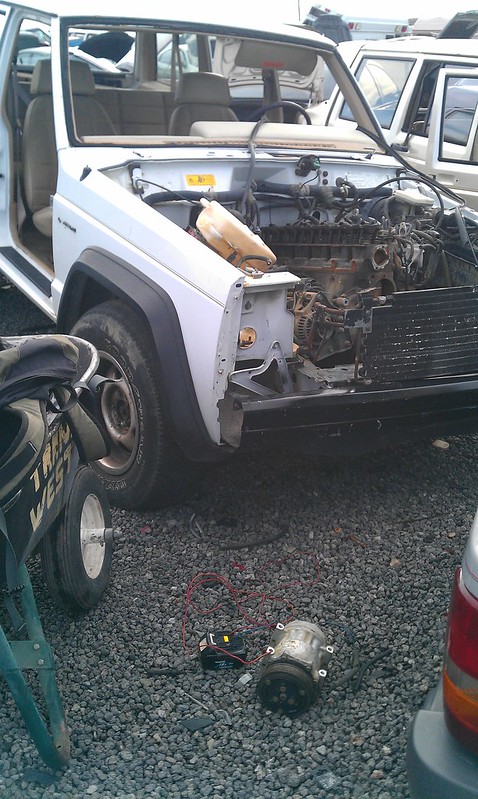
Here's my donor vehicle, sorry, I neglected to grab the year:
Basically these compressors are found on XJs and ZJs and TJs and YJs and MJs and ... you get the idea. They are stamped on the body with "709" or "509" you want the 709 because it has 7 pistons, whereas the 509 has ... wait for it ... 5 pistons! 7 pistons = more airflow (more CFMs) The only real difference between years on these compressors will be in the suction and discharge ports. I recommend simply buying one with ports that will suite your application.
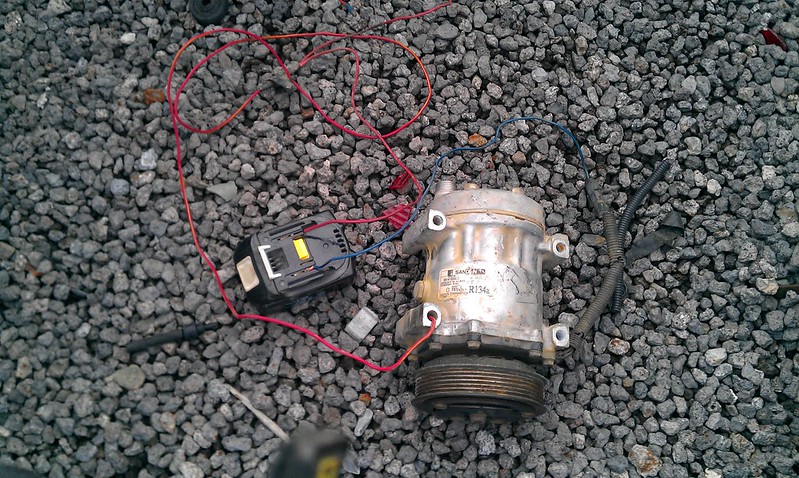
When sourcing my compressor I wanted to ensure that the clutch switch was still working. The best way to test was to take a cordless drill battery with me. I attached the single wire coming off the compressor to the positive post on the battery and then ran a wire from the negative post to the compressor body to ground it. When I did this I could hear an audible "CLICK" once the circuit was complete which told me the switch was functioning. Next, with the clutch engaged, I spun the pulley and could feel significant resistance. This indicated (hopefully) that the pistons still had good compression.
[/FONT]
[FONT="][FONT="]
[/FONT]
So I paid my $20 for the compressor and took it home to get started.
These compressors are usually lubricated with oil in your Freon. When running normal air through them I had 2 options for lubrication: run an inline oiler or do a mod where the compressor is packed with grease. I chose the grease.
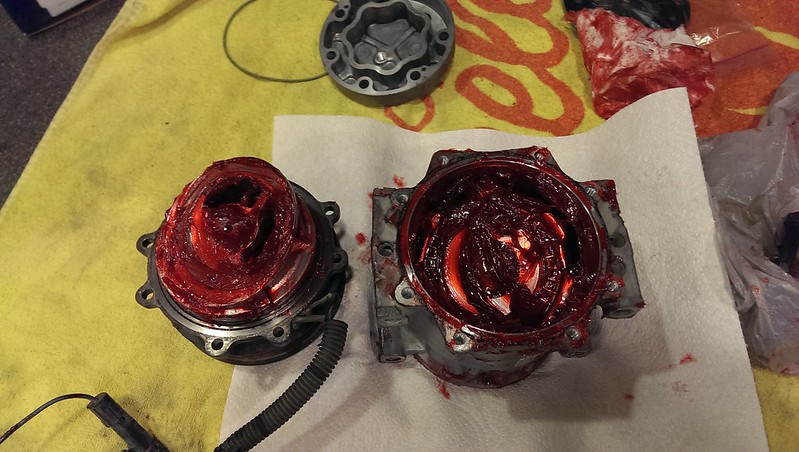
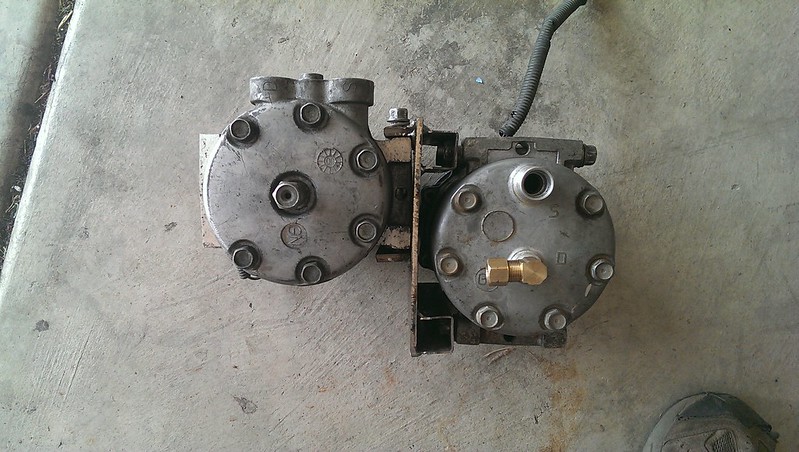
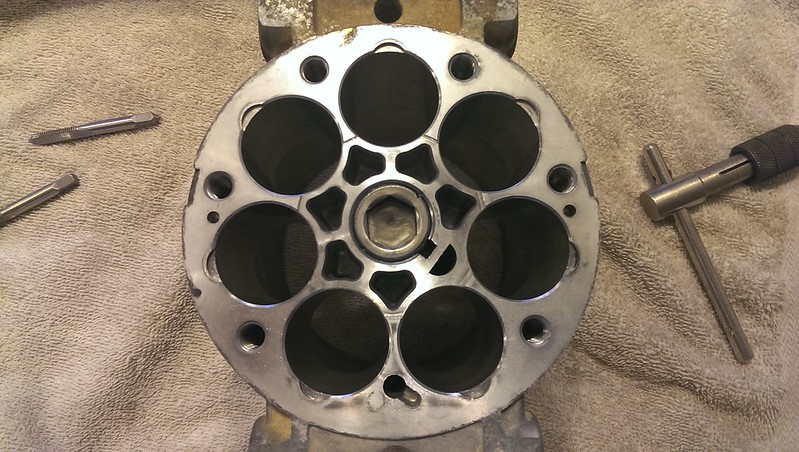
I took the compressor apart and cleaned it in preparation for grease, this is very simple, and I'm not going to go into too much detail as there are some other great sources covering this (links at the end). Just 12 bolts got me to this point:
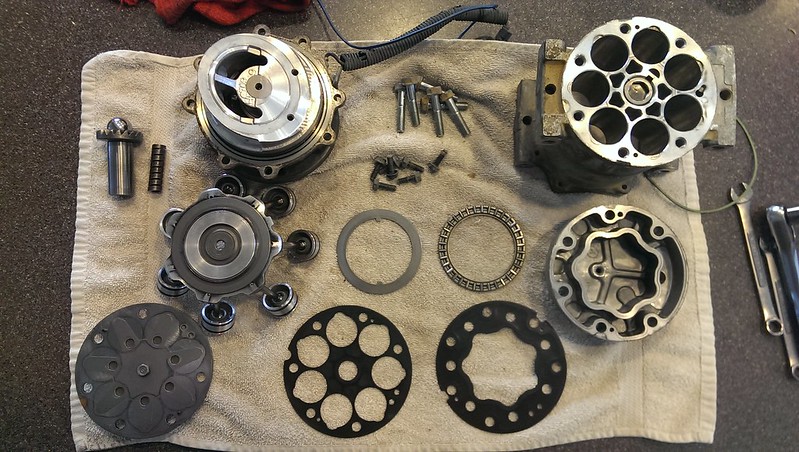
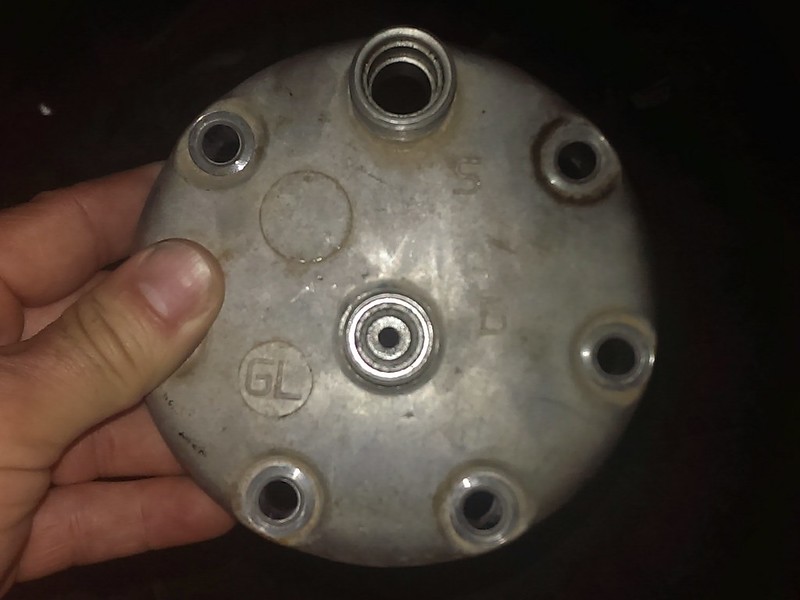
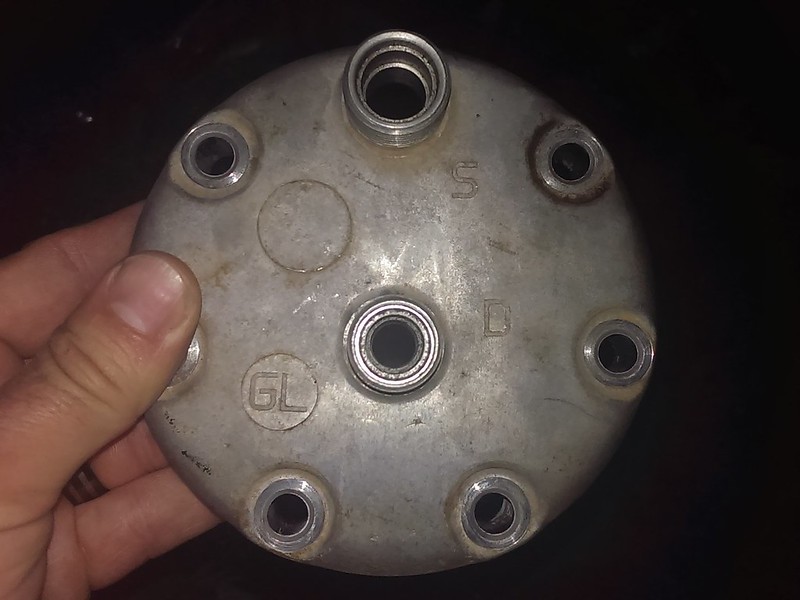
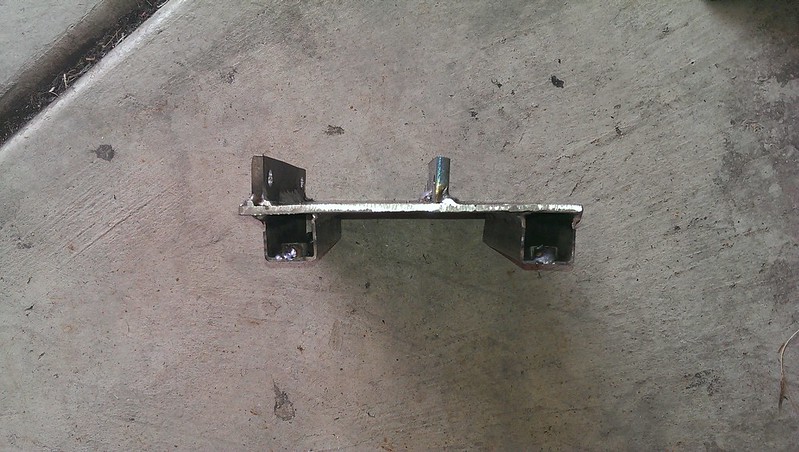
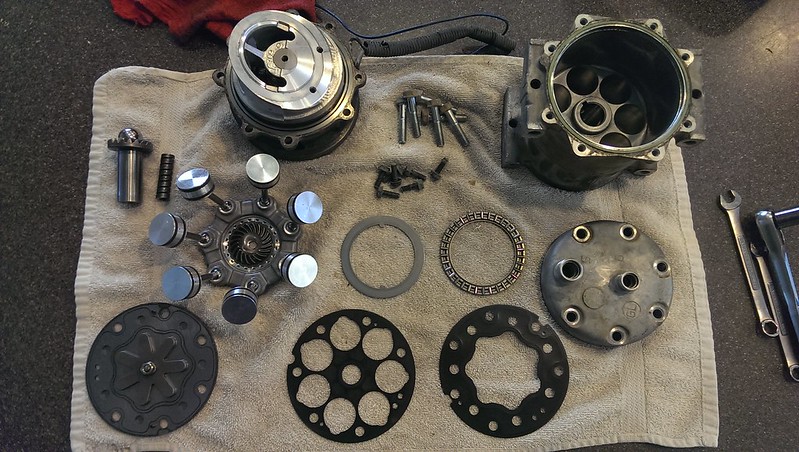
Components flipped:
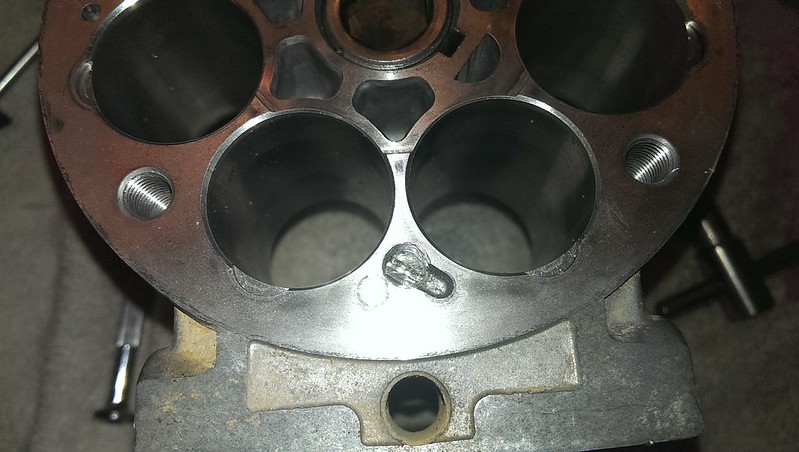
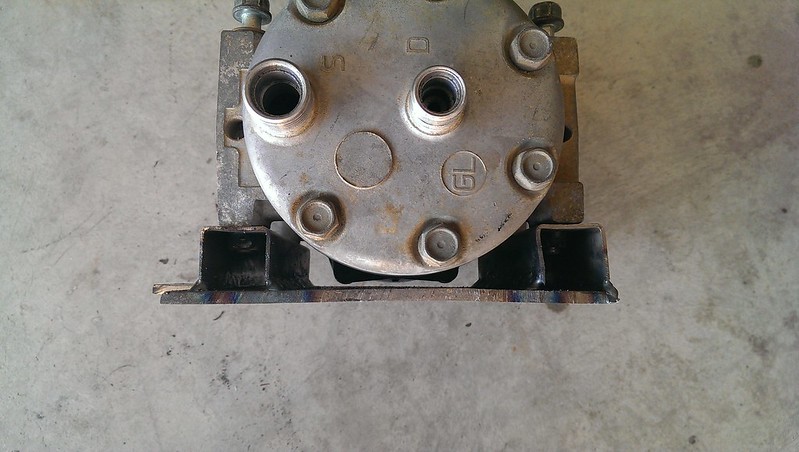
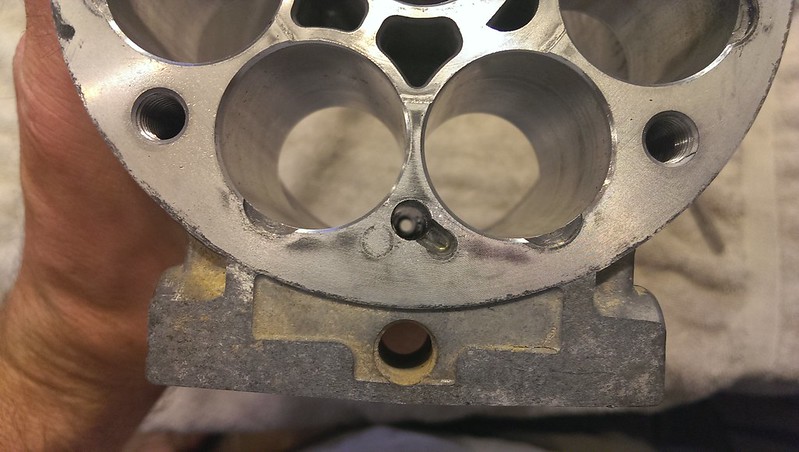
When doing the grease mod, I had to plug one hole internally (hence it's called a "mod" :laugh3") . The hole is here at the bottom of the cylinder body:
. The hole is here at the bottom of the cylinder body:
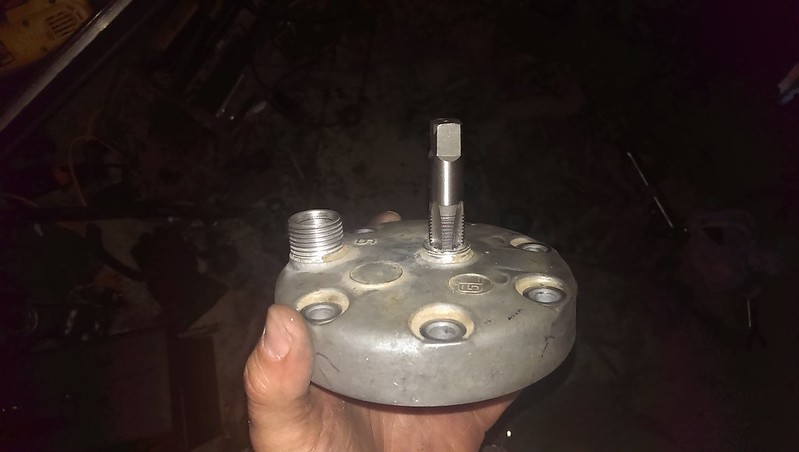
Here is a close-up, it is easily identified because it has the notch to the 5-oclock position, and it is the only one that goes all the way through the housing (aside from the cylinders...)
[/FONT]
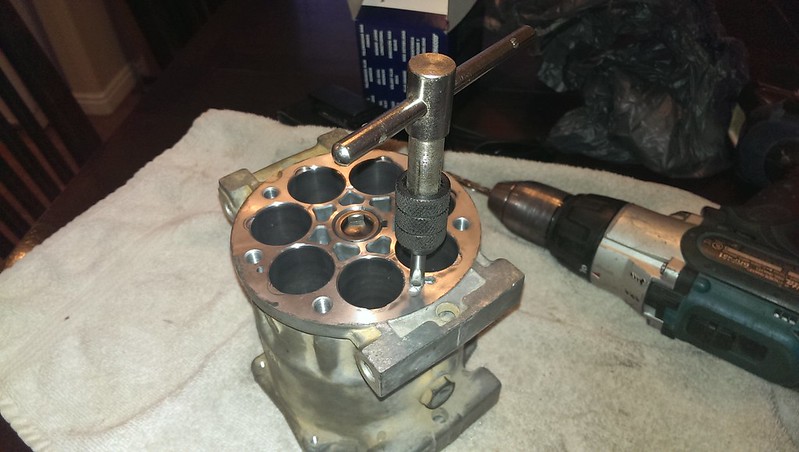
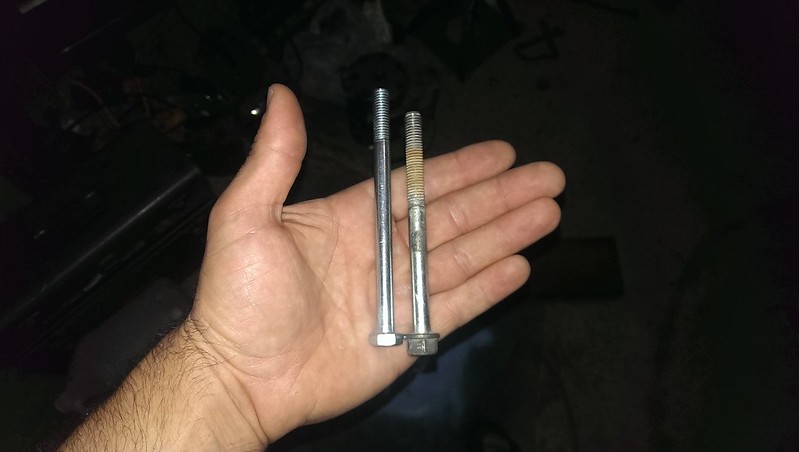
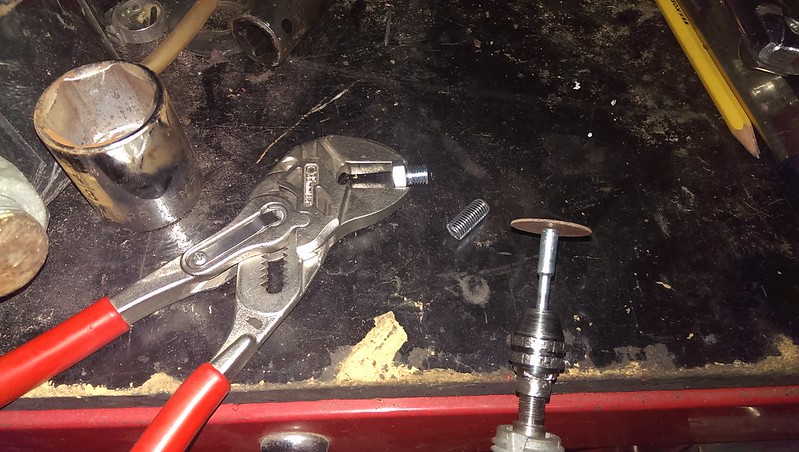
[FONT="]If you can weld aluminum, then you could just fill that hole up. I don't tig... so another option is to tap the hole and use a set screw or grub screw to plug the hole. (The screw head has to sit below the cylinder head) TO SAVE MY LIFE I could not find either type of screw in the size or thread pitch I needed... So I simply picked a tap I already owned and made my own screw out of a bolt that was the right size and thread pitch:
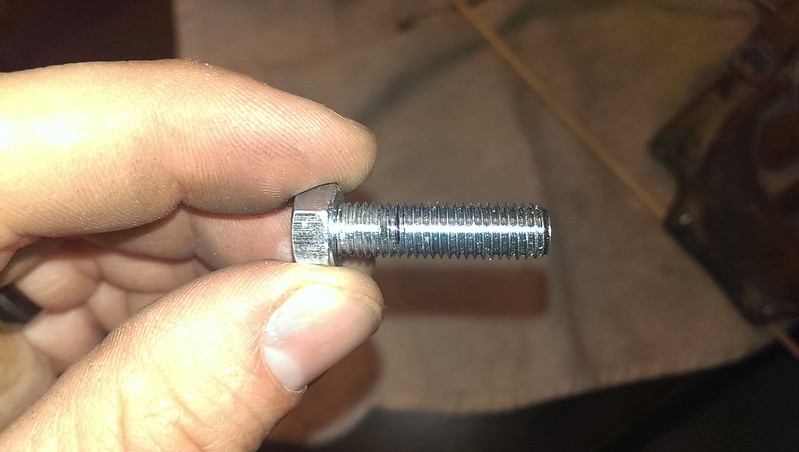
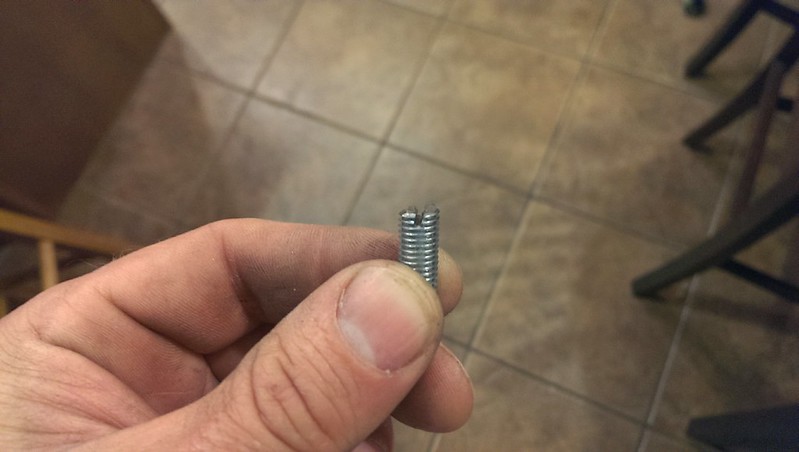
[/FONT][FONT="]Not perfect, but it will work! [/FONT]
One of the things I love about my XJ is the ability to take the whole family wheeling in comfort. I like the heater on in the winter and the AC blasting in the summer (at least on the way to the trail). For the past few years my on board air (OBA) has been a $50 4WheelParts compressor. Airing up my 37" MTRs at the end of the trail was bringing the poor girl to her knees... Time to add a second [/FONT][FONT="][FONT="]Sanden AC compressor [/FONT]converted a to OBA!!
Quick background for those who may be unfamiliar: AC Compressors for the XJ are made by Sanden. They compress Freon for your AC system but can be converted to compress ambient air to use for your air lockers, airing up tires or anything else you want to use air for on the trail. The Sanden SD709 is rated around 9 CFM at 40 PSI!! (That's better than my 1.5 HP 3 Gal compressor sitting in my garage...) So with a Sanden compressor converted to OBA and a small air tank you can expect to be able to use air tools on the trail. (Some people go so far as to call this mod "endless air")
Alright, so that's the why, lets get to the HOW!
First, my Sanden mod has been in "progress" for a while now :sad1: ... it started last year when I relocated my battery to make room in the location I wanted to put the 2nd Sanden (read about that in my build thread, scroll to post 29.)
So with the room under the hood it was time to shop for a compressor – off to the Pick-N-Pull!!
Here's my donor vehicle, sorry, I neglected to grab the year:
Basically these compressors are found on XJs and ZJs and TJs and YJs and MJs and ... you get the idea. They are stamped on the body with "709" or "509" you want the 709 because it has 7 pistons, whereas the 509 has ... wait for it ... 5 pistons!
7 pistons = more airflow (more CFMs) The only real difference between years on these compressors will be in the suction and discharge ports. I recommend simply buying one with ports that will suite your application.When sourcing my compressor I wanted to ensure that the clutch switch was still working. The best way to test was to take a cordless drill battery with me. I attached the single wire coming off the compressor to the positive post on the battery and then ran a wire from the negative post to the compressor body to ground it. When I did this I could hear an audible "CLICK" once the circuit was complete which told me the switch was functioning. Next, with the clutch engaged, I spun the pulley and could feel significant resistance. This indicated (hopefully) that the pistons still had good compression.
[/FONT]
[FONT="][FONT="]
[/FONT]
So I paid my $20 for the compressor and took it home to get started.
These compressors are usually lubricated with oil in your Freon. When running normal air through them I had 2 options for lubrication: run an inline oiler or do a mod where the compressor is packed with grease. I chose the grease.
I took the compressor apart and cleaned it in preparation for grease, this is very simple, and I'm not going to go into too much detail as there are some other great sources covering this (links at the end). Just 12 bolts got me to this point:
Components flipped:
When doing the grease mod, I had to plug one hole internally (hence it's called a "mod" :laugh3
. The hole is here at the bottom of the cylinder body:
Here is a close-up, it is easily identified because it has the notch to the 5-oclock position, and it is the only one that goes all the way through the housing (aside from the cylinders...)
[/FONT]
[FONT="]If you can weld aluminum, then you could just fill that hole up. I don't tig... so another option is to tap the hole and use a set screw or grub screw to plug the hole. (The screw head has to sit below the cylinder head) TO SAVE MY LIFE I could not find either type of screw in the size or thread pitch I needed... So I simply picked a tap I already owned and made my own screw out of a bolt that was the right size and thread pitch:
[/FONT][FONT="]Not perfect, but it will work! [/FONT]