• Welcome to the new NAXJA Forum! If your password does not work, please use "Forgot your password?" link on the log-in page. Please feel free to reach out to [email protected] if we can provide any assistance.

Blow torch to re-activate clear coat?

bradleyheathhays

NAXJA Forum User
Location
Lexington, KY
96 XJ here. Both my front fenders look like in the pictures (spots are rain drops) and a buddy just was telling me that if you take a blow torch and hold it far away and move it back and forth, then slowly toward the fender that it would 're-activate' the clear coat and make it look new again, getting rid of the white that I guess is caused by UV.

Is this true?

If so I guess I'd take the fenders off to do the job. Never heard of this before so thought I'd run it through you guys before attempting it.

Thanks.


Sorry about the image size. Not sure how to reduce. Hope they come out ok.


GDmcSih.jpg


wibN9AU.jpg
 
I wouldn't try it.

I would want to hear a chemist's explanation of how the heat would restore that which was taken away by UV.
 
Never heard of it, would never try it. If anything would do it spraying another coat of the same type of clear might add back the volatiles that gas out during the drying process and make the old and the new flow together. Buy you would have to know the type of paint and that would be a crap shoot at best.
 
I've heard of using heat on unpainted black/gray plastic bumpers to restore them to their initial shine.

But I don't see that working with painted clear coat. I think your buddy may be misinterpreting when this can be used.
 
Almost anything you could do will only make things worse, I would consider a good cut-n-buff to buy you more time!
 
There may well be a way to sand (probably wet sand) and re-coat.

Talk to your local automotive paint supply shop. They will have the most practical advice for your situation, including local regulations (some parts of the country have substantially fewer options than do others).
 
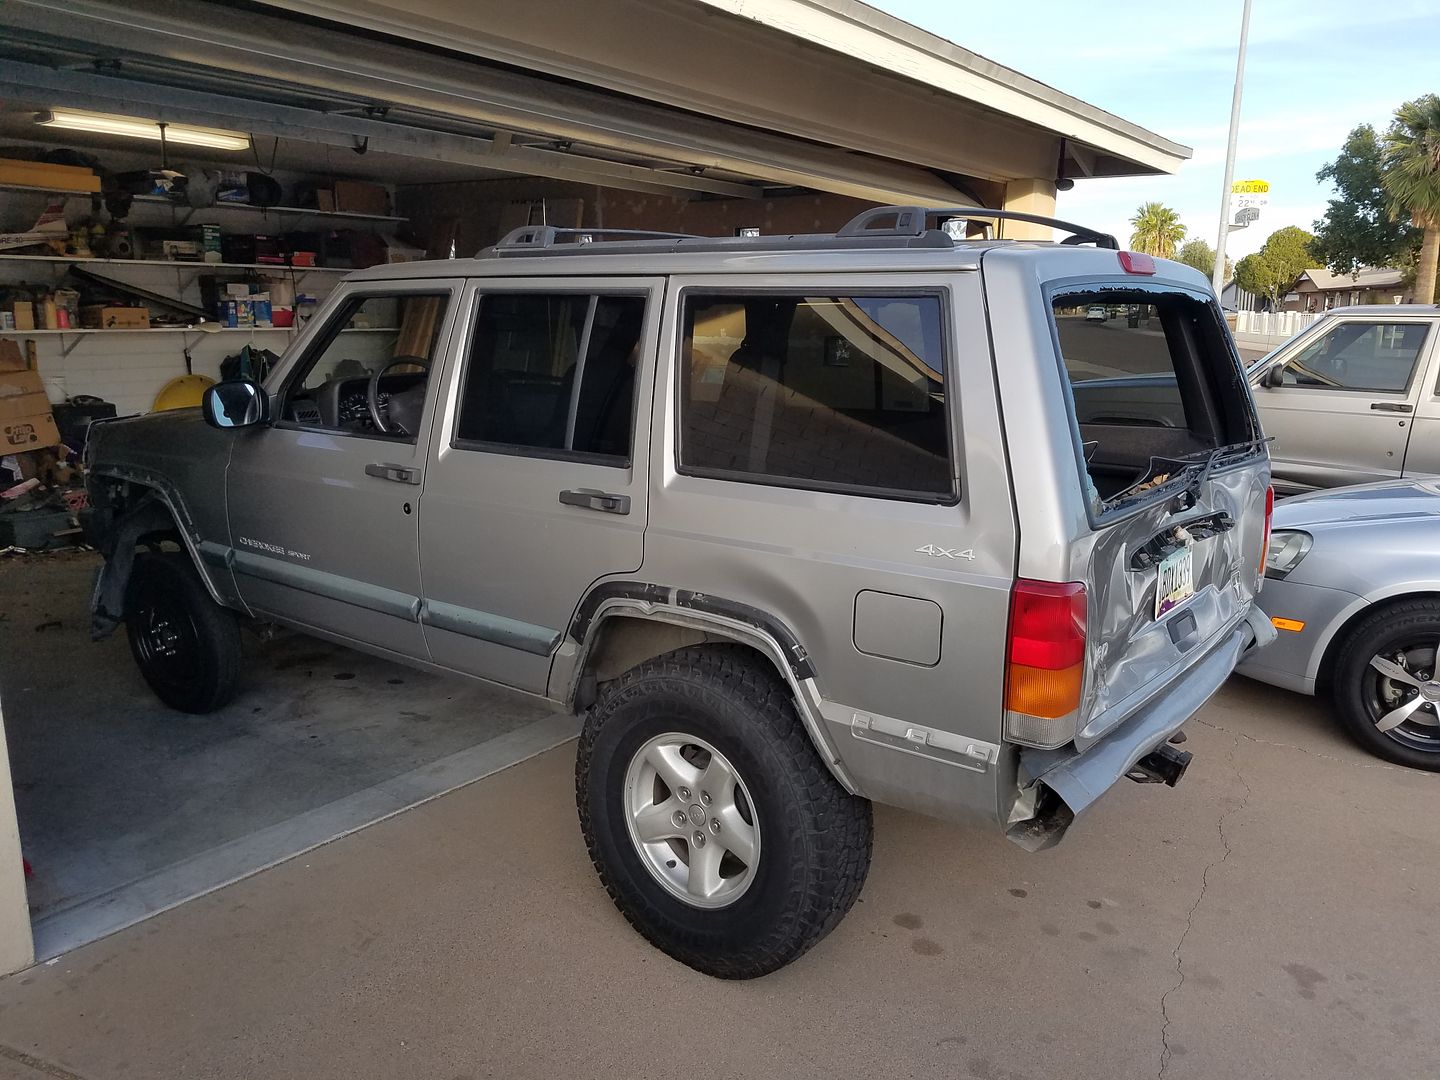
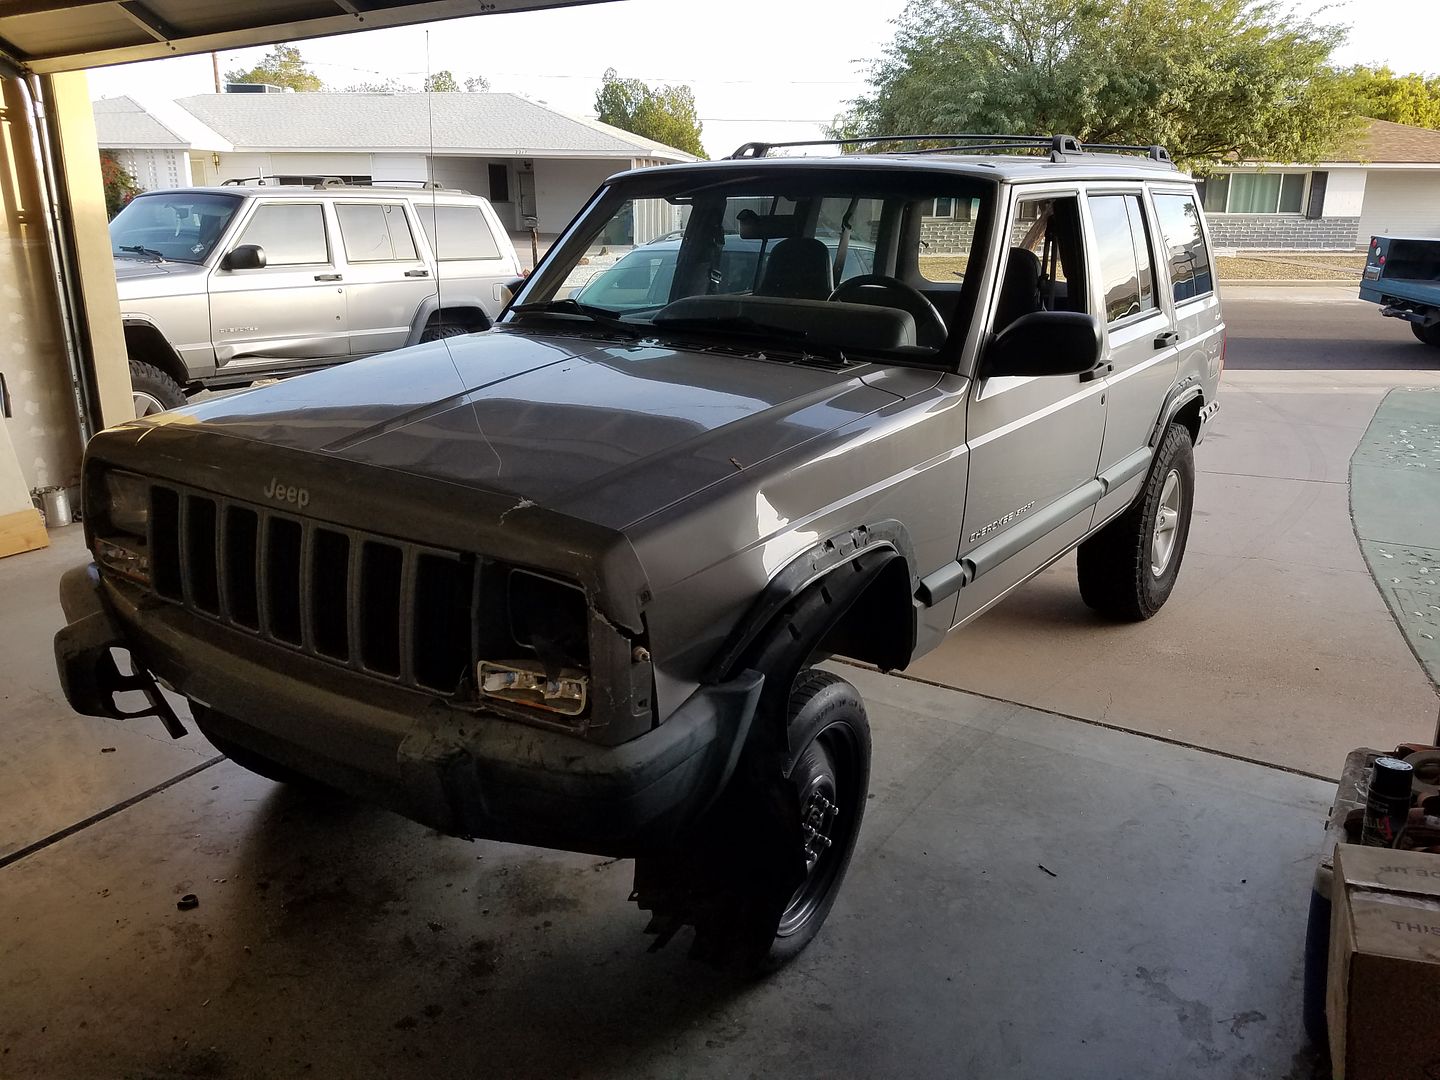
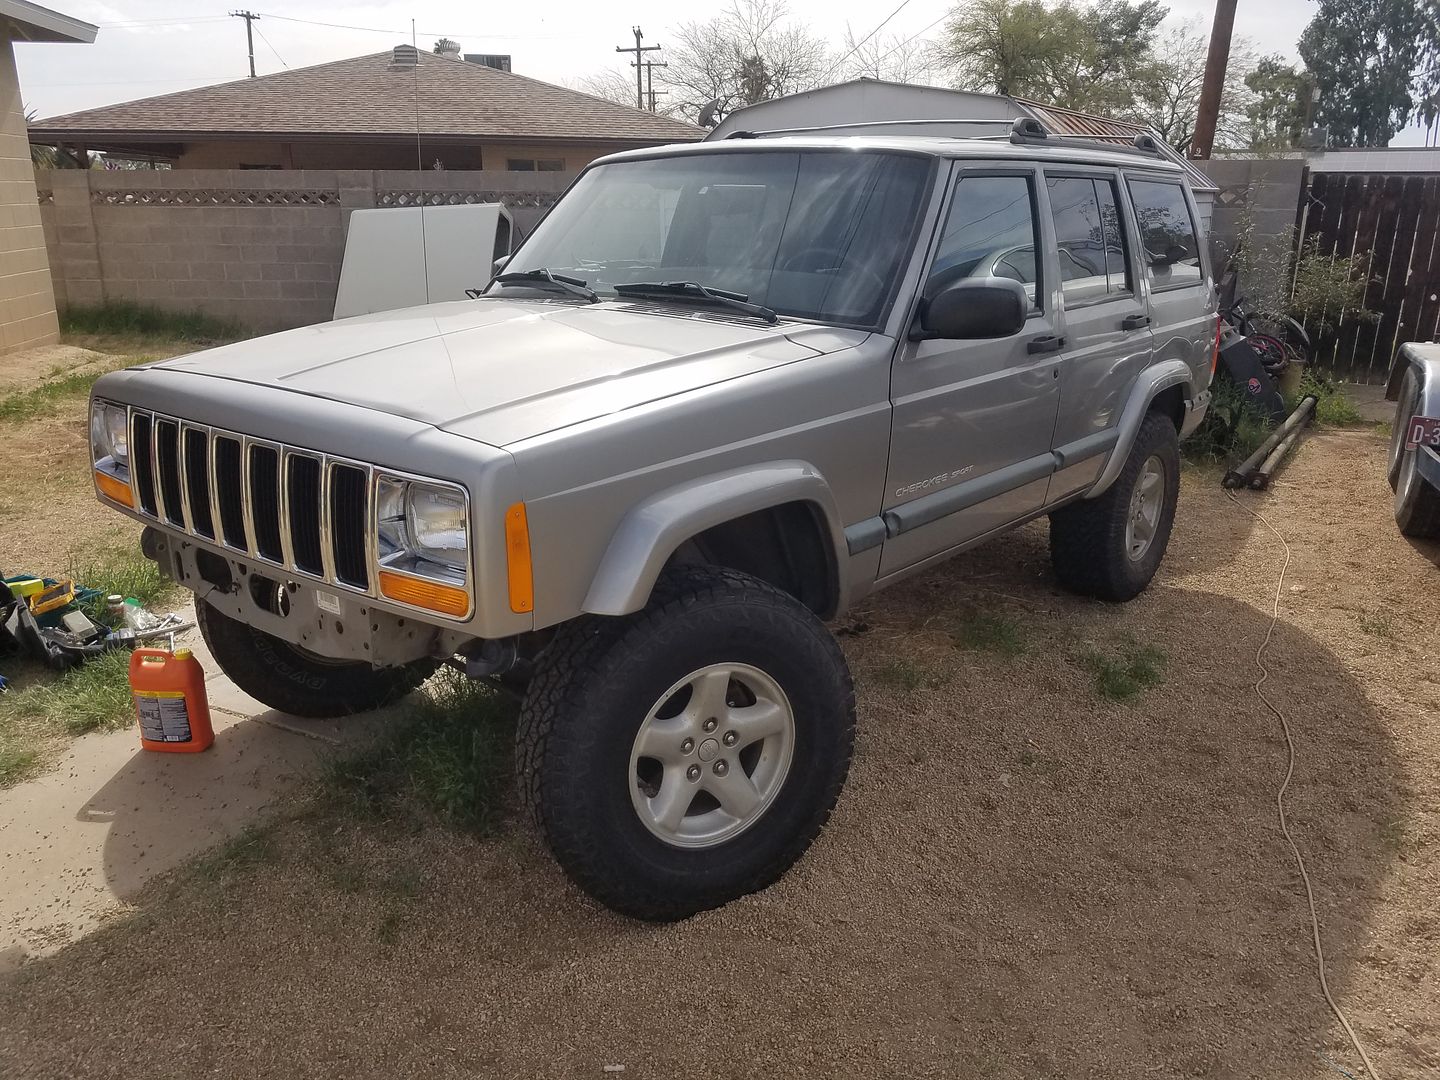
I wouldn't tape them off, I would remove them. Granted, the bolt strip on the back will probably end up with a couple of them broken off but you can buy replacement strips from Quadratec:


https://www.quadratec.com/p/crown-automotive/fender-flare-retainer-kit-cherokee-xj-55003232K


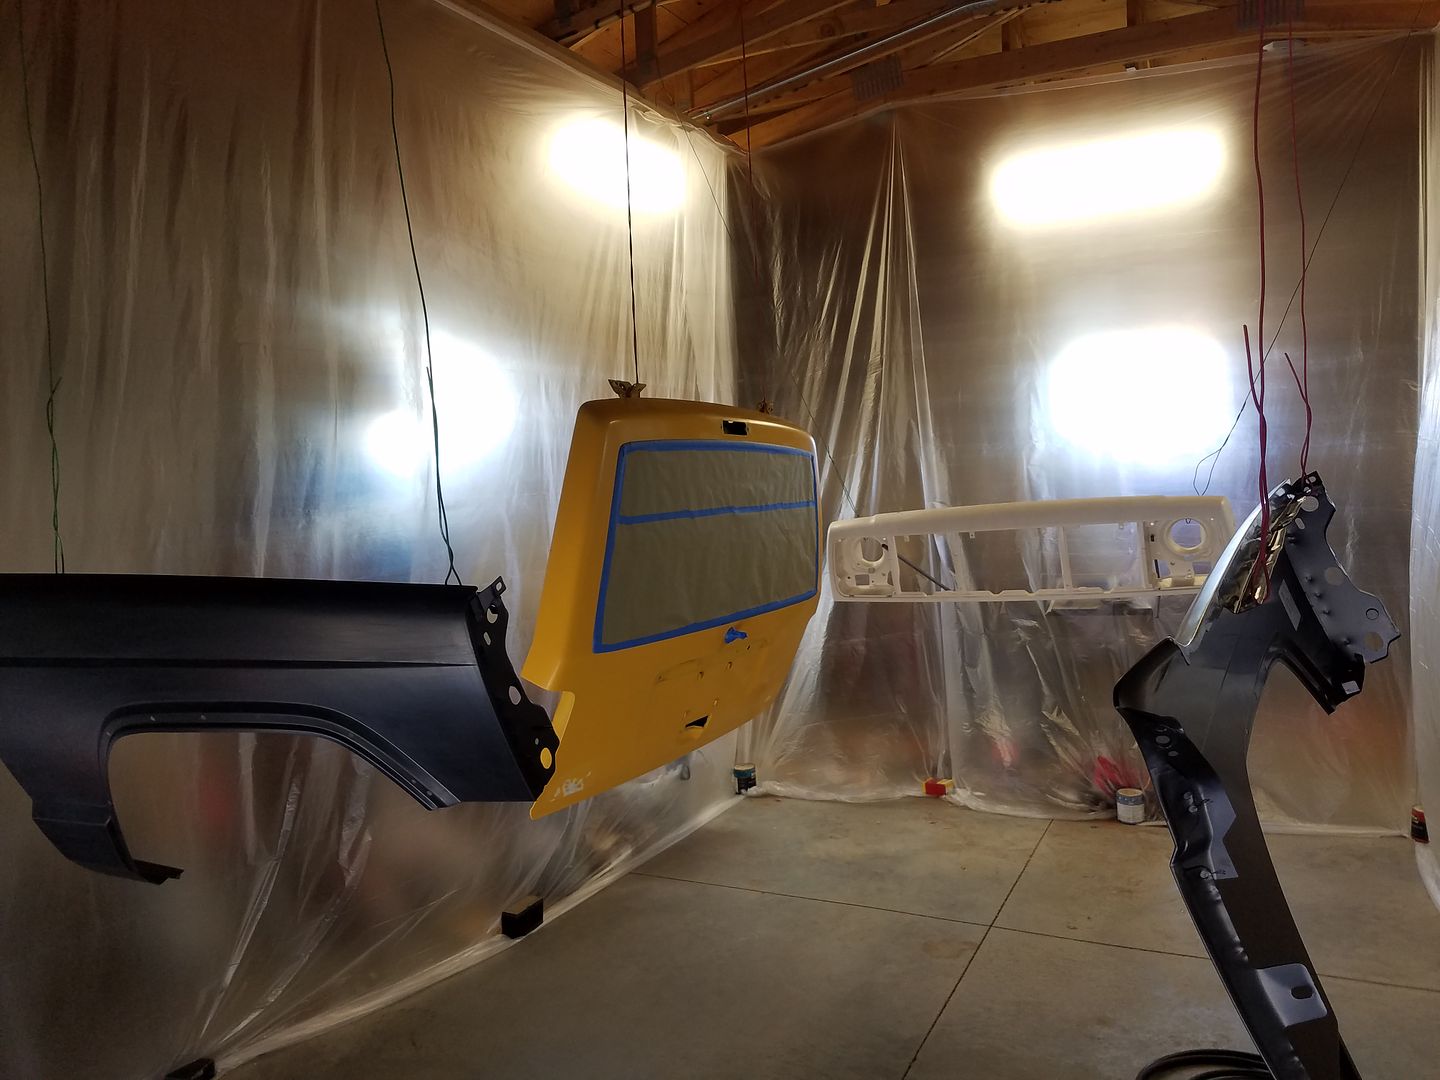
The thing with painting them in place is that regardless of how careful you are with the tape, you are likely to end up glue-ing the flairs into the fender which will create a lot more work if you have to get more work done later (like a fender bender). This also allows you to paint them away from the Jeep to reduce the chances of overspray. With a part like this, your paint job doesn't have to be perfect, just close. The transition between the two panels creates a natural break making it difficult for the eyes to detect small inconsistencies in color. This would allow you to use a rattle can paint mix from a matcher like "AutomotiveTouchup".


https://www.automotivetouchup.com/


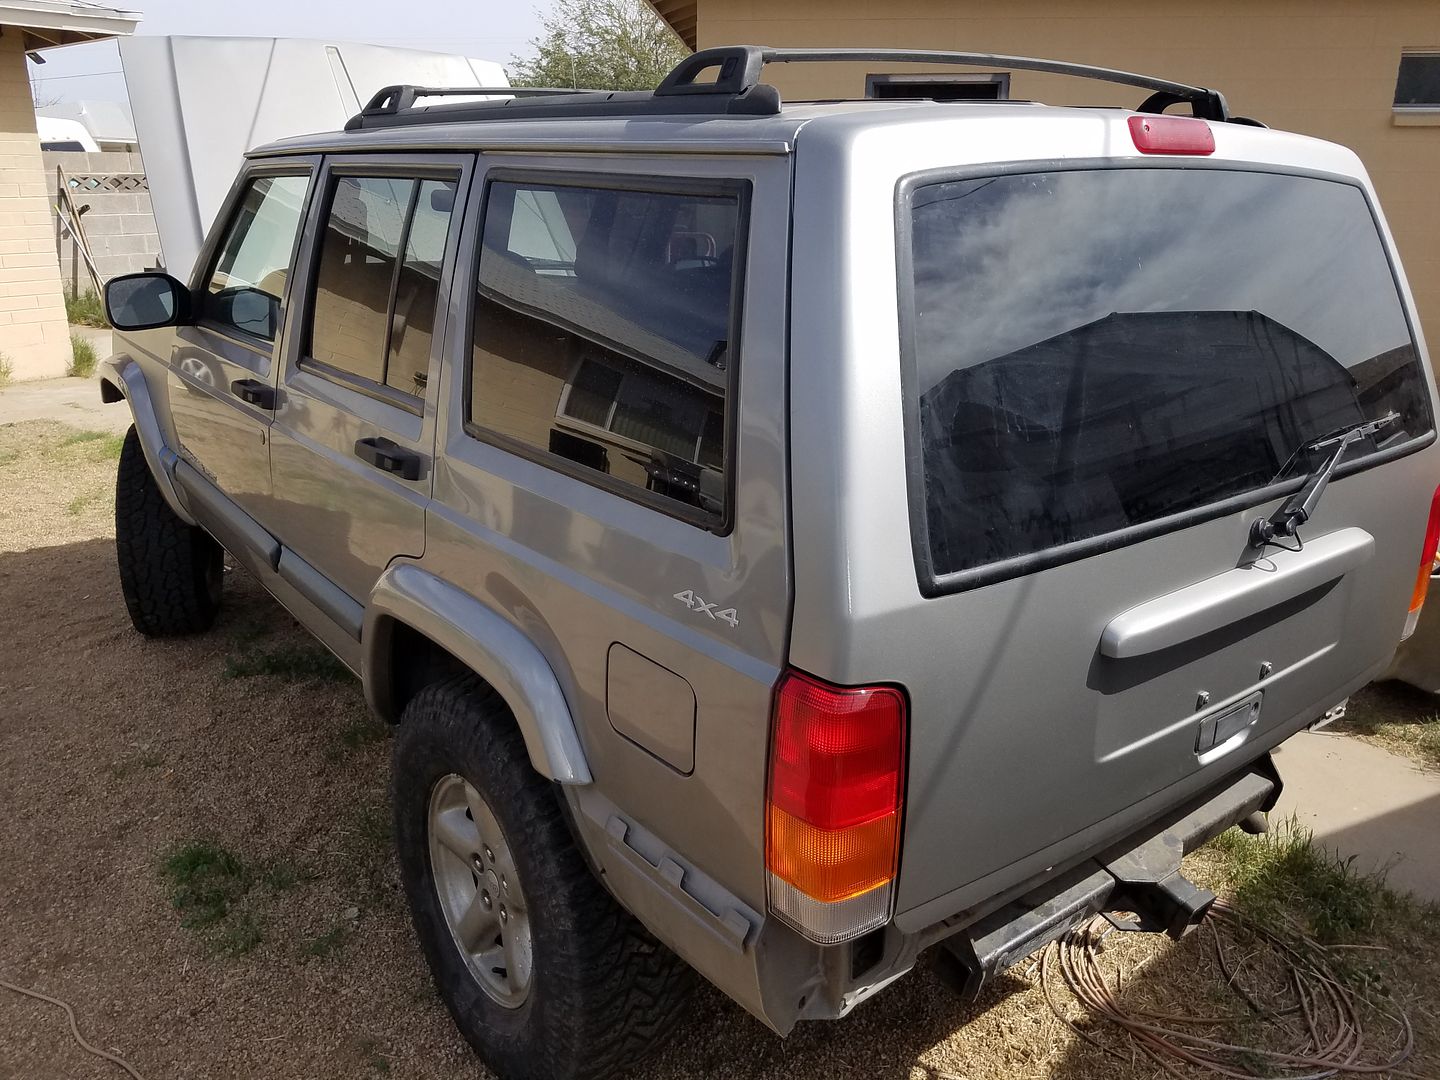
I have used these guys in the past and their match is pretty close. To illustrate, the clear coat had peeled off of the grill on my wife's Highlander and it looked like complete crap so I removed it, prepped it and painted/cleared it with supplies from these guys. I did use a proper spraygun but you could do a good job with their rattle can mix as well. Below is how it came out:


With respect to prep, you should be aiming for an 800grit finish before you spray the color. 600grit can work but I prefer 800 to 1000. For something like this, I would first sand the parts completely smooth to 600 grit (dry) and would then shoot a layer of high build primer like this stuff:


https://www.automotivetouchup.com/spray_paint_primer.aspx


Note, you don't have to remove all of the original paint but you will want to make sure that those existing spots are no longer visible.


This kind of primer creates a nice base and gives you a good surface to work with. Once dried, I would wet-sand the primer with 800 grit to create a good base for the color. What I look for with this sanding step is to get the panel to the point where I can see a reflection when I stand back from it and look at an angle. The reflection of the image won't be as clear and crisp as a finished panel but you should be able to see a reflected image and detect any obvious scratches that still need work.


At this point, I would shoot the color (3 coats) following the paint manufacturers instructions on flash time (time between coats). After the last flash, I would spray the clear coat they provided. You can get away with as few as 2 coats but I usually use 3 coats of clear as well.


Once this dries, you can reinstall the parts onto the car. Note that you really want to follow the instructions on flash time. Your primer coat will stick to the fender because it will grip onto the minute scratch marks left from your 600 grit prep (this is why you don't want it too smooth, like 2000 grit). Sanding the primer will create a similar surface for the color coat to bond to and 800 grit offers more than enough "grip". From this point on though, you are aiming for a chemical bond between the layers so the timing is really important. If for some reason you can't spray the clear coat within the recoat window for the color coat, you will have to wait until it is cured (a couple of days probably), and then wetsand the color coat so that the clear coat can gain a mechanical bond. A chemical bond is just as effective as a mechanical bond so it is easier to just plan ahead to make sure you have enough time to spray the paint and the color within the flash windows for each.

One last comment: If you decide on this path and continue with your research you will probably find references to a special prep layer for plastic parts. This stuff is designed to soften the plastic on things like soft bumpers to help create a chemical bond on your initial primer coat. I do NOT recommend this stuff for your application. First, those flairs are plastic but they are much stiffer than a flexible bumper and they don't need it. I tried to use some of this stuff on that Highlander project and it made a bloody mess. I ended up stripping it off and just following the standard painting instructions I outlined above. This stuff may help on a soft/thin bumper but I don't think you need it on something like this.


HTH
Todd
 
Last edited:
Anything can be done, it just depends on time, money, tools, materials, and experience. I painted a wrecked 2000 I bought and it turned out good, but it wasn't quick or easy!
20180118_165916_zpsgmgtcnbg.jpg

20180118_165934_zpspk7ce3gp.jpg

20180304_122917_zpsjmeo75ds.jpg

20180325_144529_zps8v2okuwa.jpg

20180325_153213_zpsau2x0bwg.jpg
 
GREAT JOB!! And you are 100% correct that it isn't quick or easy. When I changed the color on my '90, I must have spent over 200 hours on bodywork and prep. The actual paint/clear took a day. As for the "easy" part, the work itself isn't terribly complicated or intellectually difficult. The challenge is the hours of working on panels, welding those that need rust repair and filling/sanding the rest. At times it felt like my arms were going to fall off.


The guys on those TV shows seem to move from bare steel to paint in 15 minutes but when you see them talk about the "real" time it is hours upon hours of boring shots with people sanding. Even the welding takes hours. Again, the TV shows jump from a couple of tack welds to a finished repair in 30 seconds but ignore the fact that you are only making 1/8" tack welds. The actual tack weld takes 1 second but the cool down takes a minute or more (the guys on TV make a weld and then blow an airgun on the area to cool it down but even this takes 30-40 seconds and you have to reset yourself for the next tack so round it up to 1 minute). Ignore the cooling cycle and you will burn through on your next tack. So do the math: 1/8" weld every minute on a 3"x2" hole = ((3"x2)+(2"x2)) = 10 inches. With 8 tacks per inch @ 1min per tack = 80 minutes so an hour and 20 minutes for a small hole and now you have to grind it down....


Not a fun job.
 
Last edited:
tjmodder THANK YOU for your amazingly thoughtful response! Really encouraged by getting such detailed advice.


I'm infinitely patient with getting hard rusted nuts off. I'll use a tans fluid / acetone mix first to get things going. Followed by cleaning all the threads with a dremel wire wheel. Some careful and brief heatings using a micro torch followed with quick dousings of cold water. Then starts the gentle back and forth turning, basically rocking it back and forth until it gets to the cleaner threads.


After 26 years, how much danger is there that these thread posts are weak and will break off no matter how slowly I go?
 
The problem with those threaded posts is twofold
1) they are really thin - so they are weak anyway
2) they connect from the plastic on the front through the fender and then through the interior plastic wheel well liner where the bolt sits - this means you can't use heat or you will damage that interior wheel well liner and they are kind of recessed into the plastic so it is tough to get a wire wheel on them.


Definitely try to get them off with penetrating fluid first. They are galvanized so there is a chance that they will come off easily. The ones I have changed were all from northern climates where the crap they put on the road virtually guarantees rust. Hope this works out for you!


If you do end up having to buy the new bolt plate kit, I would recommend that you install them before paint and don't remove the old ones until you are ready to install the new ones. I must admit that I have done this job on a couple of XJ's and both times, I removed the plates before the new ones arrived. BIG mistake! You would think I would learn at my age but the rear sets are different from the front and it is not obvious which part fits where. Taking one off and immediately installing the new one is the only way to go...


HTH
Todd
 
Well I did everything I could using all the patience I could muster and still broke off at least one screw on each of the retention plates. So I might as well go ahead and get the bolt plate kit you mention. I was hoping something like was made.


Trying to get this done on the cheap, should I just go on ebay and put in '96 cherokee fender plate kit' or something like that?
 
Alrighty, I'm ready to start with the first sanding.


On this first one leading up to 600 grit, what grit would you start out with?


Also, what grits would you start with after the primer and color layers?
 
You know, I wouldn't look so stupid sometimes if you could edit your posts here. Oh well.


I re-read your post and got the part on the chemical adhesion between primer and color coats so I understand no sanding at all there.


Other than my other legitimate question above, last one is...just one coat of primer?
 
Sorry, if I could edit my posts maybe I wouldn't look so stupid. Nah, who am I kidding.


I re-read your post tjmotter and I get the chemical adhesion.


So two questions are... - what grit would you start with on this first sanding?


- how many coats of the thick coat primer?
 
Houston, we have a problem.


I checked on my order from automotivetouchup.com and their website is saying to expect a 1-2 week delay in shipping because of supply chain problems, so I guess I better figure out some other product line to go with.


I ordered 1ea 12oz can red tinted acrylic lacquer primer

1ea 12oz can color matched paint
1ea can clear acrylic (not sure the weight)


$60 total w/ shipping


What other product line should I go with?


Is one 12oz can of paint enough to coat each part 3 times? I'm guessing probably not.
 
I usually lay down 2 coats of high build primer. You end up sanding most of it off so 2 coats gives you some depth that allows you to sand without burning through to the plastic (or metal if you are working on a door for example).


You know, I wouldn't look so stupid sometimes if you could edit your posts here. Oh well.


I re-read your post and got the part on the chemical adhesion between primer and color coats so I understand no sanding at all there.


Other than my other legitimate question above, last one is...just one coat of primer?
 
Not sure on the 12oz question. It might be close. The thing is that to get the best coverage, you will want to start spraying before you get to the part and continue spraying each pass until you are past the part. This wastes a little paint but ensures a good finish. You can see examples of painting techniques on youtube. I usually buy a pint and use my own spray gun but if I were doing this, I would probably buy 2 cans to be safe.


I haven't used these guys but I have heard that they are ok:


https://touchupdirect.com/


Houston, we have a problem.


I checked on my order from automotivetouchup.com and their website is saying to expect a 1-2 week delay in shipping because of supply chain problems, so I guess I better figure out some other product line to go with.


I ordered 1ea 12oz can red tinted acrylic lacquer primer

1ea 12oz can color matched paint
1ea can clear acrylic (not sure the weight)


$60 total w/ shipping


What other product line should I go with?


Is one 12oz can of paint enough to coat each part 3 times? I'm guessing probably not.
 
Back
Top