Jeff 98XJ WI
NAXJA Forum User
- Location
- Butternut, WI
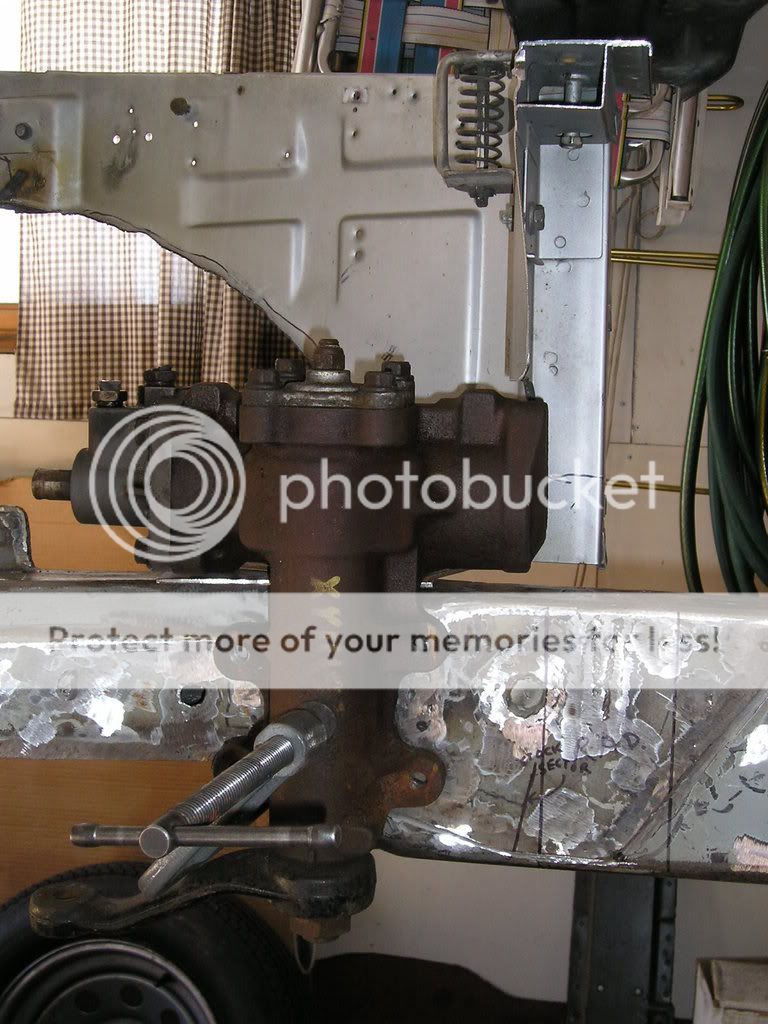
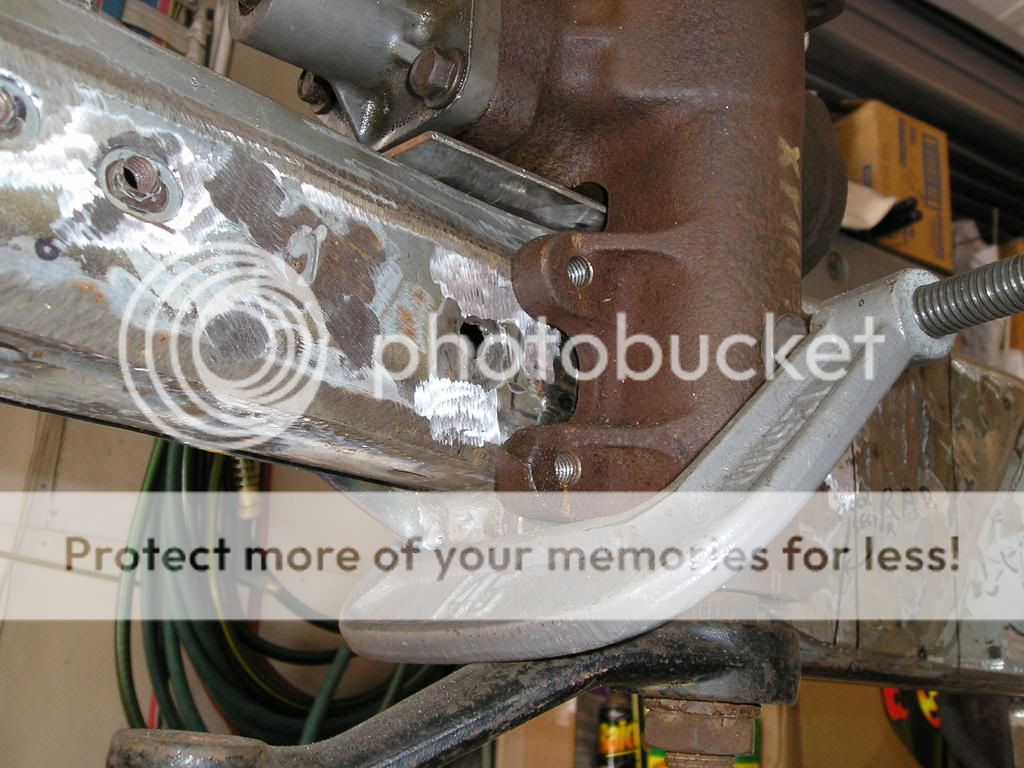
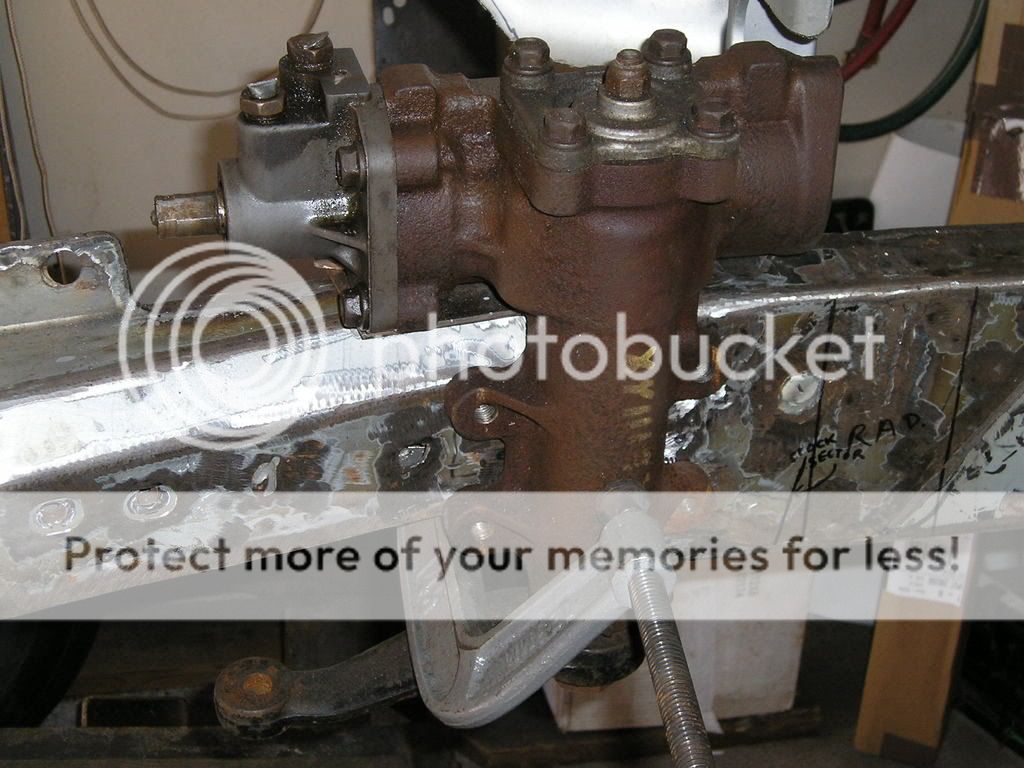
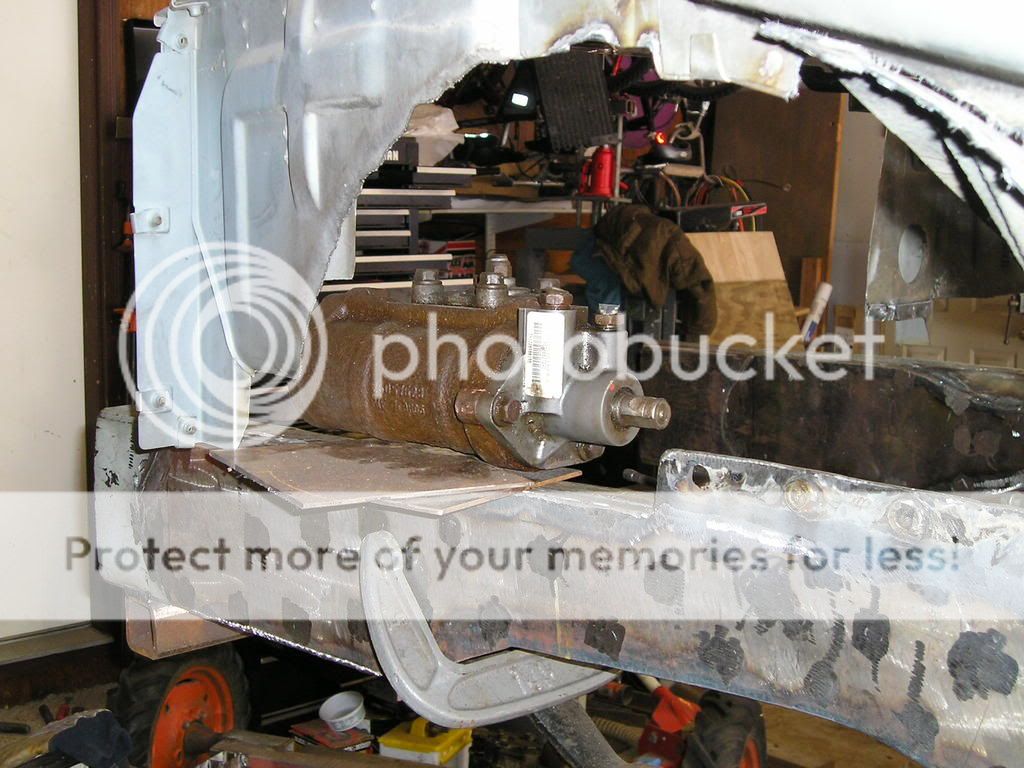
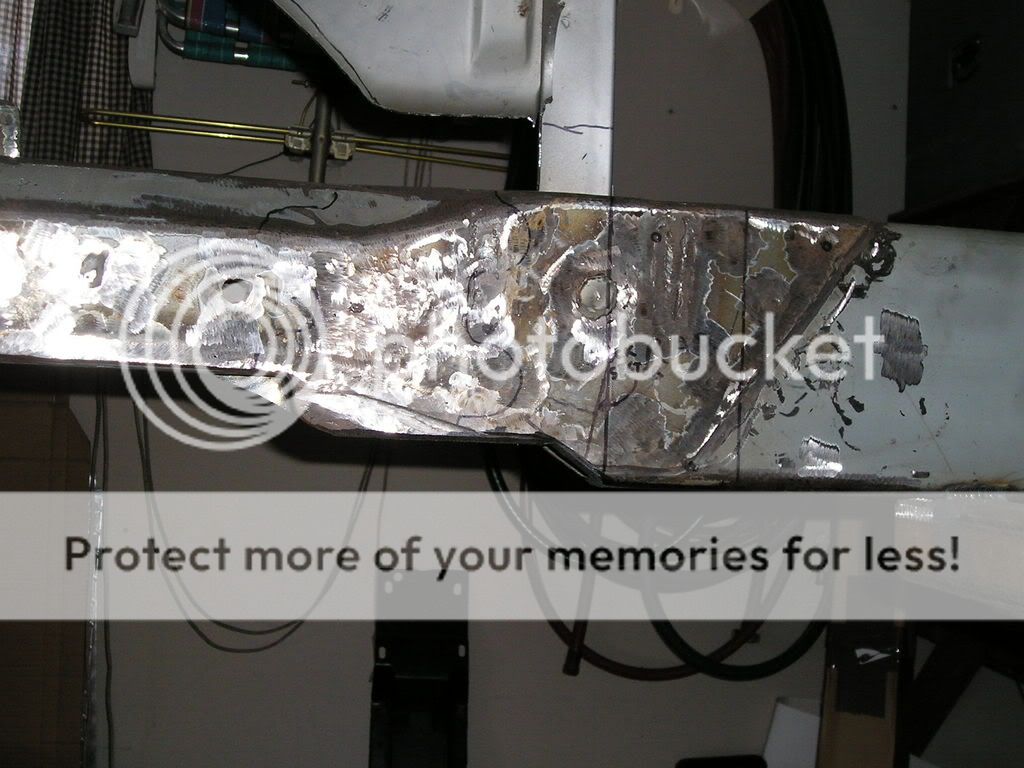
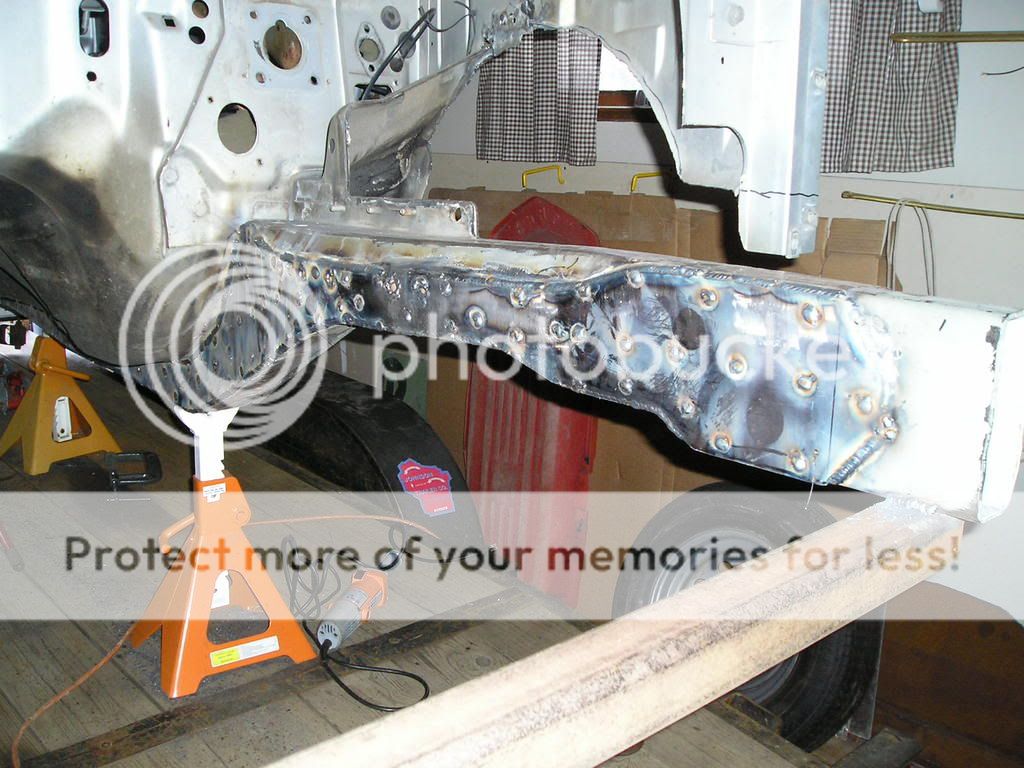
My axles are in the same shape as they were last summer! I need to truss, shave etc. the 60 housing. How about sharing some pics of what you did Jon? I'm not sure I should go all the way and get the ring gear shaved. Opinions? I also need to order gears, lockers, axle shafts for the rear HP 60. The front 60/44 needs gears, lockers, truss, inner C's welded on. I've got stock 60 shafts for it with one having been shortened and resplined. Jeff