• Welcome to the new NAXJA Forum! If your password does not work, please use "Forgot your password?" link on the log-in page. Please feel free to reach out to [email protected] if we can provide any assistance.

Project Unicorn - a light duty trail rig

OK. You guys got under my skin with the lack of progress.

Ordered up a bunch of parts today and should have some updates around new years, depending how busy work gets.

I am finally putting some bling on this car, though. (thanks Bryson!)
 
Does that mean you are getting those titanium intake/exhaust studs?
 
Yeah I ordered those, and his new fuel pickup setup to go with it.

And new valve cover studs, rocker arm studs, etc.
 
It has the prototype steel arms on the prototype 4 link kit now. New aluminum links are sitting in the shop unfinished waiting on the new WJ converted HP30 to go in, also sitting in the shop.

I got distracted by horsepower
 
That's very understanding ha ha. I'm sure it's in the thread so forgive my laziness, but are you still running the 8.25?

Sent from my SM-G950U using Tapatalk
 
Dana 44. Truss. 4.10s with GripPro limited slip and chromo shafts. TJ rubicon disc brakes with black magic pads.
 
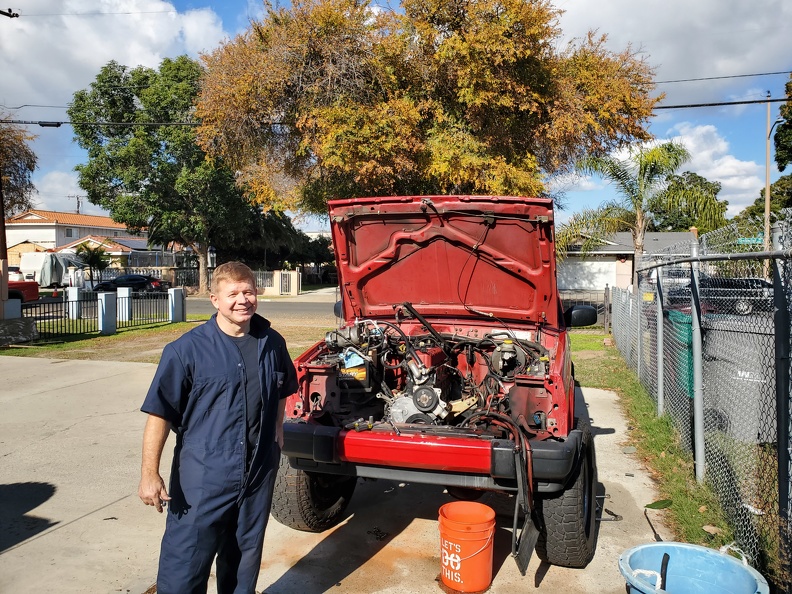
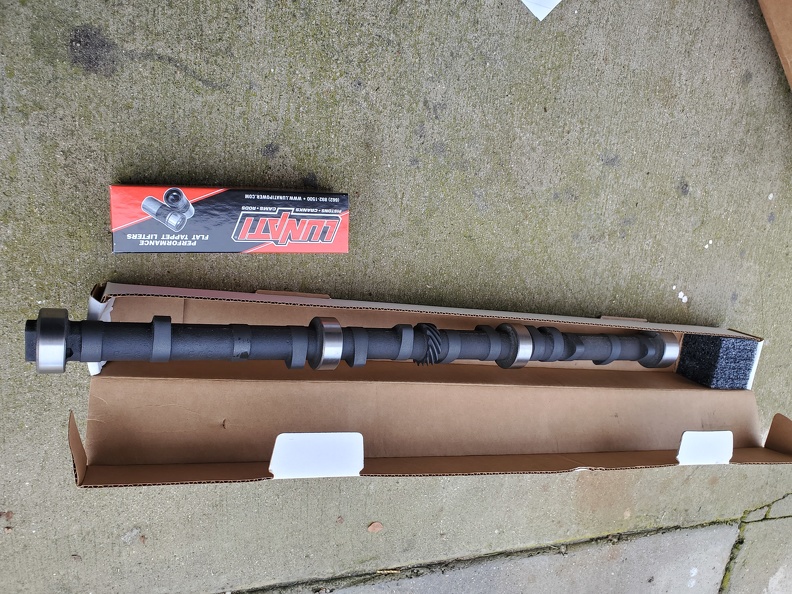
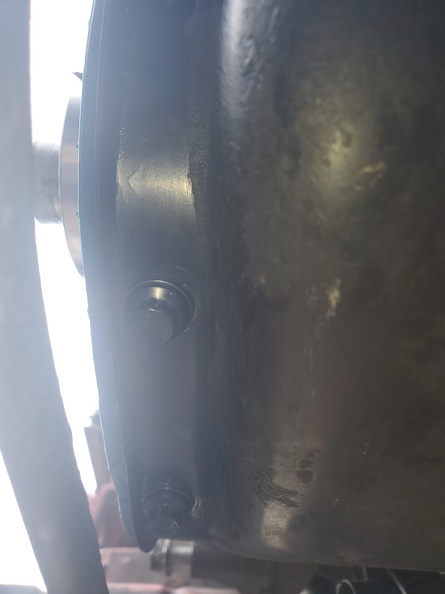
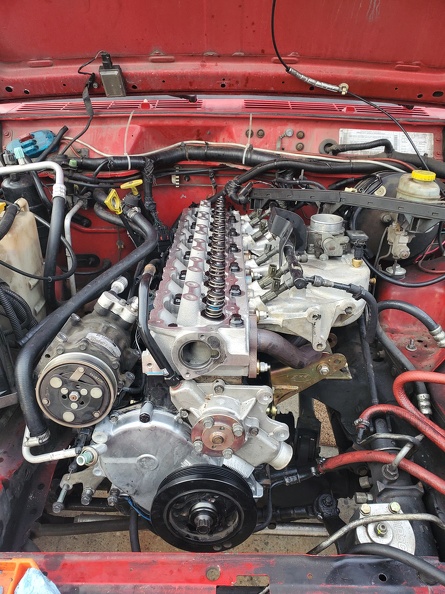
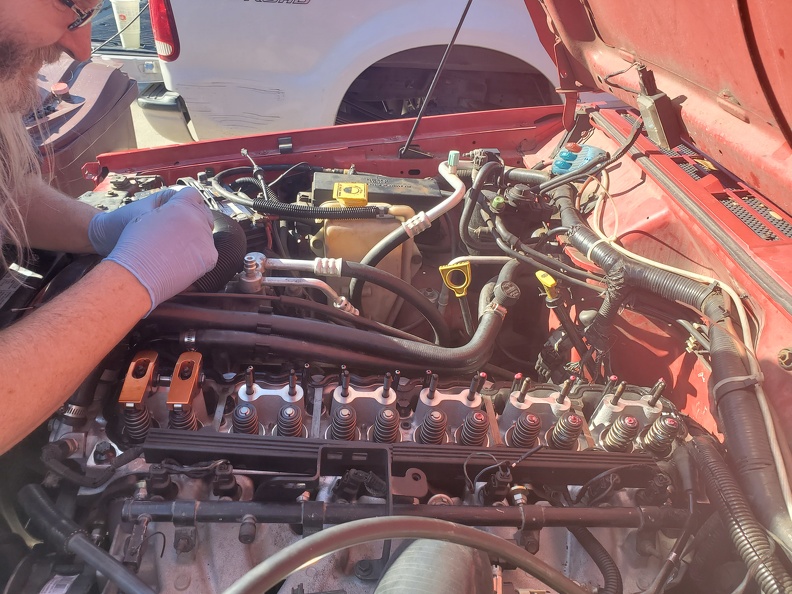
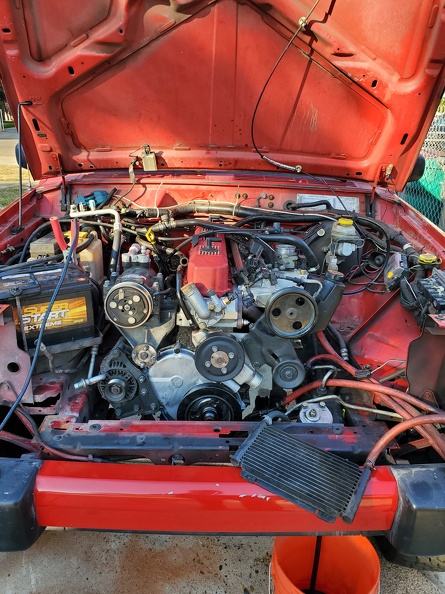
Went down and hung out with Cal today and helped him work on the 4.7 stroker in his Unicorn rig. Russ P has re-worked Cal's Edelbrock head to decrease the experimental high compression ratio (I think it was at 11.4 :1), so we first headed over to Russ's and picked up the head and then headed back to Cal's house to start the task of disassembling his engine. Cal is undertaking a cam swap as well as installing the reworked head and new valvetrain components. The goal for today was to pull all the accessories off the front of the engine, remove the balancer, timing cover and head, as well as pull the camshaft out, and start the engine cleanup, getting everything ready for the install of the new camshaft as well as the reworked head.

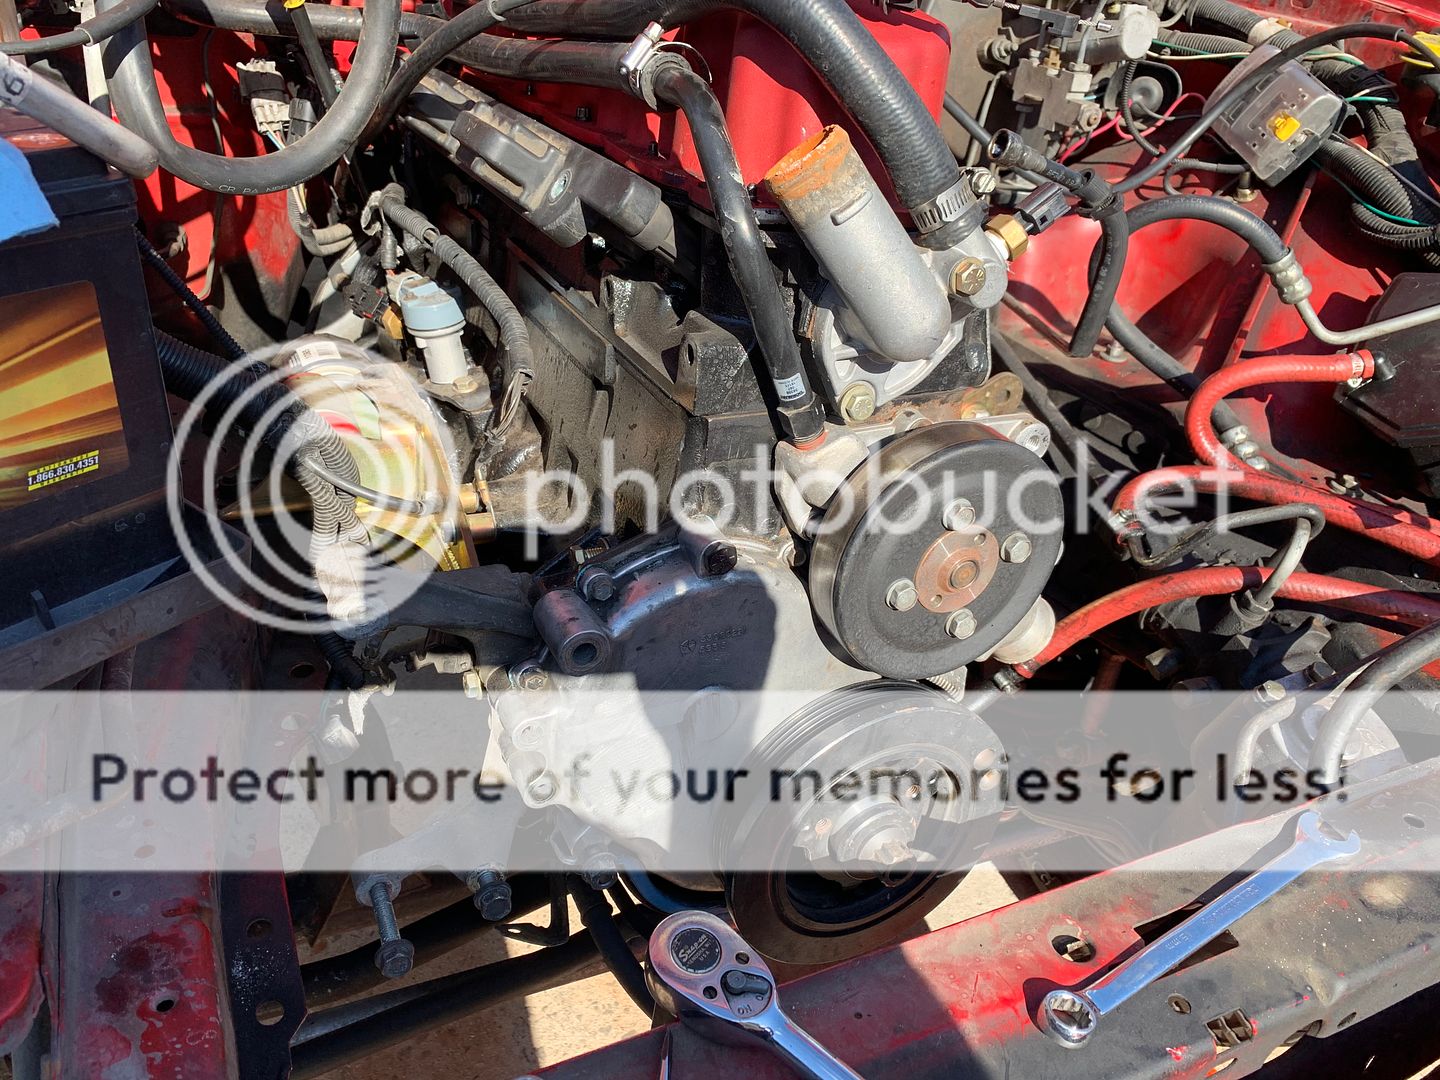
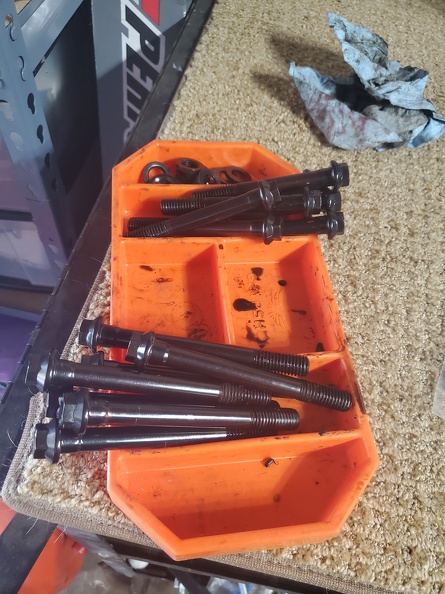
Pulling all the accessories off the front of the engine
IMG_1249_zpssqjpk6ja.jpg


IMG_1250_zps2fuqjgqd.jpg


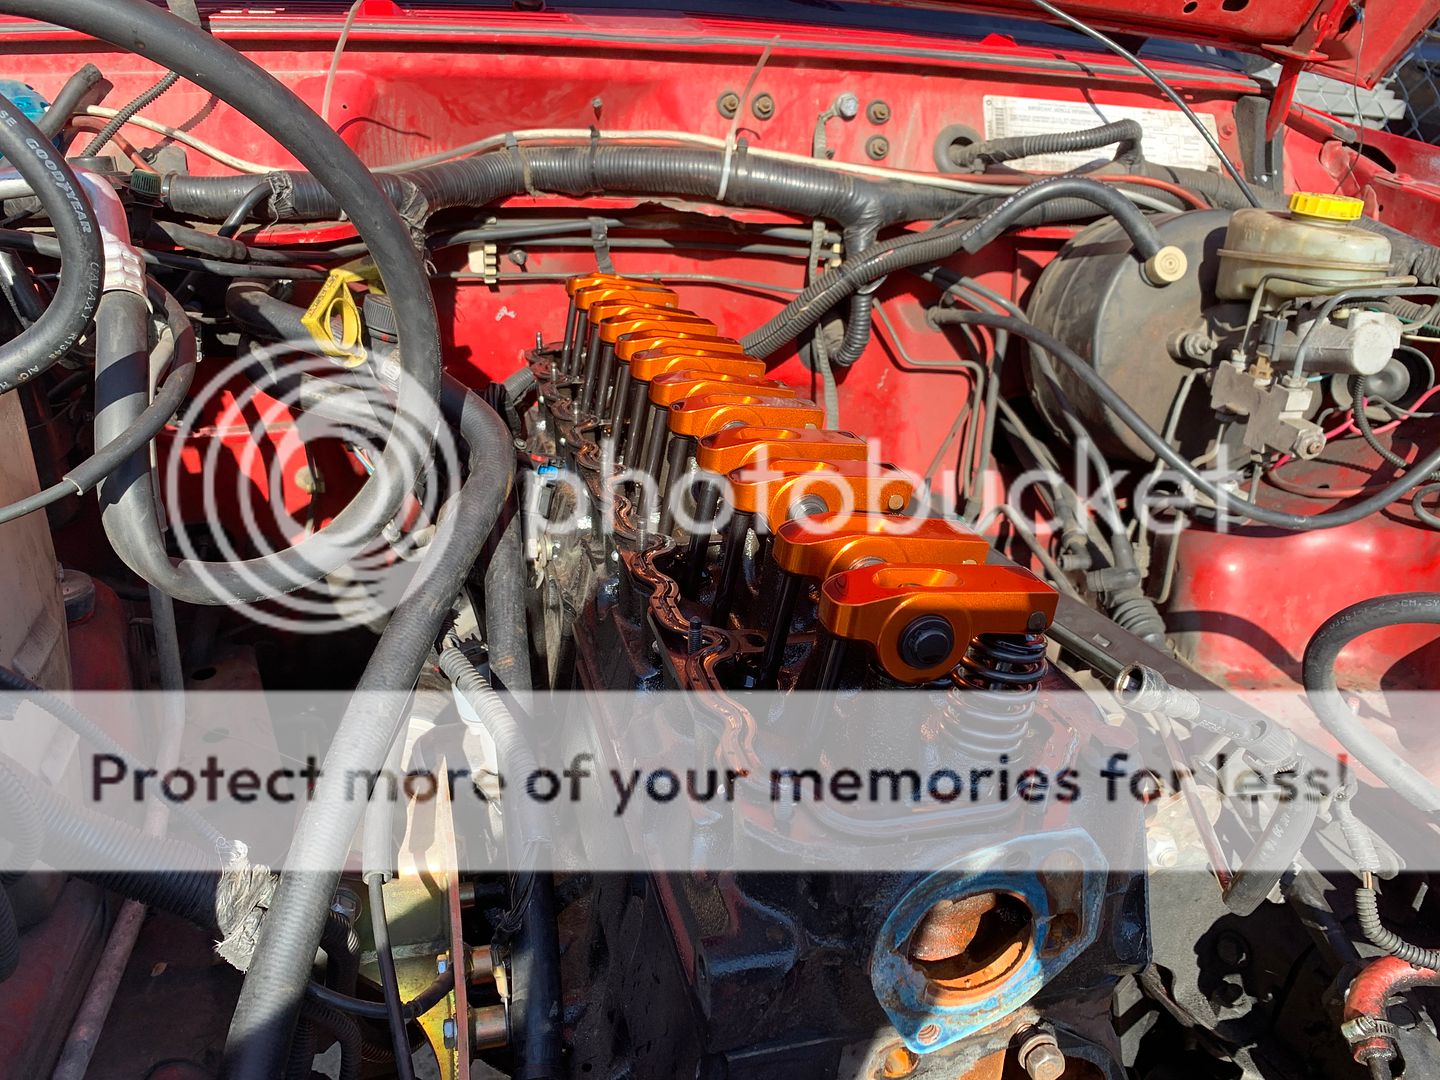
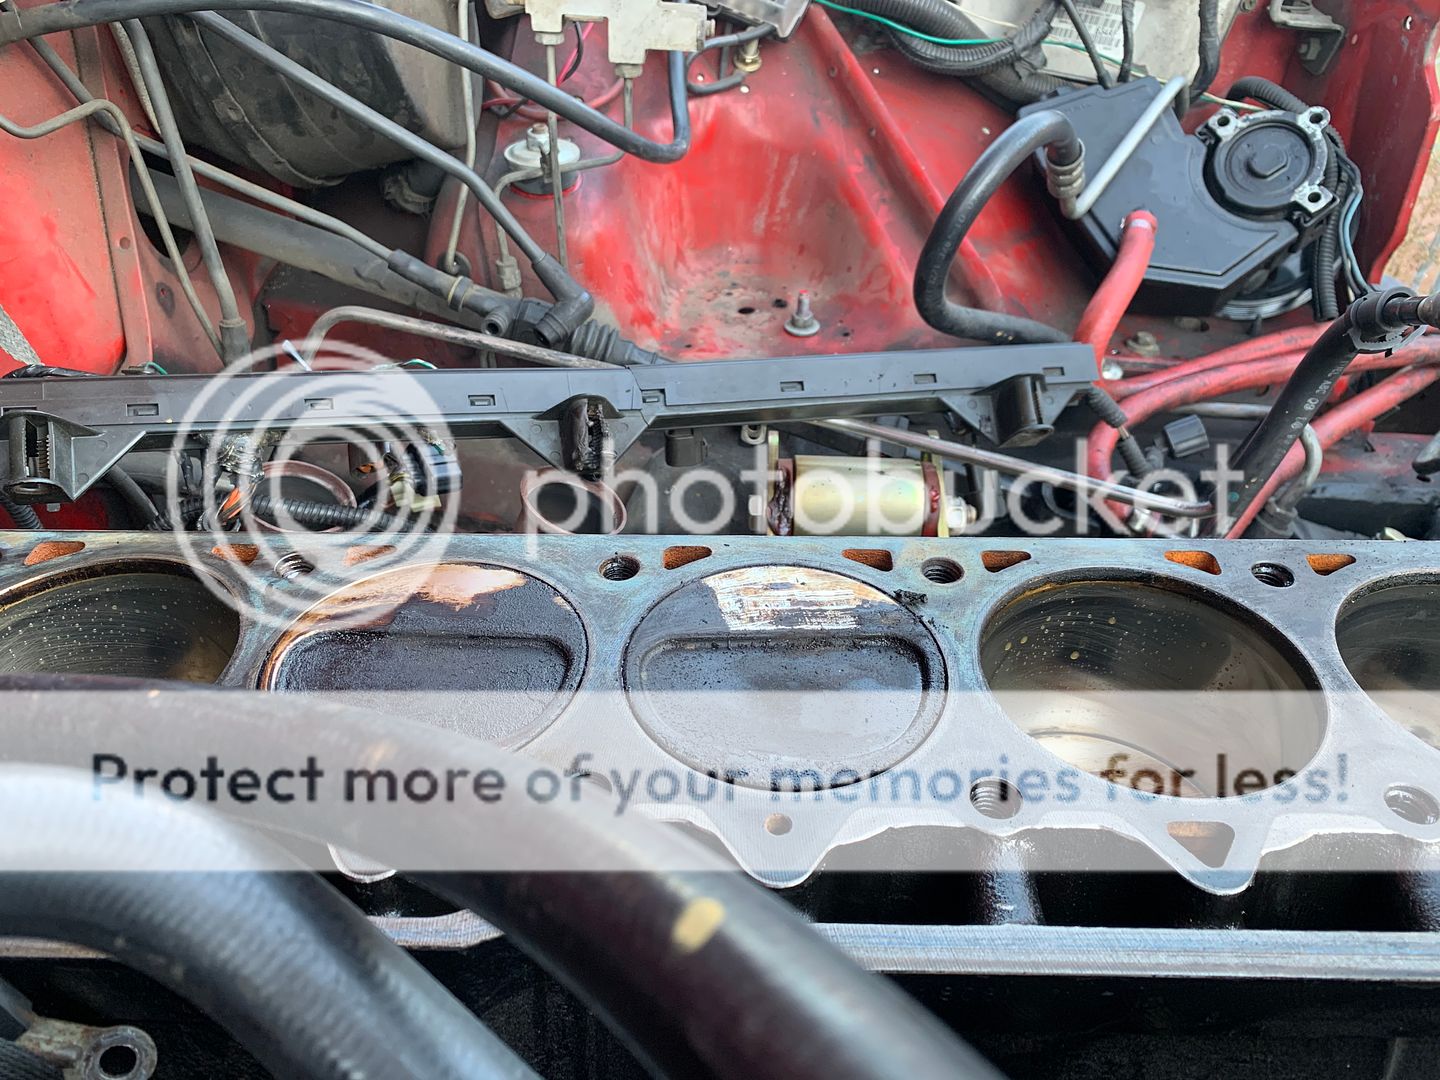
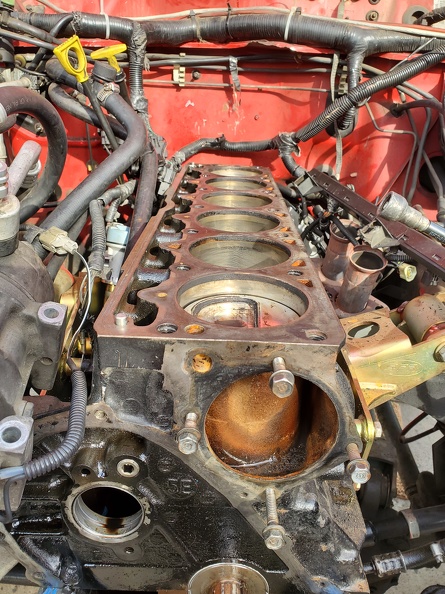
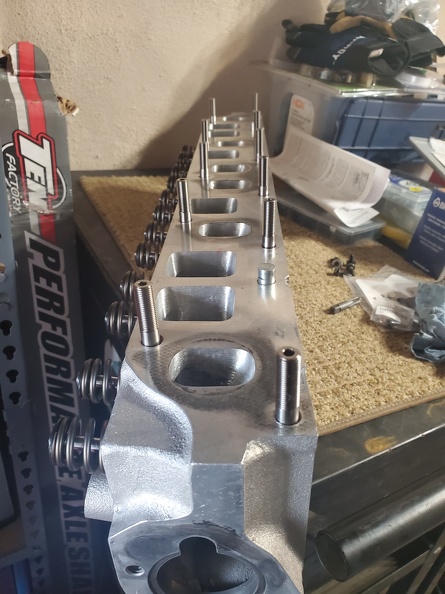
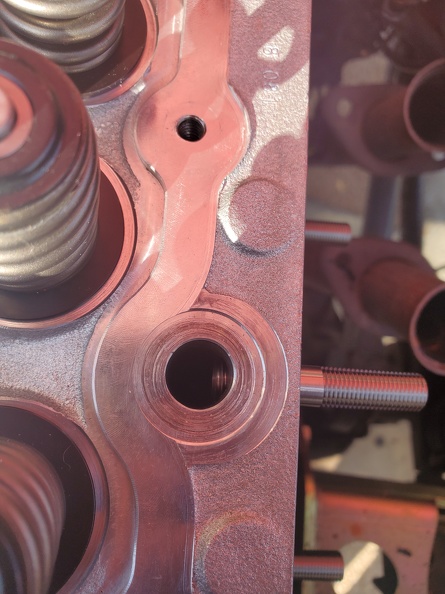
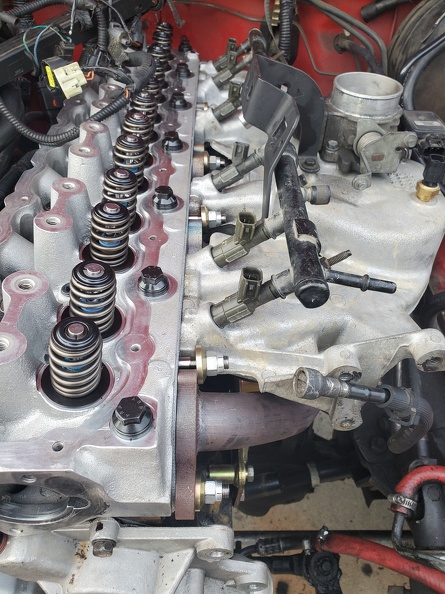
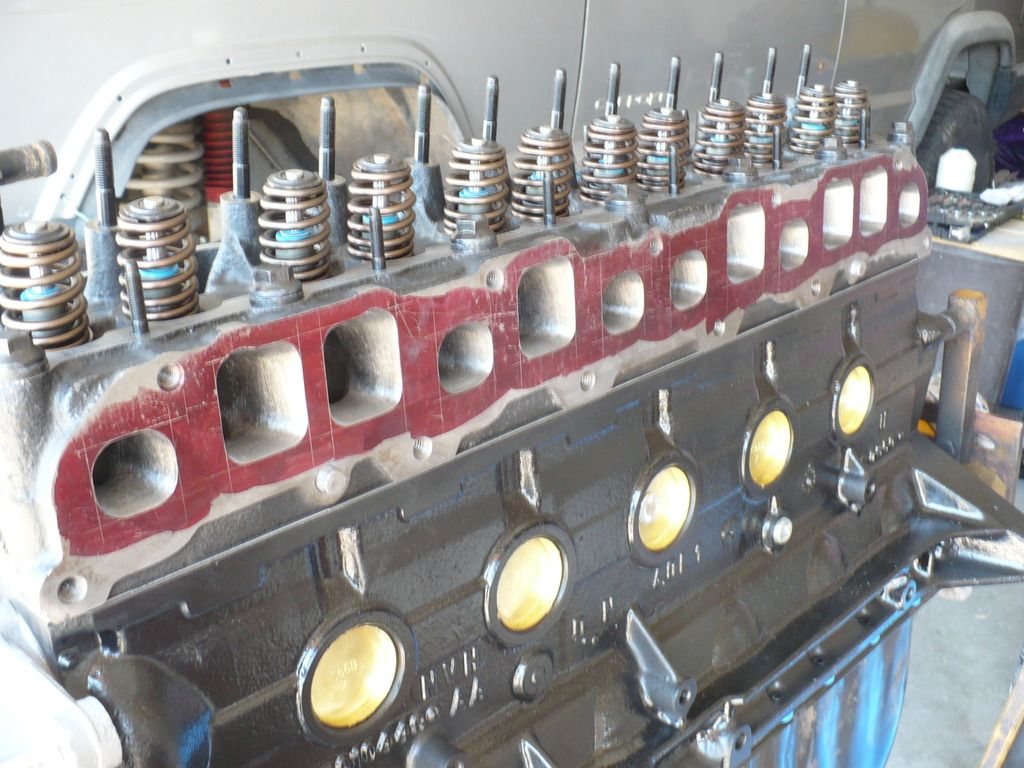
Getting the head ready to pull - we removed all the rocker arms, push rods and lifters.
IMG_1251_zpssyskizyk.jpg


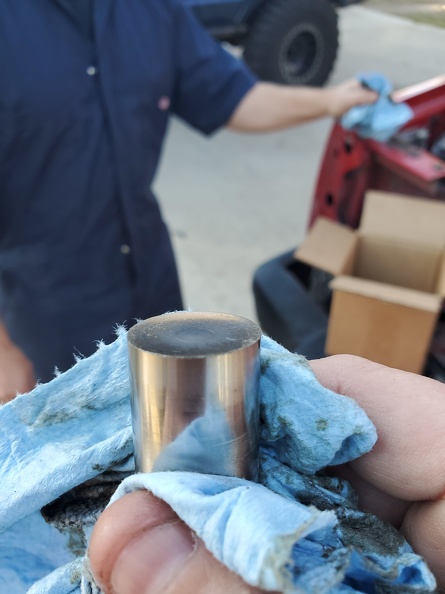
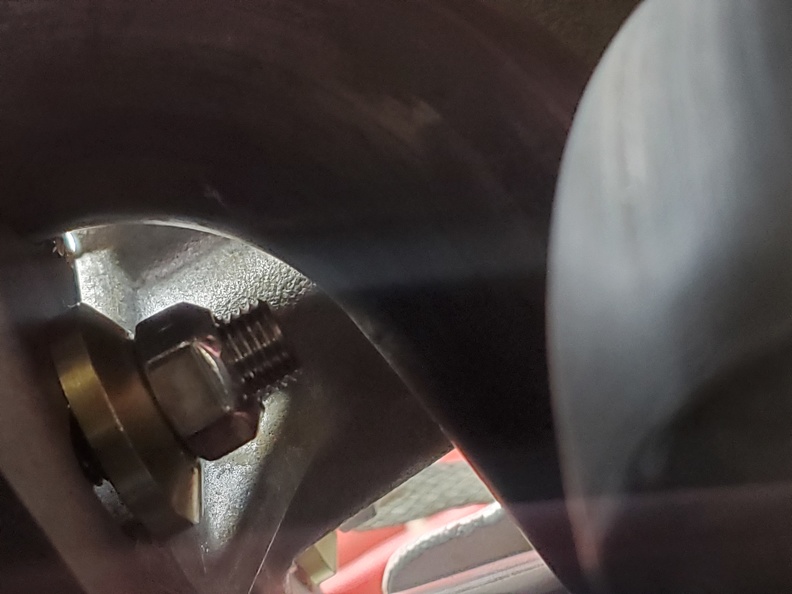
Cal had been having a ton of valve train noise with his engine -and we found that the #3 lifter was bad, had sharp edges and was slightly concave now.
IMG_1255%201_zpspdwevy9x.jpg


Bad lifter compared to a good one
IMG_1256_zpsxsf5zvdn.jpg


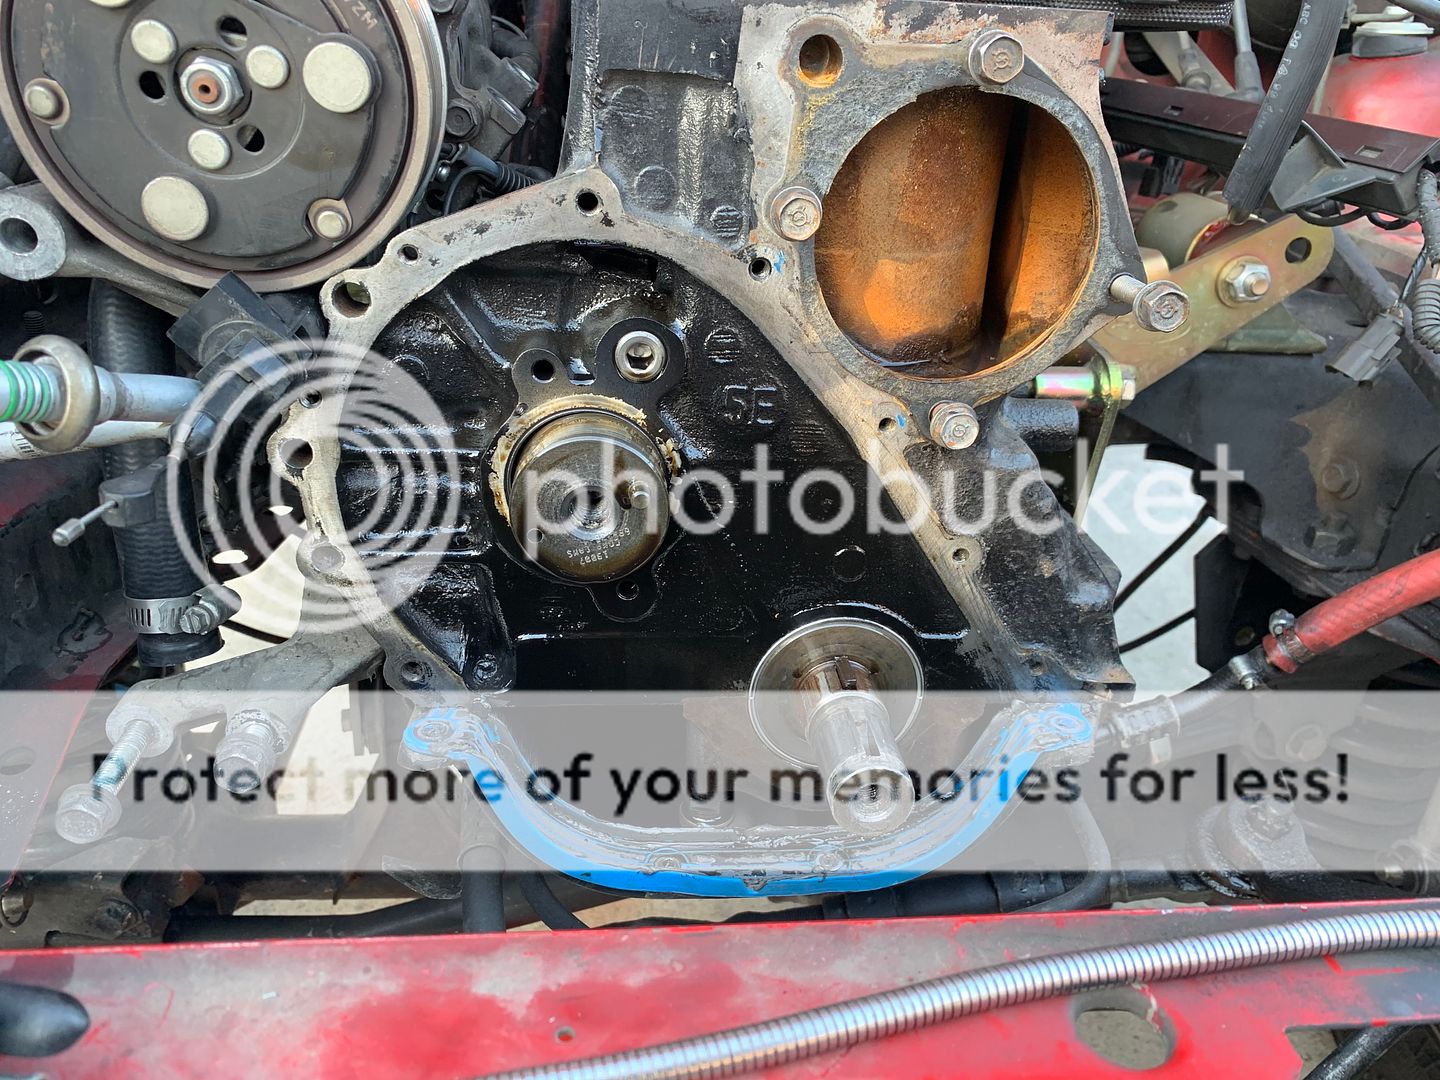
Amazon hadn't delivered the harmonic balancer puller that Cal had ordered, so we ended up heading to lunch, then Harbor Freight down the street, picking up a puller. We then tackled pulling the harmonic balancer, timing cover and the cam.

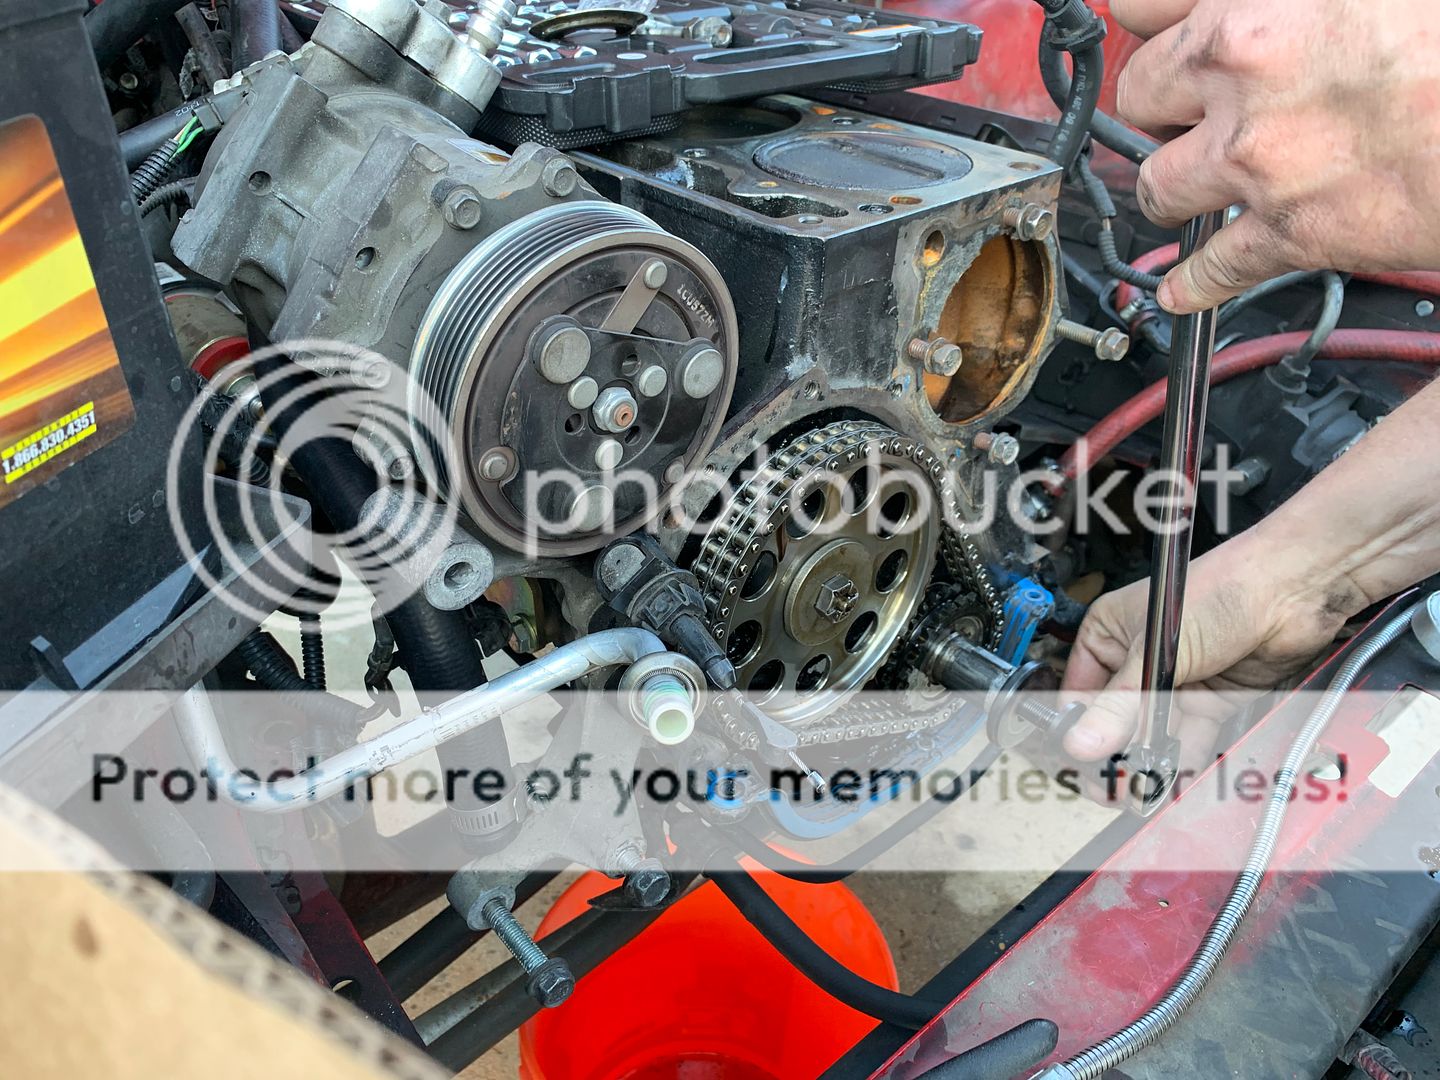
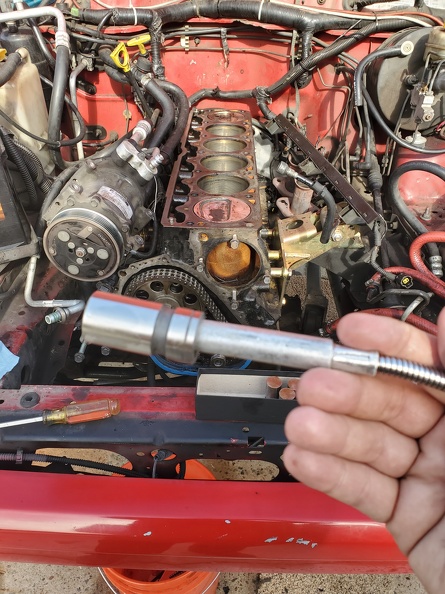
Cal making sure that the engine was at TDC before pulling the timing chain
IMG_1252_zpsyni2lgmq.jpg


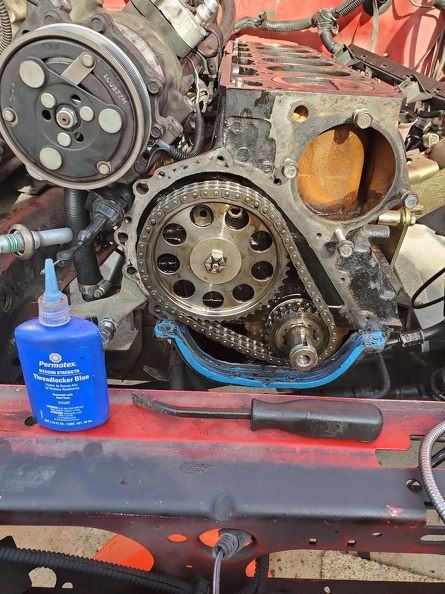
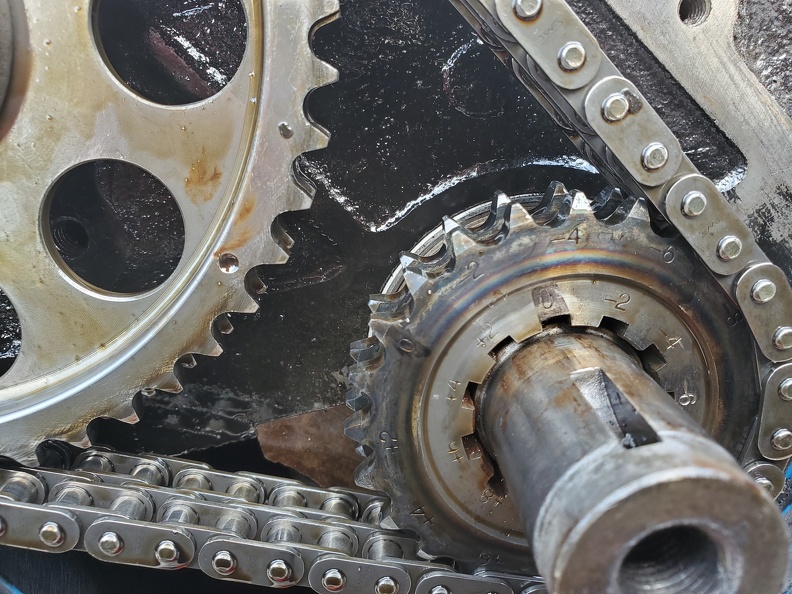
Timing gears and chain off and getting ready to pull the cam
IMG_1257_zps9oj3byxi.jpg


It took a little more effort to pull the cam out than we thought. It is hard to get leverage at the back of the cam without removing the oil pan. I ended up just trying to lift the cam up some and slowly pulled it out while rotating it.

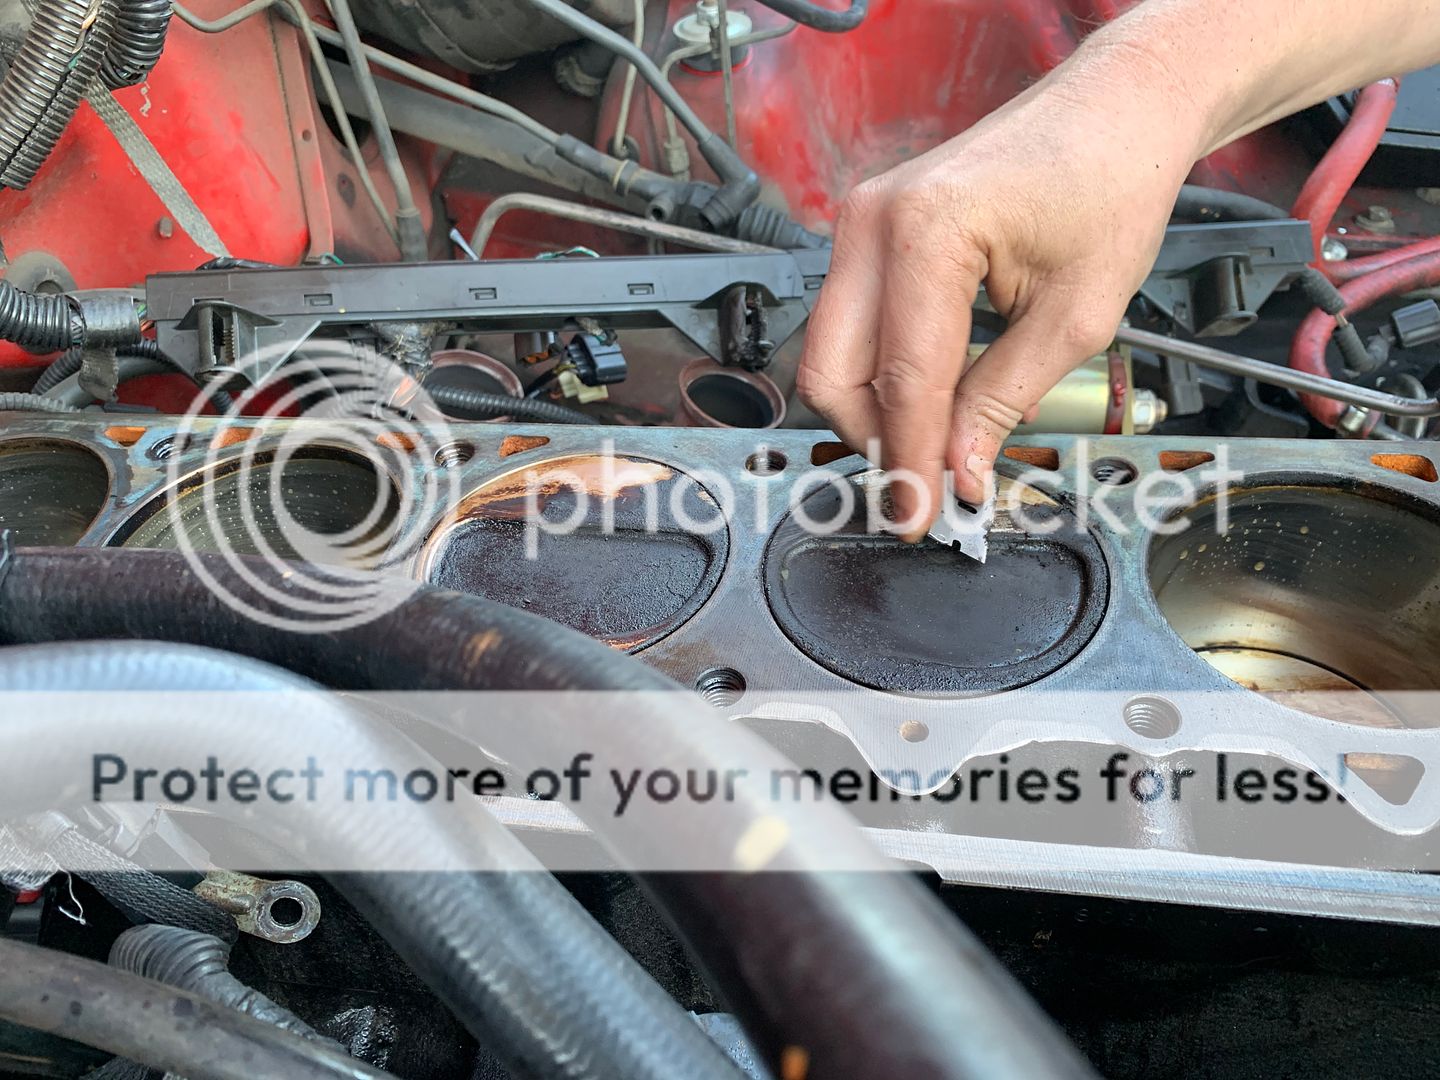
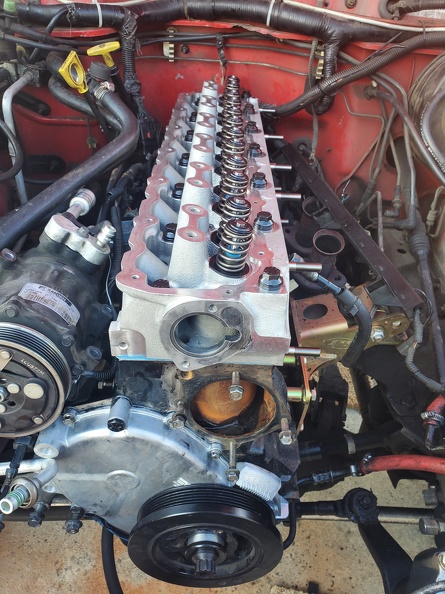
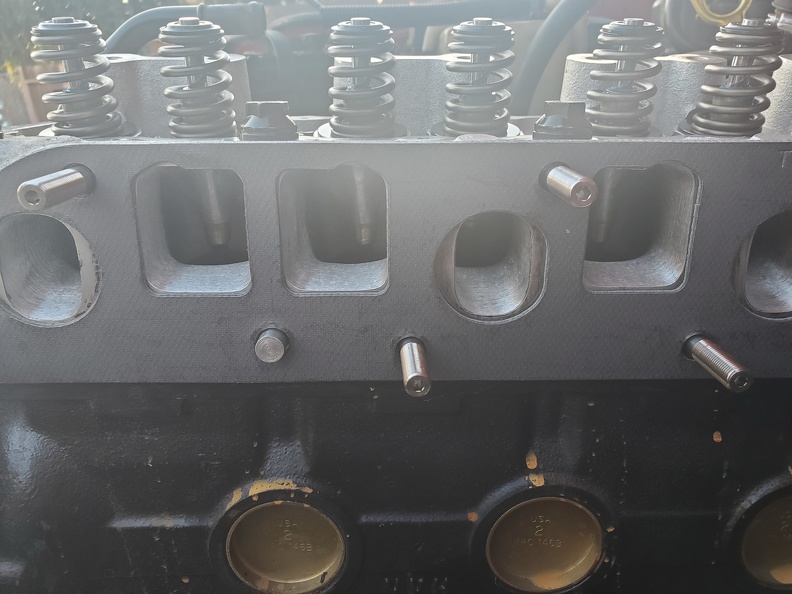
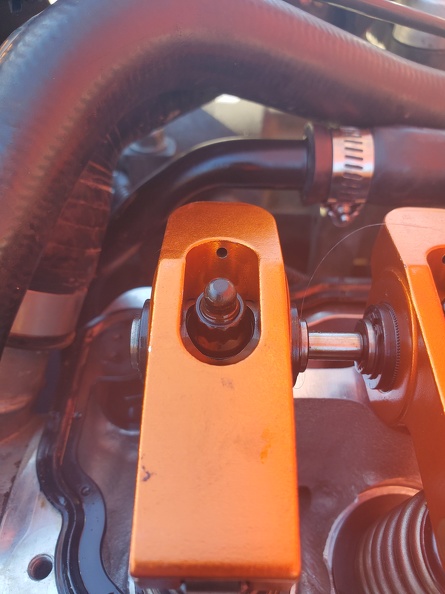
After we got the cam out Cal started to work on cleaning the engine up getting it ready for the eventual install. The aftermarket valve cover he has is not baffled well and allows for a large amount of oil to flow into the intake. The pistons had a fair amount of oil on them, that we began to scrape off and clean.

Oil covering the pistons - caused by the poor valve cover.
IMG_1259_zpshgsnew1d.jpg


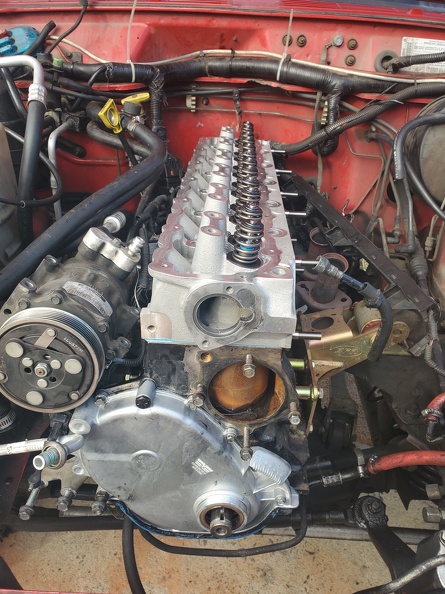
Cleaning up everything getting it ready for the re-worked aluminum head
IMG_1260_zps1a4el3a9.jpg


It was getting later in the day and would soon be dark, so after getting the piston's pretty clean, we covered up the engine and decided to call it a day! Cal will be back at it tomorrow with a second pass of cleaning up the engine. It is always a good time hanging out with cool NAXJA members and helping them wrench on their rigs!
 
Last edited:
I didn't realize he's running a coil rail so I hope he's been watching my thread. I have already spoken to Russ and keep him updated on my progress. I have a dyno pull scheduled for the 8th.
 
I had NIB Mopar coil rail sitting around so decided to use it.

Did you have a problem with yours?
 
Baja Bronco came by Saturday and we tore my engine back down.

20191228_121905-me.jpg


Pretty routine except for this. I have no answers as to how or why.

20191228_143958-me.jpg


Once it was down to this point we did a lot of surface scraping and called it quits for the night.

20191229_101009-me.jpg
 
I started today off with a shiny new Lunati 10680701LK cam and lifter kit.

20191229_101742-me.jpg


Liberally lubed everything up with the provided Driven assembly lube. Not what Russ would use, it had a texture more like wheel bearing grease.

20191229_101849-me.jpg


Installng the cam without removing the oil pan was kind of a bitch but got it in.

20191229_104800-me.jpg


Lubed the lifters up with the same lube and dropped them in with a magnet on a stick.

20191229_111438-me.jpg


And then installed the timing set. Considered advancing the cam +2 (+6 after built in 4*) but went with their default config. Loctite on the cam bolt and torqued to 40 foot pounds.

20191229_110228-me.jpg


20191229_110657-me.jpg
 
Last edited:
My pictures get sparse for a while (greasy hands so didnt touch phone) but installed a new Dorman timing cover (mine wasn't that clean). Replaced the 4 bolts that go thru the oil pan with new 12 point ARP bolts that match my oil pan studs, for aesthetics.

20191229_123114-me.jpg


20191229_123000-me.jpg


Ordered up the Boostwerks Ti stud kit, because installing the center lower header bolts is a real pain in the ass.

20191229_134303-me.jpg


A touch of red loctite and ran them down finger tight.

20191229_135513-me.jpg


You'll see I'm putting the edelbrock head back on. Russ reworked the chambers from 54cc to 59cc which should drop me to ~10.6:1.

Dropped the head on the motor.

20191229_135727-me.jpg


Cleaned the head bolts and washers up really well. Lubed the threads and under the head, except for the wet bolt which got oil under the head and RTV on the threads.

20191229_140937-me.jpg


Went to drop them in the motor and found a few wouldn't go in. Turns out the studs are a little long and interfere with the head bolts. Bryson says this hasn't been a problem before, may be specific to the Edelbrock head but he's going to look a revision for it.

20191229_141703-me.jpg


Ran the studs out, and then torqued the head bolts to 30, 60, and 80 as per Edelbrocks instructions.

20191229_144623-me.jpg


Ran the studs back in and installed the a fresh Banks 93093 gasket - which is the gasket profile Russ ports and polishes to.

20191229_150438-me.jpg
 
Not many pics during manifold install, i was pretty busy.

The studs made installation a LOT easier. With the late model banks header I have had it take me 2 hours each to get the center lower bolts started. The first stud took me about 90 seconds total?

The second was a bit harder. The stud+nut combo was just a hair too long and the nut would not clear the header. I was able to install a 3/8-24 top lock nut that i had in my garage without issue though.

20191229_155240-me.jpg


The rest of it went together easy peasy.

20191229_155913-me.jpg


Fresh GMB high volume water pump. They claim it creates higher cooling system pressure raising the point your system wants to boil. May be true, may not, but they managed to sell me on it.

20191229_144914-me.jpg


20191229_160049-me.jpg


And that's where I ended my day. Been pushing through a pinched nerve in my shoulder all weekend and just couldn't even anymore.
 
Ran the studs back in and installed the a fresh Banks 93093 gasket - which is the gasket profile Russ ports and polishes to.
20191229_150438-me.jpg

Did Russ port match your exhaust to a 2000-01 Banks header ? Mine definitely looks different but he matched mine to 98 Banks Revolver.
P1080516_zpsybaiiwn0.jpg
 
Ordered up the Boostwerks Ti stud kit, because installing the center lower header bolts is a real pain in the ass.

I didn’t know this stud kit existed, so I’m glad you mentioned it.

I’ve got a freeze plug that’s been worrying me for way too long that I haven’t changed because I can’t get to it without pulling the header. When I do tackle that task, I’ll definitely replace the header bolts with these studs.

For anyone who wants it, here’s a link: http://www.boostwerksengineering.com/Jeep-40L-Titanium-Manifold-Stud-Kit-_p_39.html
 
Last edited:
Did Russ port match your exhaust to a 2000-01 Banks header ? Mine definitely looks different but he matched mine to 98 Banks Revolver.

I think the bigger difference here is the stock profiles of the iron vs edelbrock head, but I could be wrong. I'll ask him.
 
Not a ton of pictures, but Russ came up and installed studs for the rockers, and then verified the preload and got the rocker arms installed.

20200101_123057-me.jpg


20200101_131119-me.jpg


Thanks to RCP PHX for the part #'s on the stud kit. Absolutely perfect.

20200101_131315-me.jpg


Slapped the front core support and cooling system together enough to do cam break in.

20200101_123051-me.jpg


Discovered a couple lifters are just barely tapping the crappy Crown valve cover. Installed longer valve cover studs and doubled up valve cover gaskets and that problem went away. Will get pictures on part #'s on that later.

20191231_143528-me.jpg


Waiting on some parts now. Trimming the metal in front of the airbox to make more room for hoses and allow better cold airflow. Installing a cooling system filter setup on the heater hoses with a spin on filter. New PCV valve, and replacing the hard fuel line that runs from the chassis to the engine.

Cam break in went well. Engine is way quieter and stays cool. I guess that's all I can ask for today. :)
 
Back
Top