YELLAHEEP
NAXJA Forum User
- Location
- Littleton, Colorado
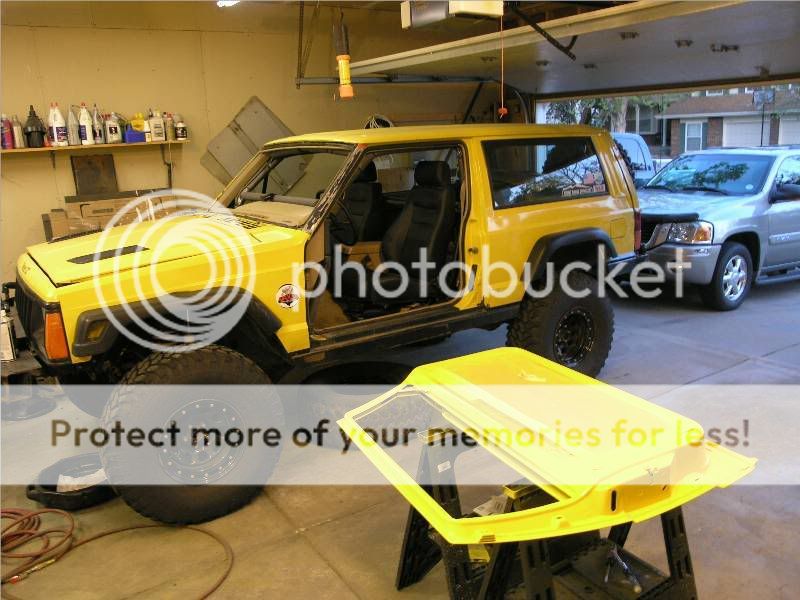
Well I finally got serious about my Heep again. October '05 was when this damage occurred when I flopped in Moab on Pritchett's "Rocker Knocker".

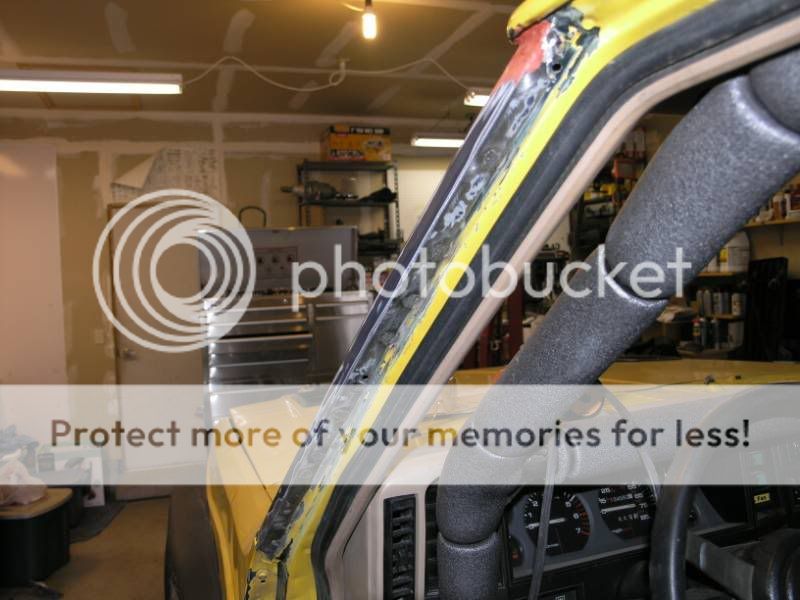
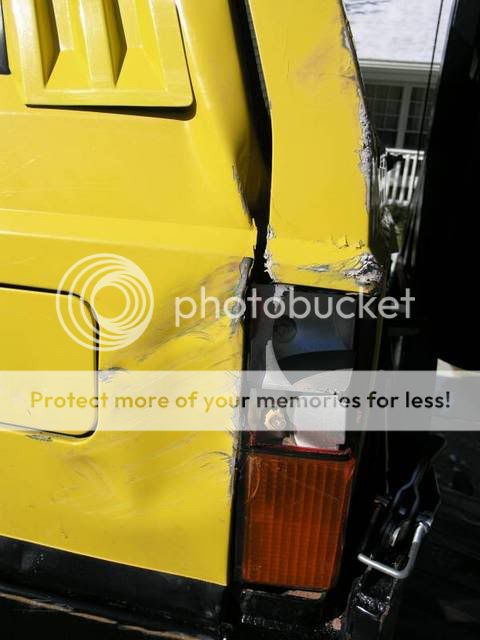
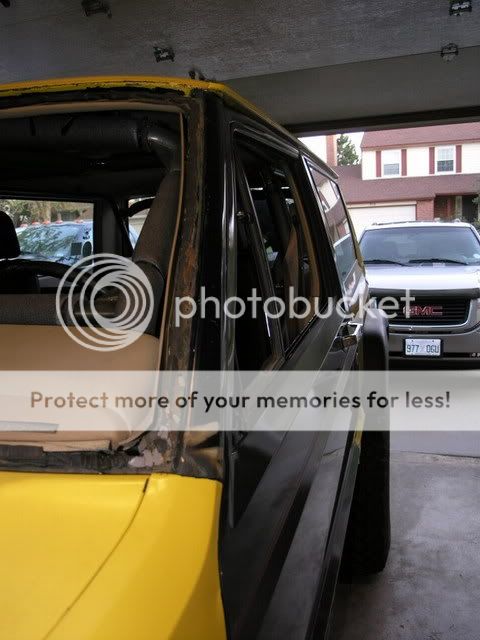
Of all the damage done to the 'ol girl in '05, this was the repair I was most dreading. The pillar moved inward about one full inch and back into the door about 1/4". You can see where the inner trim piece is touching the dash pad. I'm no body guy, so I did some asking around before I tore into it. Most said to just pull it and fill the dents but I hate working with Bondo. A few others said skin the outter part with a straight piece, so that's what I did.
I know several others have done this kind of damage, so I figured I'd post up some pics of what I did to get this fixed.
After removing the smashed windshield, this is what the pillar looked like. Yeah, I had a spotlight mounted to it and that's part of what caused the damage when the Heep laid over. The shaft of the light kinda twisted the pillar as it laid over on it.
First was to harvest a good pilar from a donor. I torched one out of a parts XJ I had before taking it to the scrapper:
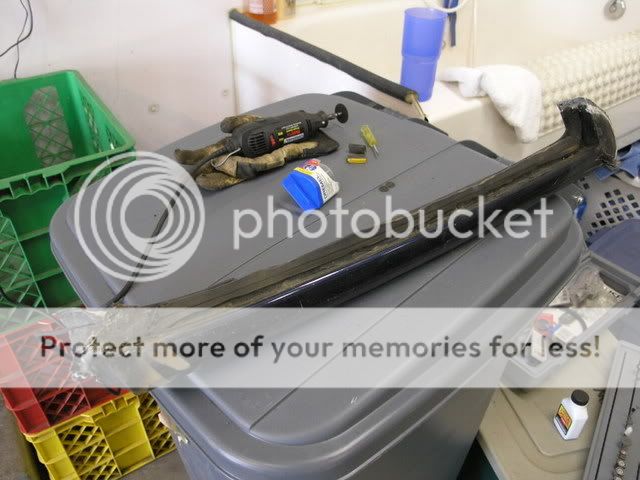
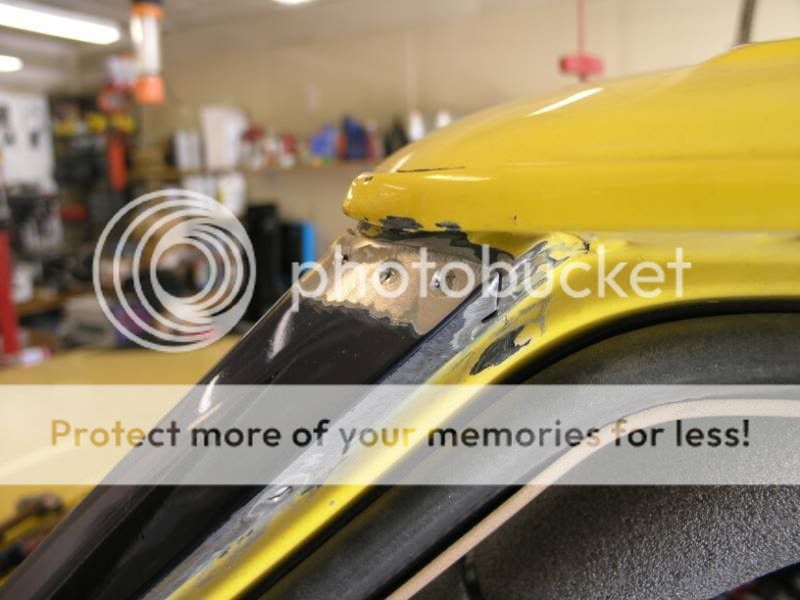
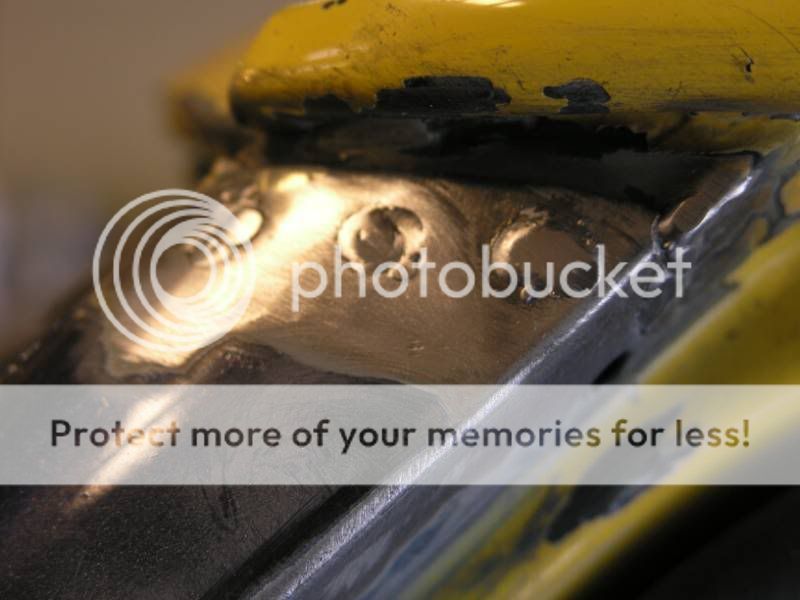
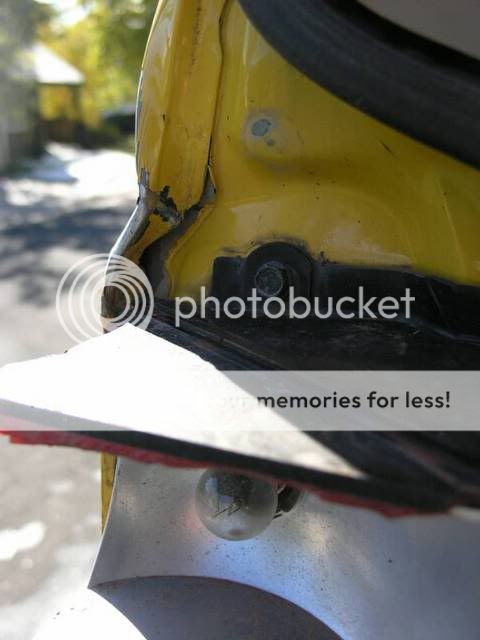
Then I proceded to drill out the spot welds on the inside of the door sill, and then cut about 1/2" down into the windshield channel. The top I trimmed as close to the rain gutter pinch seam as I could, and the bottom I cut below the bend where the fender meets the pillar. Here's the donor piece removed and ready.
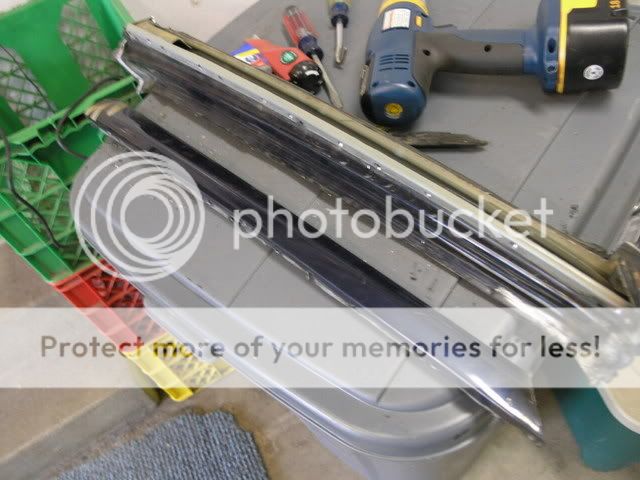
I don't have a pic of the removal of the damaged pillar skin, but I simply repeated the process as above, except that I trimmed right at the bend line of the windshield channel side, and left about 1/4" of metal at the top and bottom ends to give a lip to weld to. The door sill side was done the same - just drilled out the spot welds.
I decided to remove the damaged skin before bending the pillar back out into shape because it seemed logical to me that the pillar would move easier. It seemed to work. Here you see my redneck heritage shining through..... come-a-long anchored to the tree in the front yard.... Unfortunately, the roll cage kept me from being able to remove the interior plastic trim from the pillar so it got tweaked and cracked.

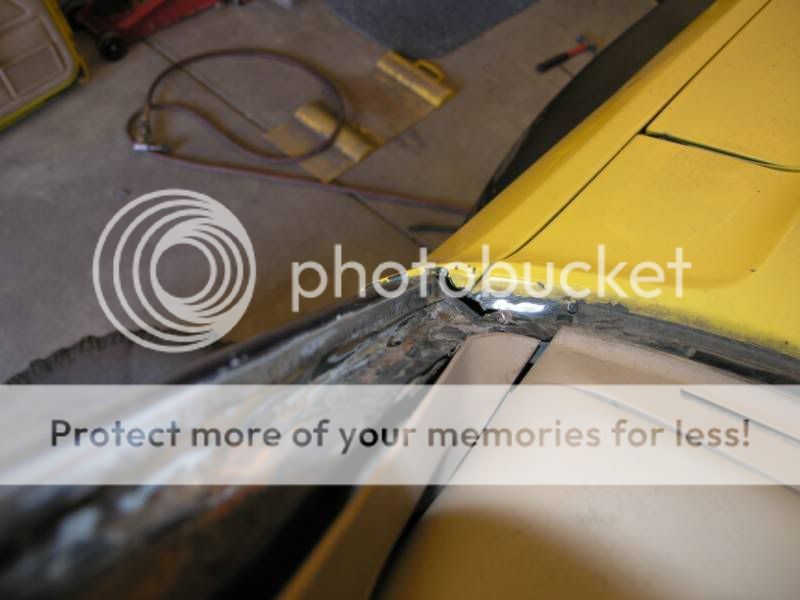
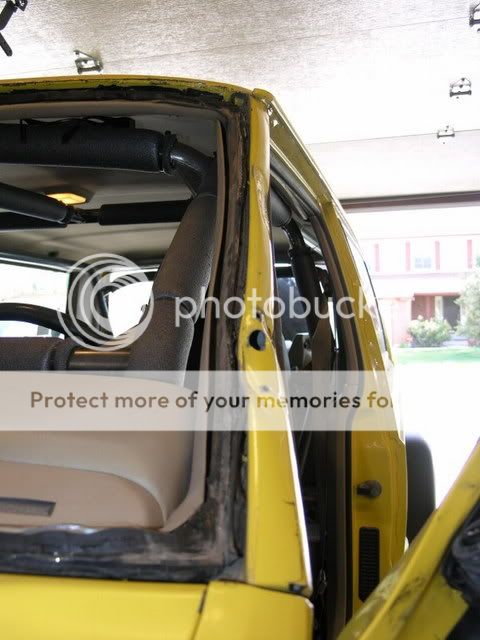
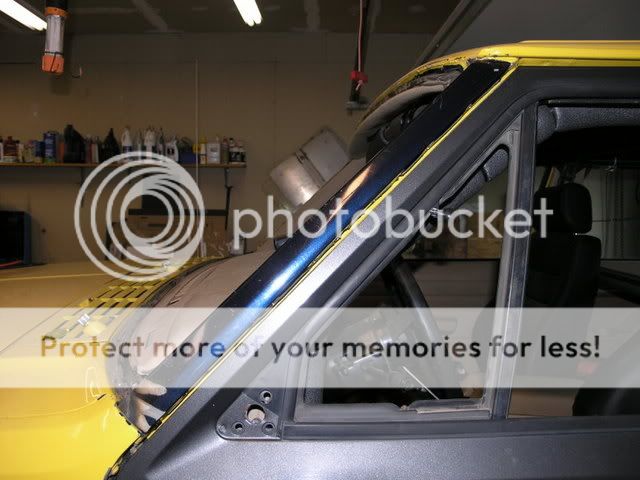
Here's where it is after this afternoon's efforts. The pillar is pulled, the windshield channel and door sill areas were manually bent and straightened to accept the donor pillar skin as a "lay over" fit. Here it has been pressed into place and the new door hung to check overall fit and gaps.
I must say, I'm fairly impressed with myself with how it's turned out so far. I've never delved into body repair, much less making replacement pieces fit. Tomorrow I'll buzz the paint off the surfaces and get it tacked into place, check fit again, then finish weld it all up. I'll post pics of tomorrow's progress .... well tomorrow! :thumbup:
Of all the damage done to the 'ol girl in '05, this was the repair I was most dreading. The pillar moved inward about one full inch and back into the door about 1/4". You can see where the inner trim piece is touching the dash pad. I'm no body guy, so I did some asking around before I tore into it. Most said to just pull it and fill the dents but I hate working with Bondo. A few others said skin the outter part with a straight piece, so that's what I did.
I know several others have done this kind of damage, so I figured I'd post up some pics of what I did to get this fixed.
After removing the smashed windshield, this is what the pillar looked like. Yeah, I had a spotlight mounted to it and that's part of what caused the damage when the Heep laid over. The shaft of the light kinda twisted the pillar as it laid over on it.
First was to harvest a good pilar from a donor. I torched one out of a parts XJ I had before taking it to the scrapper:
Then I proceded to drill out the spot welds on the inside of the door sill, and then cut about 1/2" down into the windshield channel. The top I trimmed as close to the rain gutter pinch seam as I could, and the bottom I cut below the bend where the fender meets the pillar. Here's the donor piece removed and ready.
I don't have a pic of the removal of the damaged pillar skin, but I simply repeated the process as above, except that I trimmed right at the bend line of the windshield channel side, and left about 1/4" of metal at the top and bottom ends to give a lip to weld to. The door sill side was done the same - just drilled out the spot welds.
I decided to remove the damaged skin before bending the pillar back out into shape because it seemed logical to me that the pillar would move easier. It seemed to work. Here you see my redneck heritage shining through..... come-a-long anchored to the tree in the front yard....
Unfortunately, the roll cage kept me from being able to remove the interior plastic trim from the pillar so it got tweaked and cracked.
Here's where it is after this afternoon's efforts. The pillar is pulled, the windshield channel and door sill areas were manually bent and straightened to accept the donor pillar skin as a "lay over" fit. Here it has been pressed into place and the new door hung to check overall fit and gaps.
I must say, I'm fairly impressed with myself with how it's turned out so far. I've never delved into body repair, much less making replacement pieces fit. Tomorrow I'll buzz the paint off the surfaces and get it tacked into place, check fit again, then finish weld it all up. I'll post pics of tomorrow's progress .... well tomorrow! :thumbup:
Last edited: